Stamp Usage Guide: Inking & Stamping Techniques
Initial Inking for New Stamp Pads
New stamp pads arrive dry and need thorough inking before first use. Re-inking requires less ink, adjusted based on pad condition.
Steps:
- Open Pad: Lift the ink pad lid.
- Apply Ink: Dispense ink evenly across the sponge surface.
- Spread Ink: Use the provided scraper to spread ink evenly.
- Wait: Let the pad sit for 10-15 minutes for full absorption.

Ink Amounts for First Use:
| Pad Size | Recommended | Maximum |
|---|---|---|
| 10cm/3.9in | 10ml/0.35oz | 22ml/0.75oz |
| 15cm/5.9in | 22ml/0.75oz | 50ml/1.65oz |
| 20cm/7.9in | 40ml/1.35oz | 88ml/3.00oz |
| 25cm/9.8in | 60ml/2.00oz | 135ml/4.50oz |
| 30cm/11.8in | 90ml/3.00oz | 200ml/6.70oz |
Notes:
- Do not exceed maximum capacity to avoid blurry impressions.
- For re-inking, start with smaller amounts and adjust based on pad dryness, ink type, and stamping needs.

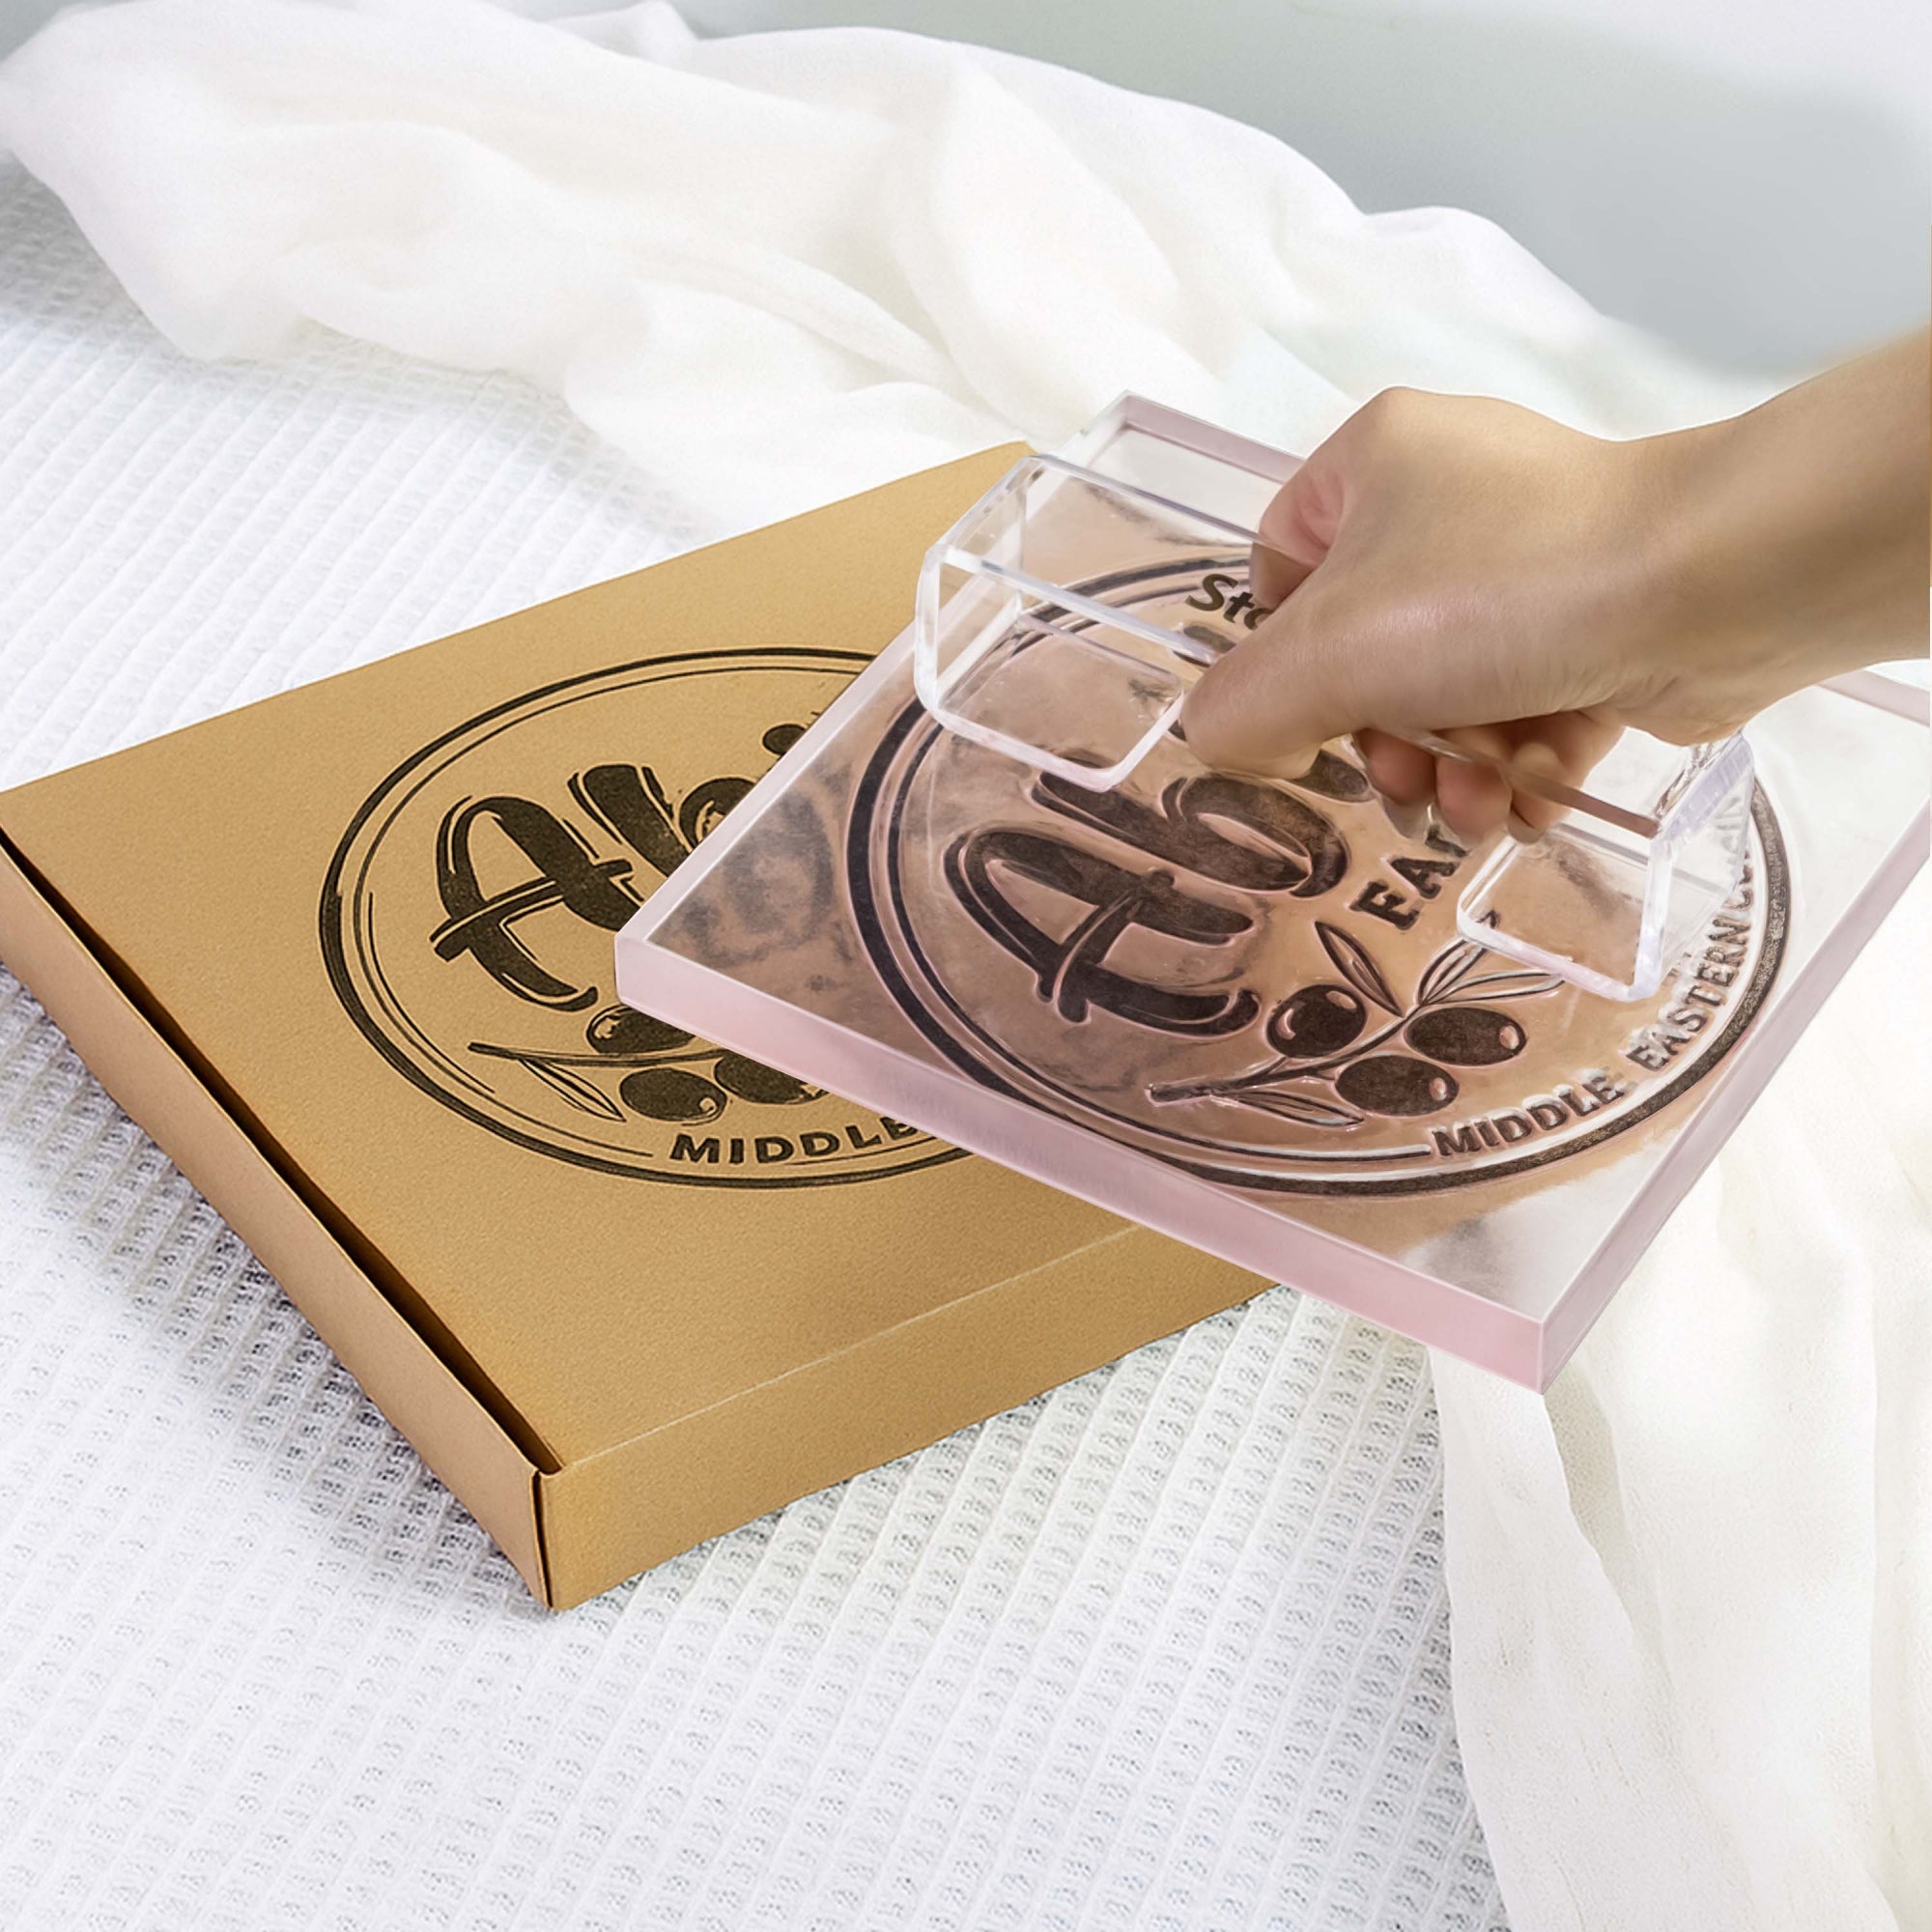
Stamping Technique
For crisp, consistent results:
- Ink Stamp: Gently tap the stamp on the pad to coat evenly.
- Press Down: Apply firm, even pressure for 2-3 seconds. Do not rock or tilt.
- Lift Up: Lift straight up to avoid smudging.
- Single Press: Avoid re-stamping in the same spot.
- Test Stamp: Always test on scrap paper first.
- Clean Stamp: Wipe with a soft cloth after use.
Troubleshooting
-
Faint Impression:
- Add ink if pad is dry, wait 10-15 minutes.
- Ensure even inking and pressure.
- Hold press for 3-4 seconds.
- Stamp on a slightly cushioned surface.
-
Blurry/Smudged Impression:
- Blot excess ink on scrap paper.
- Press and lift without sliding or twisting.
- Use gentle pressure.
- Check paper compatibility with ink.