Fiori personalizzati "Dalla Biblioteca di" Stampa in rilievo per libri
Fiori personalizzati "Dalla Biblioteca di" Stampa in rilievo per libri
SKU:P5538-00002
When choosing an embosser, you might focus on pattern design, die material, or precision—but don’t overlook orientation. Embosser orientation is crucial, as different types suit various scenarios.
This guide explores embosser orientation in depth, helping you select the right embosser and use it effectively.
What is Embosser Orientation?
Embosser Orientation refers to the Orientation of the pattern on the page during embossing, which is the way the pattern is presented. Simply put, Orientation determines from which Orientation the embossed pattern enters the page and at what angle it is displayed.
The Orientation of an embosser is usually divided into four types: top, bottom, left, and right.

Why does an embosser need to consider Orientation?
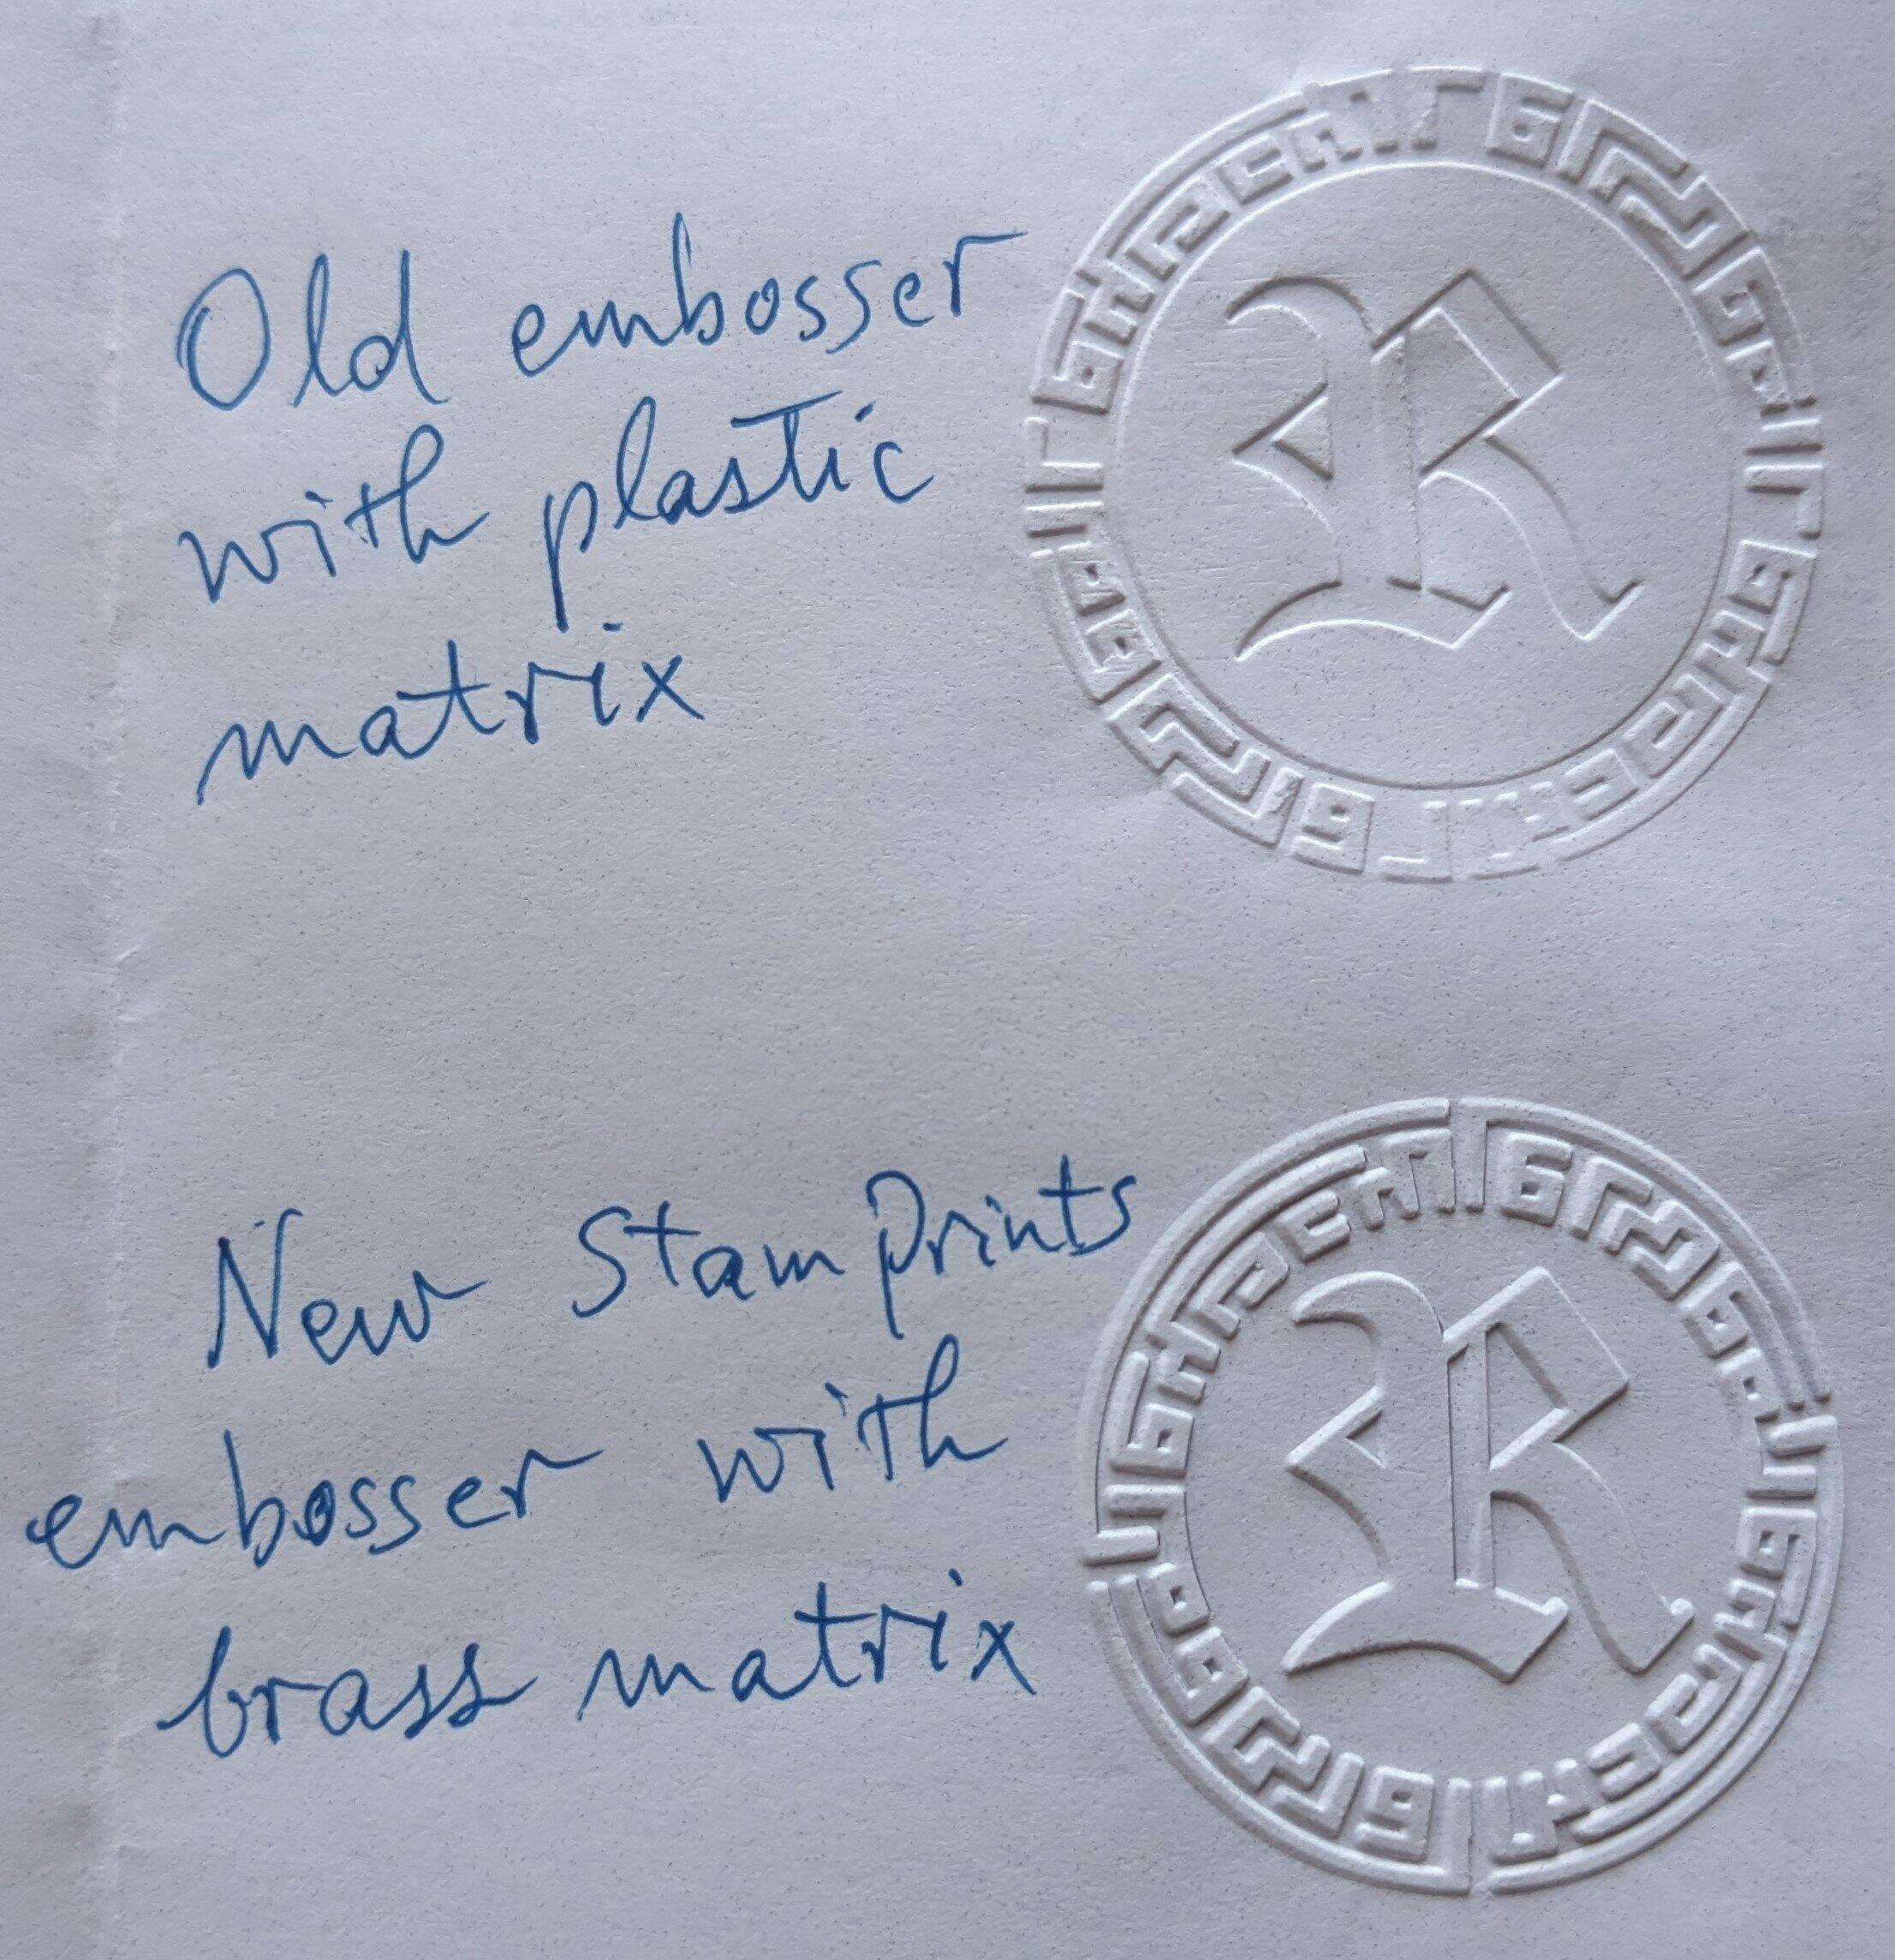
The Depth Limitation of Embossers
If you need to emboss deeper, consider a desktop embosser.

Adaptability to Usage Scenarios
In addition to the mechanical design limitations, the choice of Orientation is also influenced by the actual usage scenario. Different papers (such as documents, letters, cards, etc.) have different applicable Orientations.
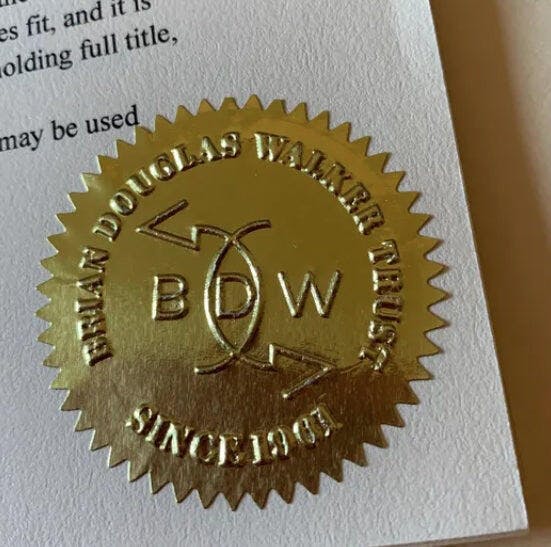
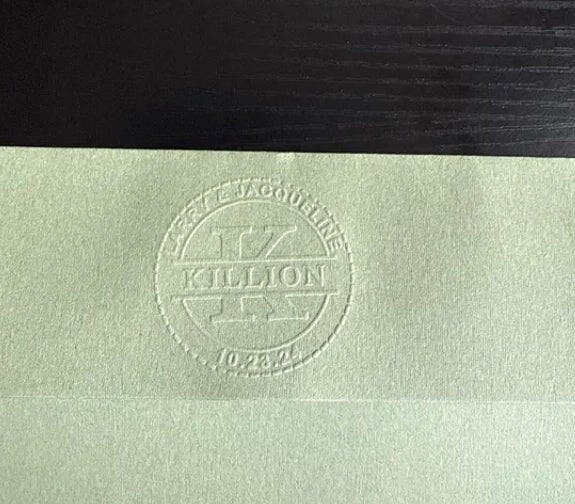
For example, award certificates are often laid out horizontally, and the embossed badge or decoration needs to stay consistent with the Orientation of the text, so bottom Orientation is often the preferred choice.
Choosing the Correct Embosser Orientation that suits you
Embosser orientation depends on the usage scenario and design intent.
For example, certificates, envelopes, and documents typically use bottom orientation, as the pattern is often embossed at the bottom of the stationery. Books, contracts, and brochures suit right orientation, while letterheads and business cards work best with top orientation. Meanwhile, an artistic card might benefit from side orientation to ensure the embossing range covers the effective area.
Below are common choices for embosser orientation:
| Usage Scenario | Embosser Orientation |
|---|---|
| Certificates, Tickets, Documents | Bottom Orientation |
| Books, Packages, Official Use | Right Orientation |
| Letterhead, Name Cards | Top Orientation |
If you’re still struggling with choosing an Orientation? Feel free to tell Stamprints your needs, and we’ll solve it together!
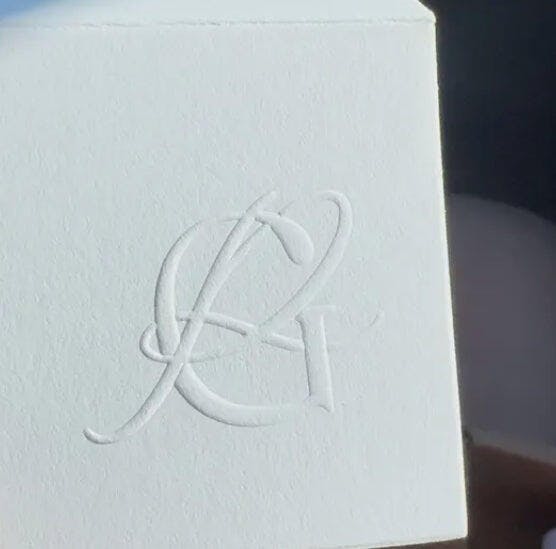
Product Details
Product Details
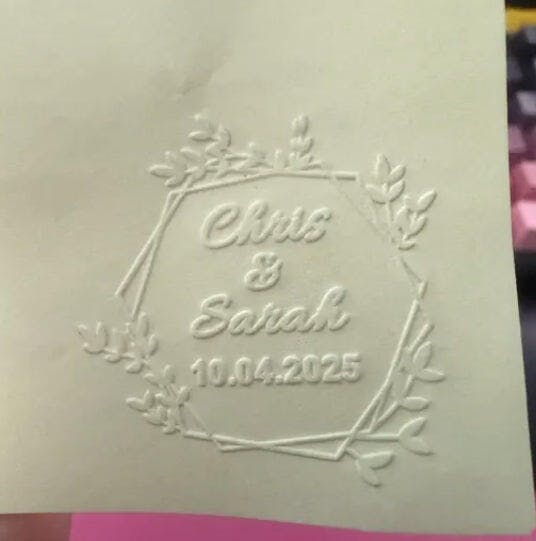
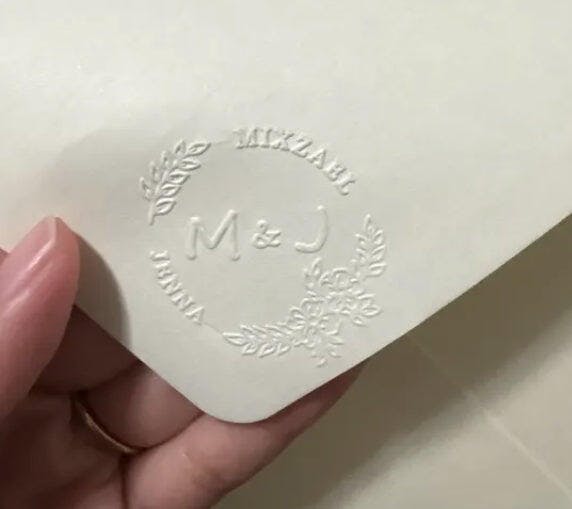
Sigillo della firma Blossom
Un'alchimia floreale, un sogno.
Con una leggera pressione i petali si srotolano,
Rilievo curato nei minimi dettagli, un sogno da rilegare.
Con questo strumento d'arte i tuoi libri si trasformano,
Da semplici pagine a un'opera di grande fascino.
Imprimi i tuoi racconti con la grazia della natura,
In questo embosser le vostre storie si intrecciano.
Sigilla le tue pagine con un tocco così dolce,
Con questa stampante per goffratura i tuoi libri saranno completi.
Un pizzico di magia floreale, un ricordo così caro,
In questo strumento di creazione, le tue narrazioni diventano care.
Turnaround & Shipping
Turnaround & Shipping
Friendly Return Policy
Friendly Return Policy
Condividi questo prodotto
Love It or We'll Make It Right
We take pride in every product we create. Any issue, any time—we are committed to your complete satisfaction.
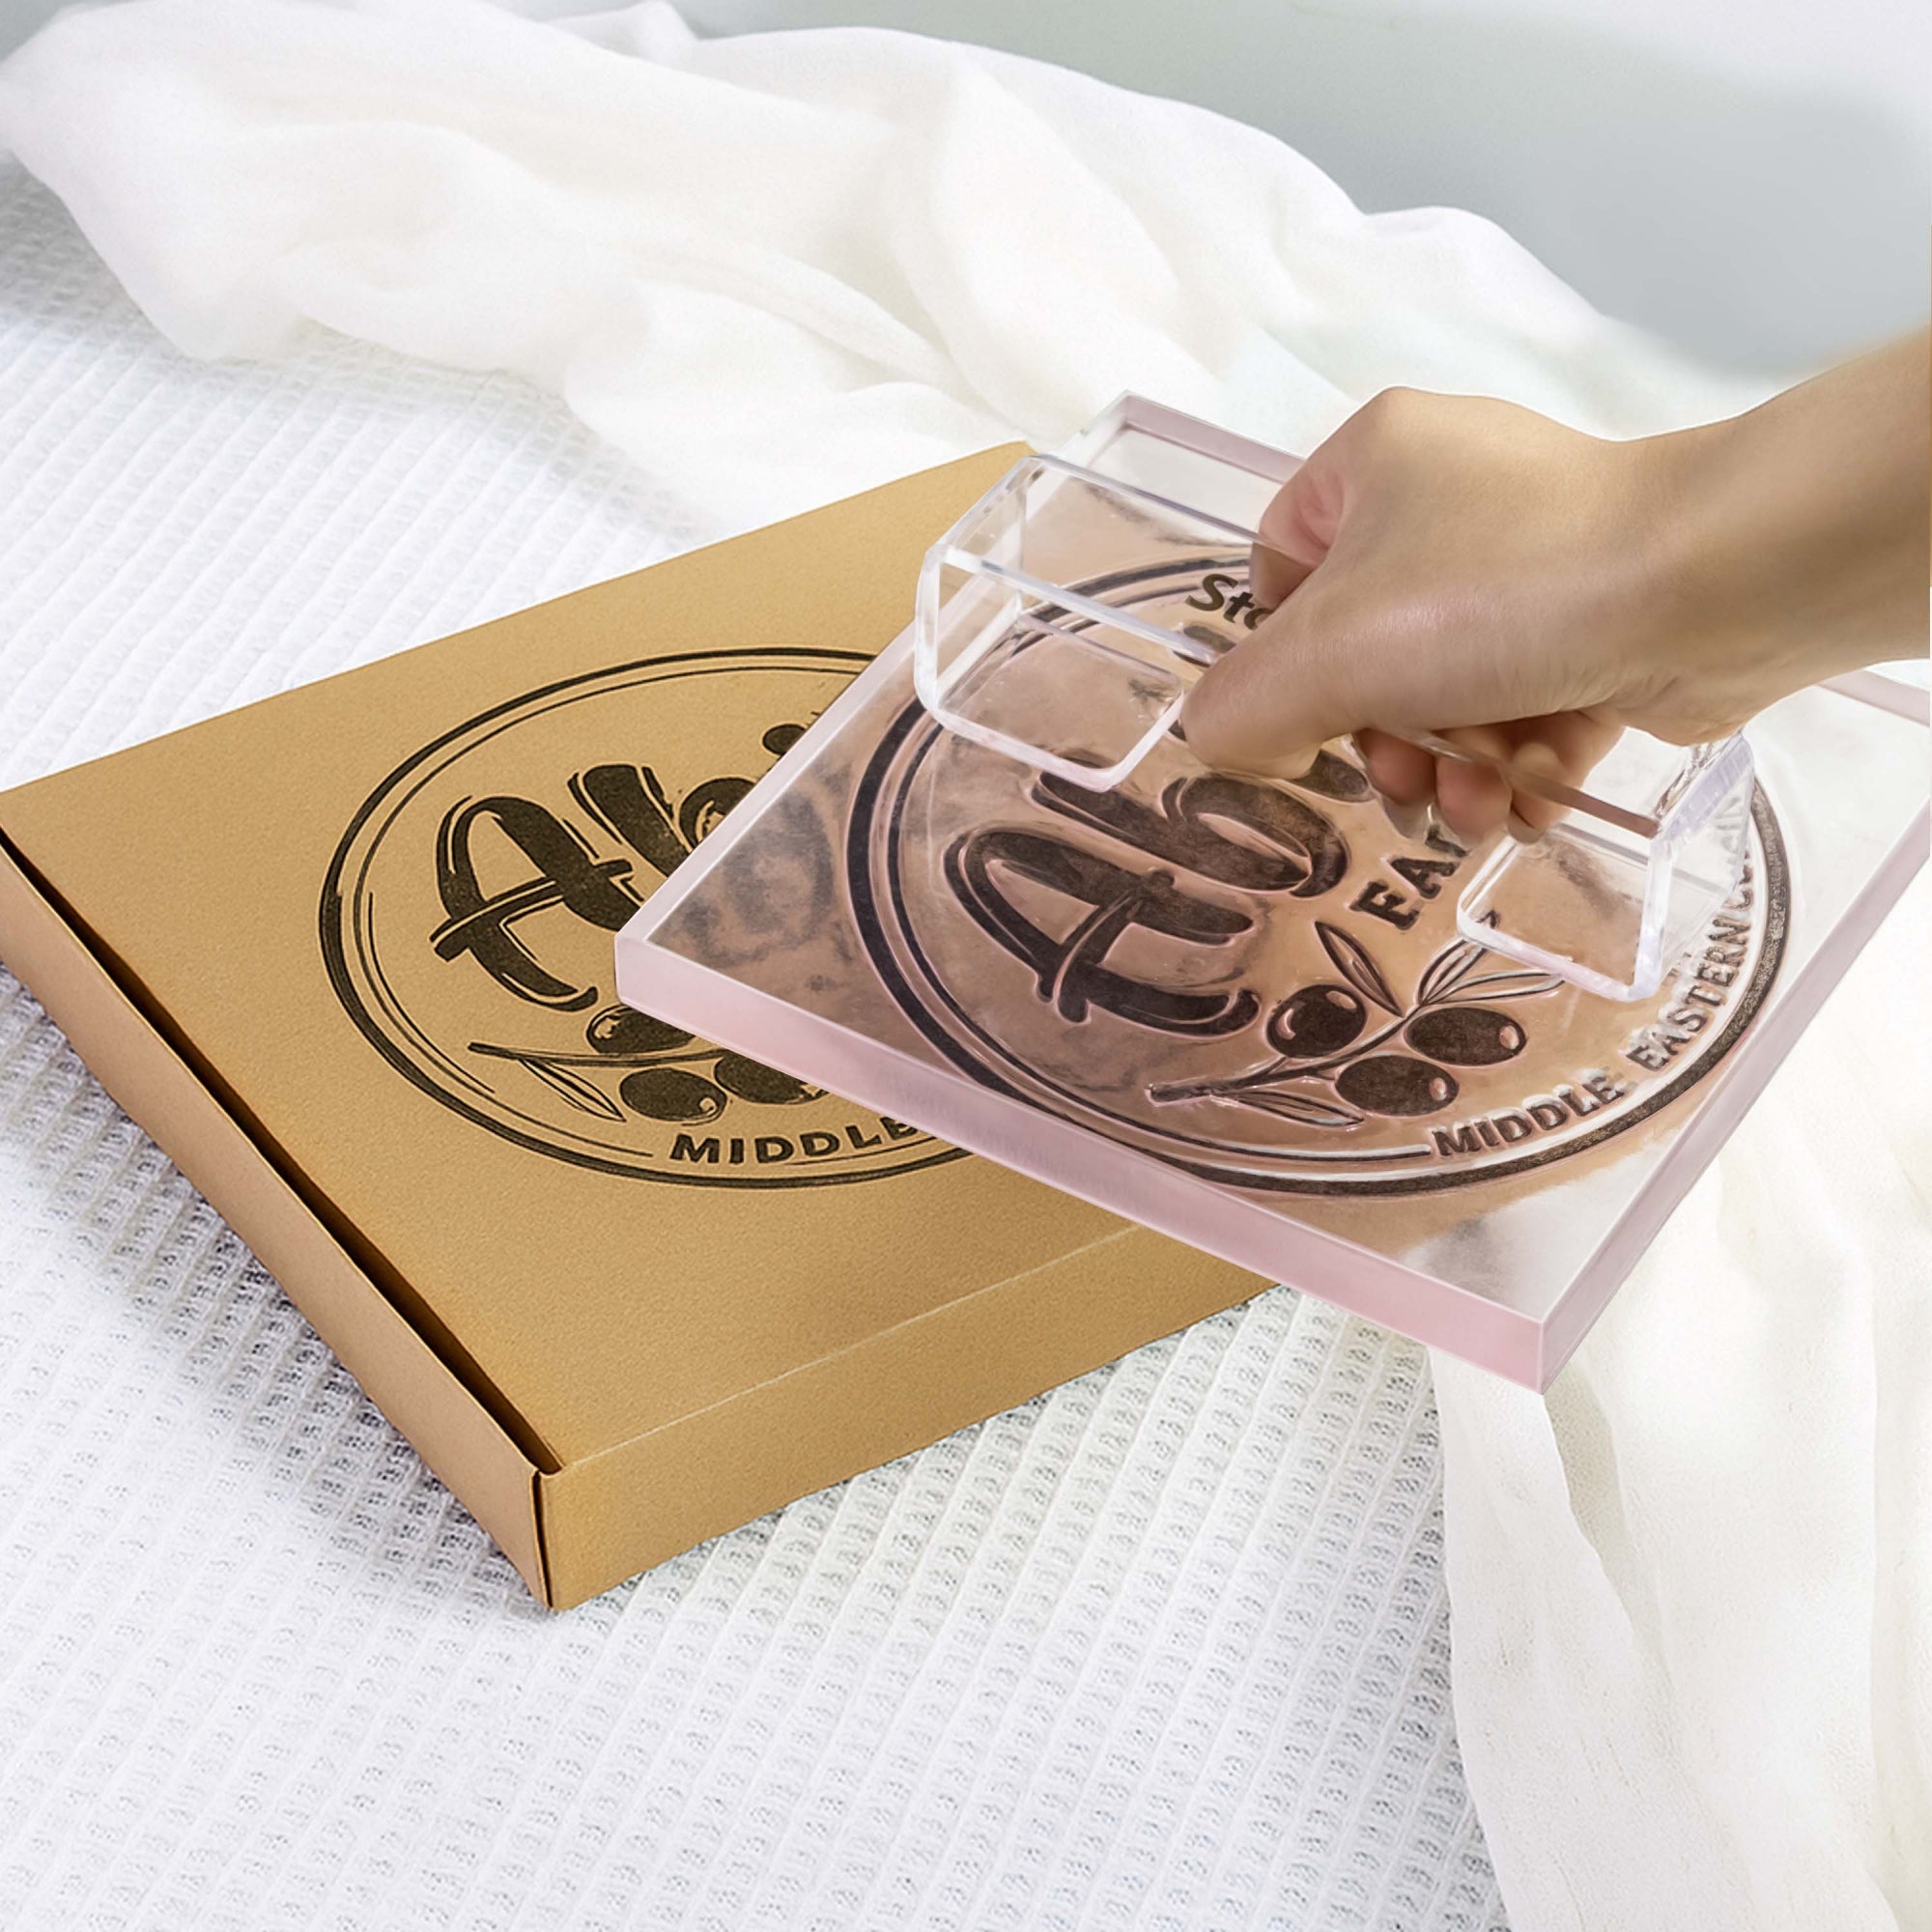
Quality & Craftsmanship
The Stamprints Difference: Design, Precision, Quality

Premium Customization

Precision Engraving

High-Quality Materials

Authentic Designs
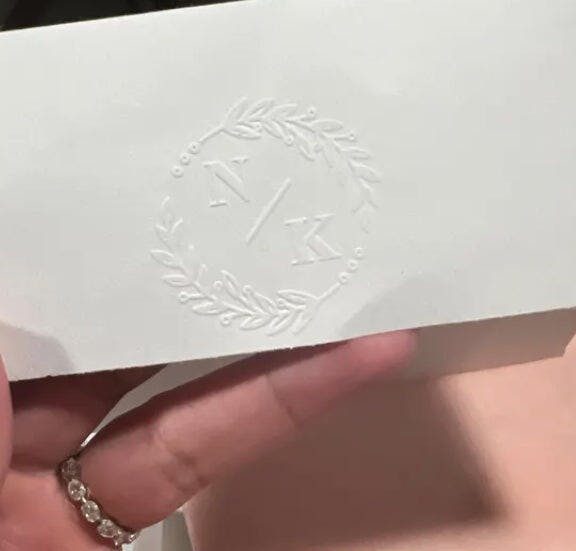
Usage Scenarios
Ways to Use Your Embosser

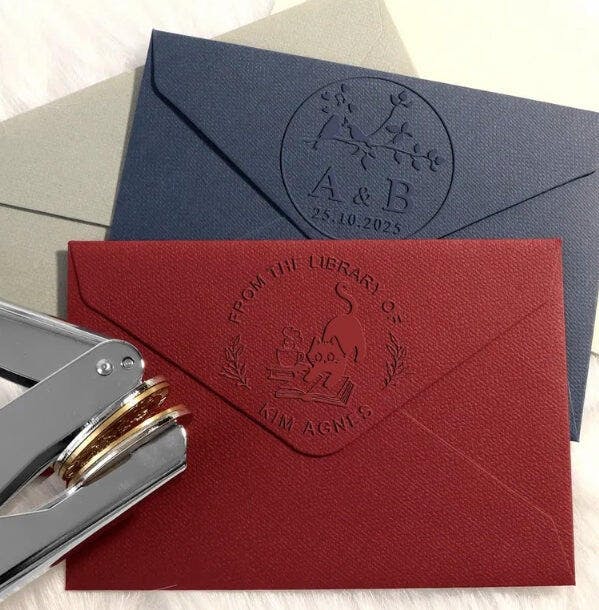
Invitations

Book Collection

Greeting Cards
Custom Process
Your Vision, Perfected: Unlimited Pro Design

1. Upload File

2. Free Design

3. Review & Approve

4. Production

5. Fast Delivery
Assembling Your Embosser
Step 1
Remove the die plate from the end of the embosser gently.
Step 2
Pinch the die together and inserting into the holder with the circle side facing up.
Step 3
Pinch the die together and make sure the two indents at the bottom of the die snap into the embosser.
Step 4
Place the paper between the die correctly, then press down firmly with the handles.

Why Choose Stamprints
| Feature | Stamprints | Marketplace | Local Shop |
| Customization | Premium | Basic | Premium |
| Design Service |
|
|
|
| Engraving |
|
|
|
| Material | Brass | Plastic | Brass |
| Price | $50-$100 | $30-$90 | $200+ |
| Delivery | 7-14d | 15-30d | 30d+ |
| Customer Service | 24/7 Online | Platform Support | In-person |
| Return Policy | 30 Days returns | Non-returnable | Case by case |
| Warranty | Lifetime | None | 1 Year |