


Custom Brass Branding Iron: Heating Stamp for Food, Wood & Leather
Custom Brass Branding Iron: Heating Stamp for Food, Wood & Leather
SKU:P6949-00010
When choosing an embosser, you might focus on pattern design, die material, or precision—but don’t overlook orientation. Embosser orientation is crucial, as different types suit various scenarios.
This guide explores embosser orientation in depth, helping you select the right embosser and use it effectively.
What is Embosser Orientation?
Embosser Orientation refers to the Orientation of the pattern on the page during embossing, which is the way the pattern is presented. Simply put, Orientation determines from which Orientation the embossed pattern enters the page and at what angle it is displayed.
The Orientation of an embosser is usually divided into four types: top, bottom, left, and right.

Why does an embosser need to consider Orientation?
The Depth Limitation of Embossers
If you need to emboss deeper, consider a desktop embosser.

Adaptability to Usage Scenarios
In addition to the mechanical design limitations, the choice of Orientation is also influenced by the actual usage scenario. Different papers (such as documents, letters, cards, etc.) have different applicable Orientations.
For example, award certificates are often laid out horizontally, and the embossed badge or decoration needs to stay consistent with the Orientation of the text, so bottom Orientation is often the preferred choice.
Choosing the Correct Embosser Orientation that suits you
Embosser orientation depends on the usage scenario and design intent.
For example, certificates, envelopes, and documents typically use bottom orientation, as the pattern is often embossed at the bottom of the stationery. Books, contracts, and brochures suit right orientation, while letterheads and business cards work best with top orientation. Meanwhile, an artistic card might benefit from side orientation to ensure the embossing range covers the effective area.
Below are common choices for embosser orientation:
| Usage Scenario | Embosser Orientation |
|---|---|
| Certificates, Tickets, Documents | Bottom Orientation |
| Books, Packages, Official Use | Right Orientation |
| Letterhead, Name Cards | Top Orientation |
If you’re still struggling with choosing an Orientation? Feel free to tell Stamprints your needs, and we’ll solve it together!
Product Details
Product Details
Create crisp, recognizable branded impressions on food, wood, leather and other suitable surfaces with a custom solid brass branding iron made from your own logo, artwork, initials or design.
Each brass head is precision CNC-engraved to a 3 mm depth and contour-cut to match your artwork. The extra-thick 10 mm brass plate stores heat efficiently, helping produce clear, repeatable impressions across multiple uses.
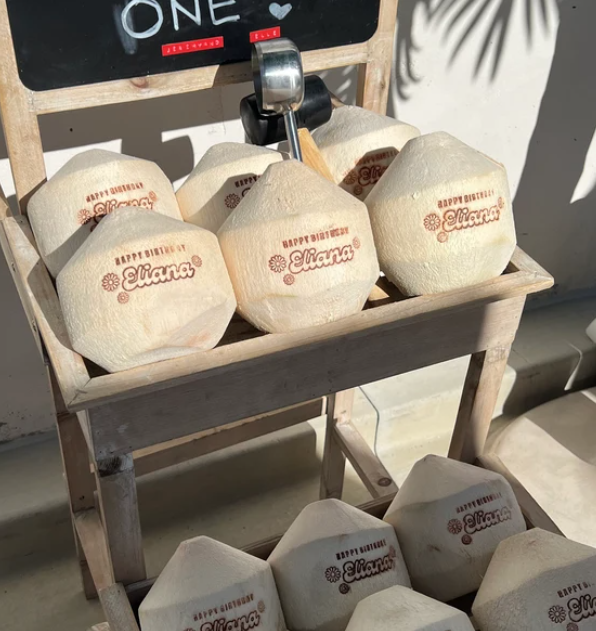
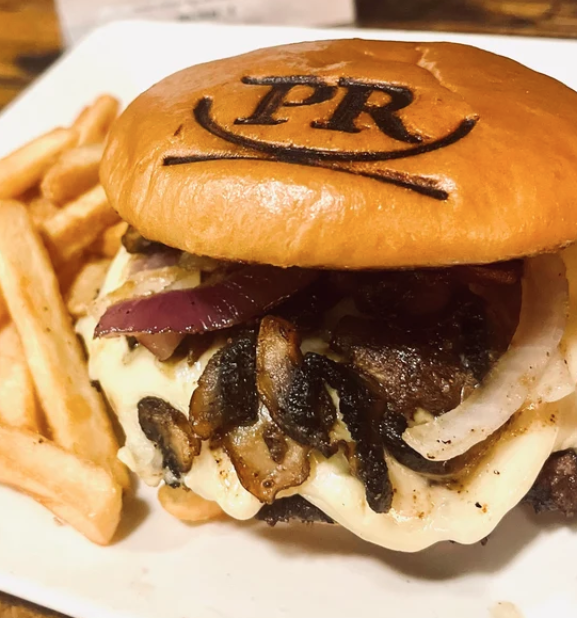
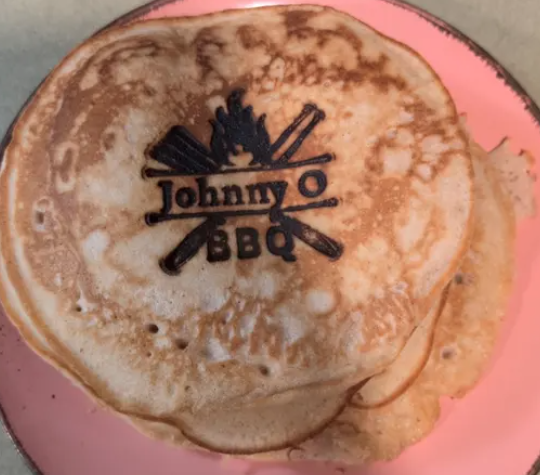
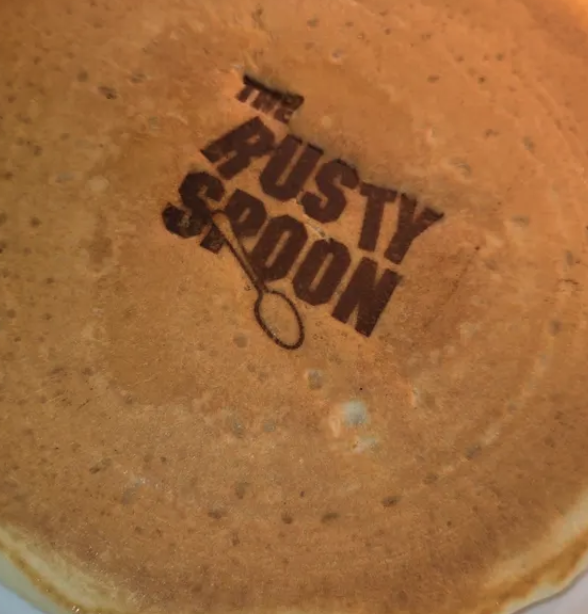
Whether you're branding artisan bread, burger buns, cakes, handmade woodwork or leather goods, your logo becomes part of the finished product—not just the packaging.
◎ Engraving Depth: 3 mm Deep-Cut CNC Engraving
◎ Brass Head Thickness: 10 mm
◎ Shape: Custom Contour-Cut
◎ Available Sizes: 30 / 40 / 50 / 60 / 70 mm(Open to customization)
●Certified Food-Safe:Made with lead-free brass and a stainless steel rod, making it suitable for food-branding applications such as bread, buns, burgers and pastries when properly used and cleaned.
●High-Definition Marking:CNC-engraved with a superior 3mm depth to create razor-sharp, legible imprints that stand out even on rising dough or textured crusts.
●Ergonomic Control: Features a heat-resistant hardwood handle. Choose the Curved neck for flipping burgers or the Straight neck for precise pressure on cakes.
●Superior Heat Retention: The extra-thick 10mm brass head holds heat longer than standard stamps, allowing for consistent, rapid branding during high-volume production.
Turnaround & Shipping
Turnaround & Shipping
Friendly Return Policy
Friendly Return Policy
Share this product
Love It or We'll Make It Right
We take pride in every product we create. Any issue, any time—we are committed to your complete satisfaction.
Material & Craft
The Professional Touch Your Signature Bakes Deserve

Lead-Free Solid Brass

Precision Engraving
Features
Experience Unmatched Quality in Every Impression.

Toast

Cake

Burger
Baking Stamp Quick Guide

Fire-Heated Baking Stamp Guide
① Heat: Hold the brass head over a medium gas flame for 60–90 seconds. Avoid overheating.
② Test: Stamp a scrap piece of bread to check the temperature before use.
③ Stamp: Press straight down onto the baked surface for 1–2 seconds, then lift straight up.
④ Reheat: Reheat for about 10 seconds after every 3–5 stamps.
Tip: Larger stamp designs may require longer heating times.

Electric Baking Stamp Guide
① Install: Securely attach the brass stamp head before plugging in.
② Set Temperature: Adjust the temperature according to the material.
③ Preheat: Allow the stamp to preheat for 3–5 minutes before use.
④ Stamp: Press straight down for 1–2 seconds, then lift straight up.
Tip: Test on a scrap piece first and adjust the temperature as needed.
Temperature Guide
Leather: 250–535°F (120–280°C)
Foil Stamping: 265–285°F (130–140°C)
Plastic & Synthetic: 355–570°F (180–300°C)
Wood Products: 570–660°F (300–350°C)
Bread & Cake: 660°F (350°C)
Coconut & Bamboo: 660–715°F (350–380°C)
Tip: Start with a lower temperature and adjust as needed.