


Wax seal stickers have been a symbol of elegance and personalization for centuries, and they continue to add a touch of sophistication to various projects today. From adorning wedding invitations to sealing handwritten letters, these timeless embellishments are the perfect way to elevate your stationery game. In this comprehensive guide, we'll dive deep into the art of creating custom wax seal stickers that will leave a lasting impression on your recipients.
Materials & Tools:
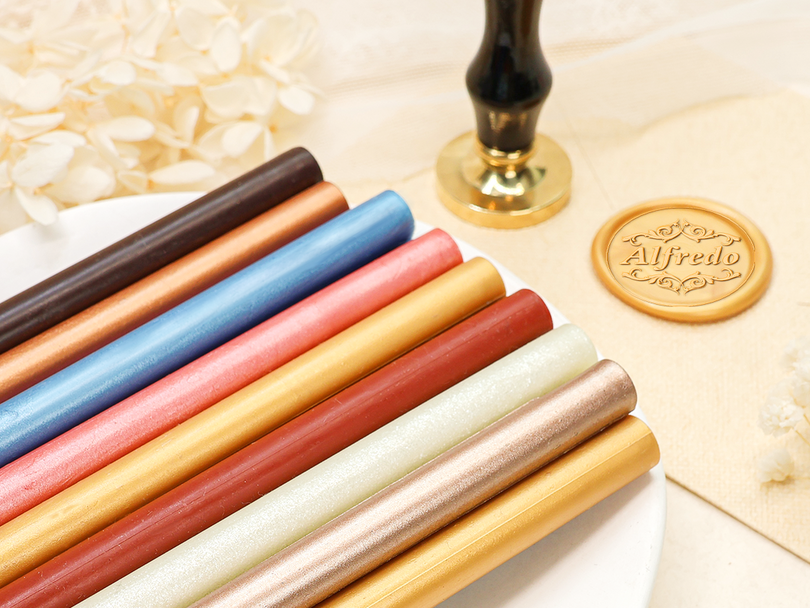
- Wax beads or wax sticks
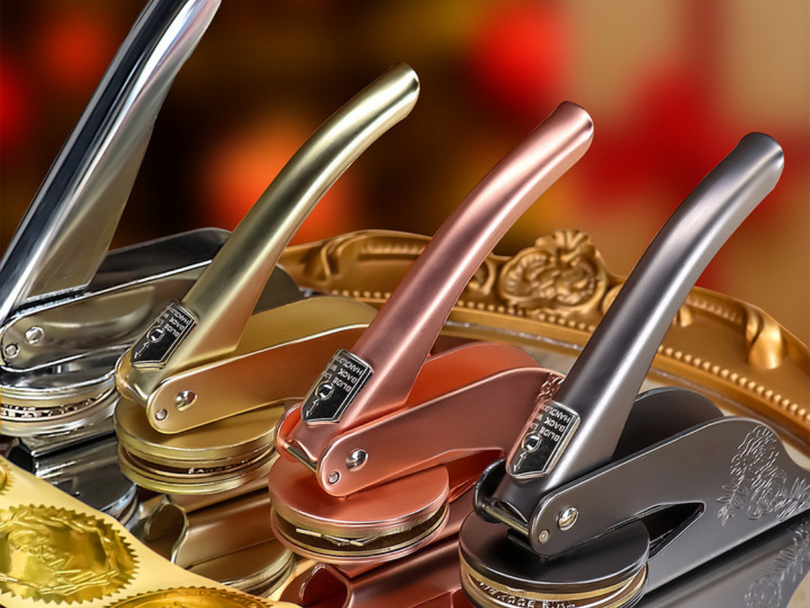
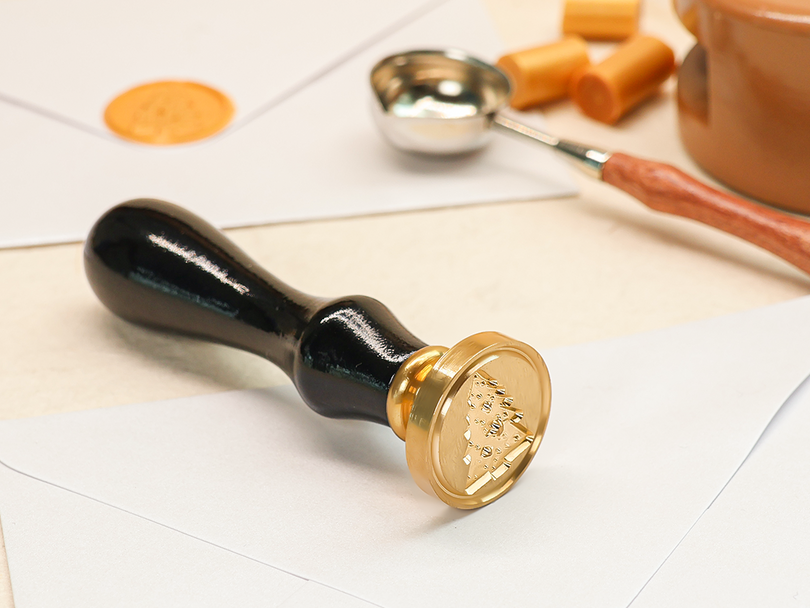
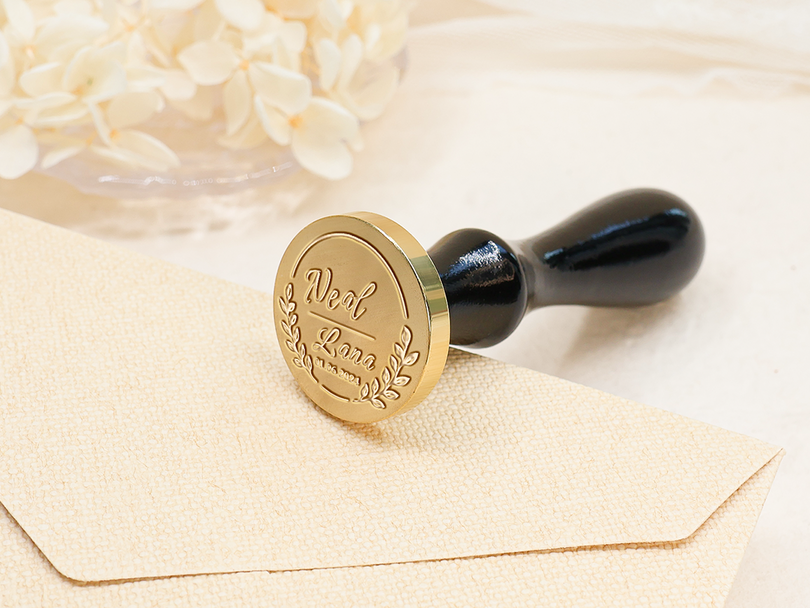
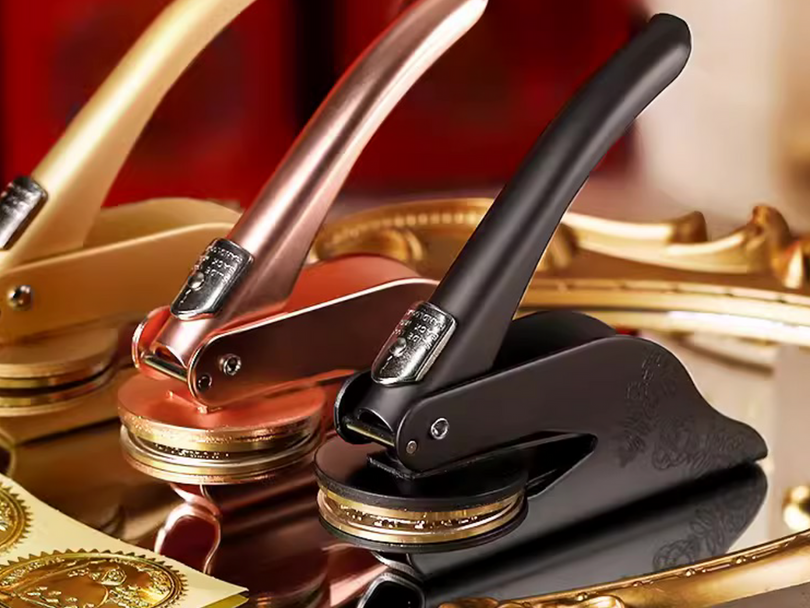
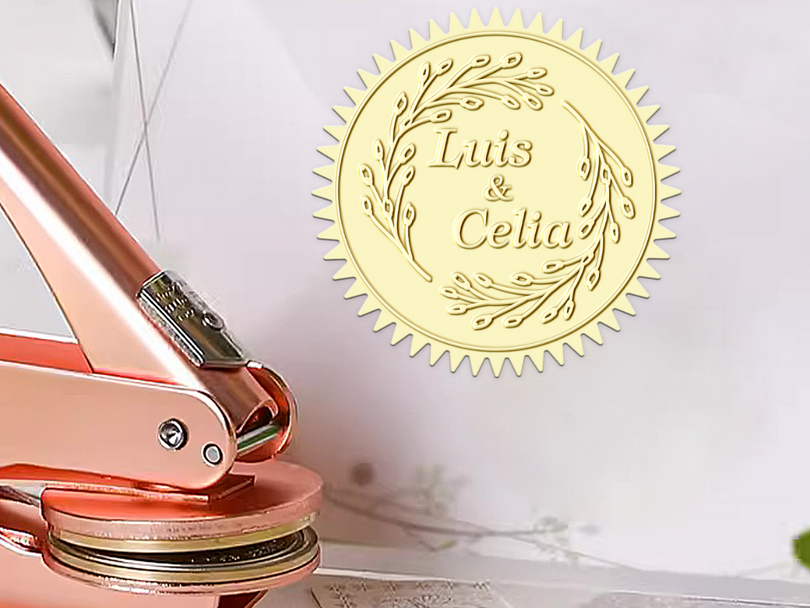
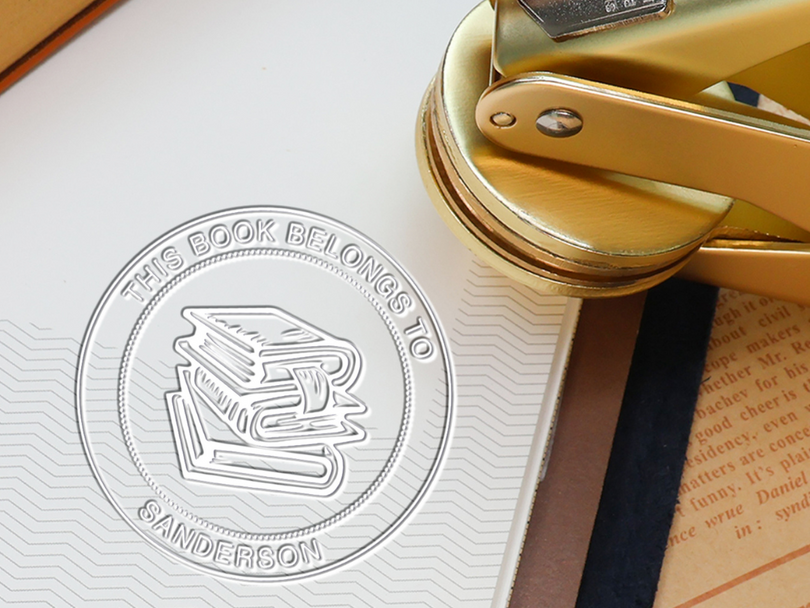
- Seal stamp with your desired design
- Non-stick baking paper or parchment paper
- Heat source (melting spoon and candle, glue gun, or wax melting pot)
- Silicone mat or wax paper for cooling
- Tweezers or a wooden pick
- Scissors
Step-by-Step Process:
1. Prepare your workspace: Lay out the non-stick baking paper or parchment paper on a flat surface. Make sure you have all your materials and tools within reach.
2. Melt the wax: If using wax beads, place a few beads in a melting spoon and hold it over a candle flame. If using wax sticks, use a glue gun or a wax melting pot to melt the wax. Remember to melt enough wax for the number of stickers you plan to create.
3. Pour the wax: Carefully pour the melted wax onto the non-stick baking paper or parchment paper, forming small, even circles. Space the wax circles at least an inch apart to avoid merging.
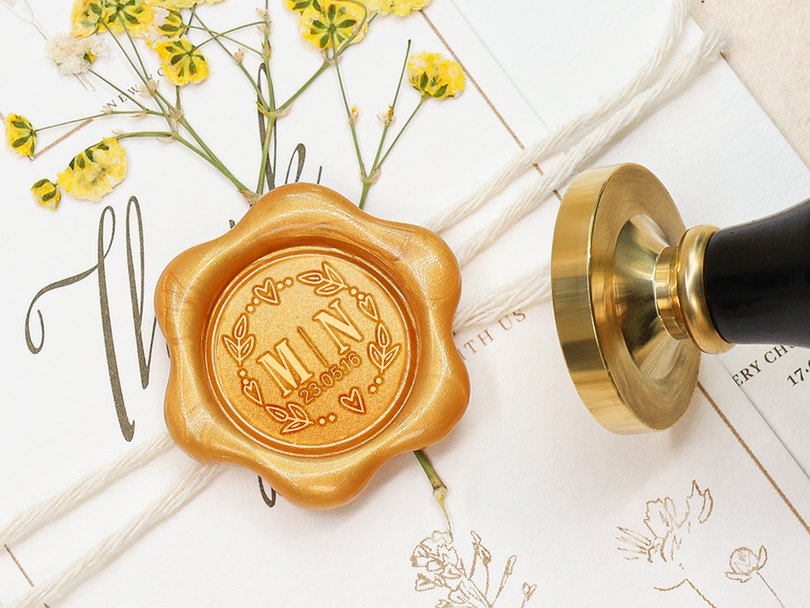
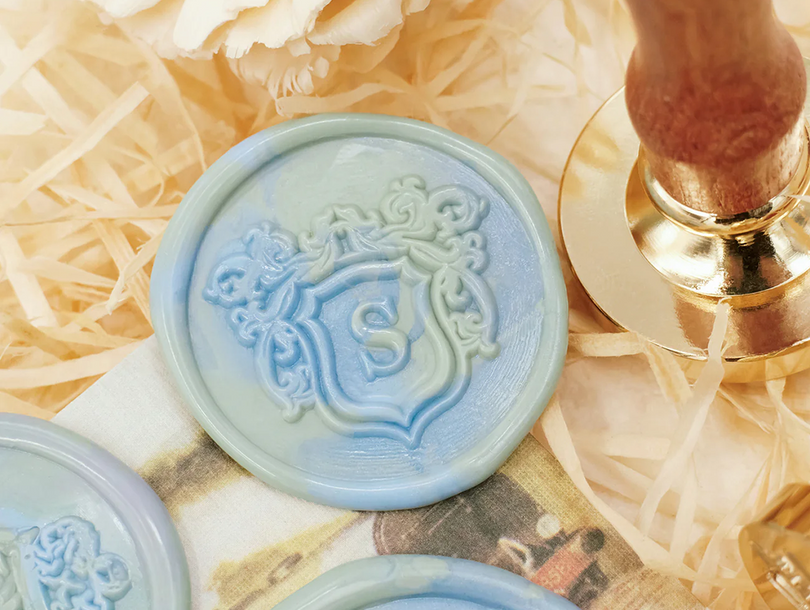
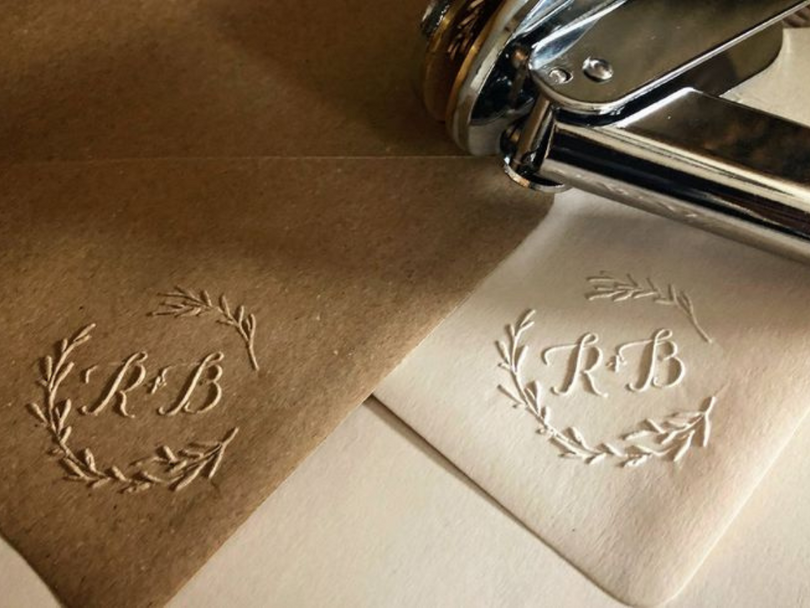
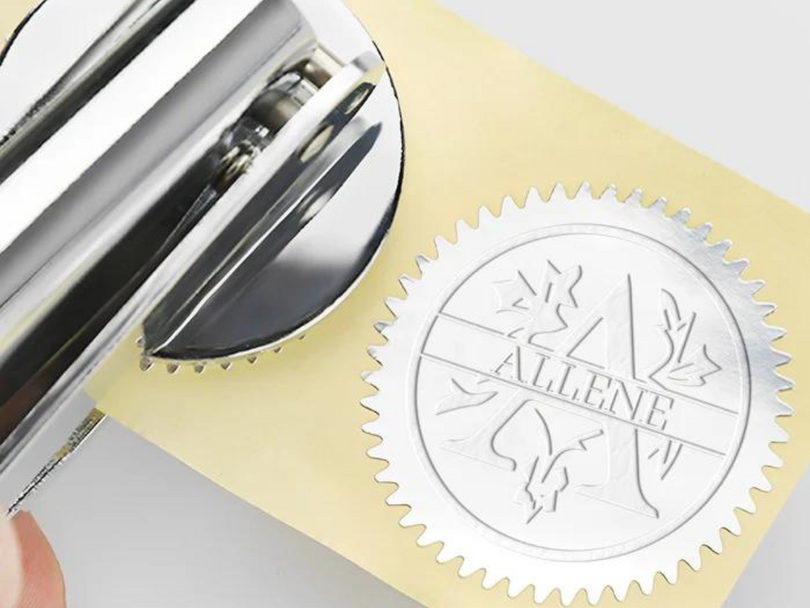
4. Press the seal: Allow the wax to cool slightly for a few seconds, then gently press your seal stamp into the wax, holding it steady for a few more seconds before lifting it straight up. Repeat this process for each wax circle.
5. Cool and peel: Let the wax seals cool completely on the non-stick surface. Once they are cool and firm, carefully use tweezers or a wooden pick to lift the edges and peel them off the paper.
6. Trim the edges: If necessary, use scissors to trim any uneven or excess wax from around the edges of your wax seal stickers.
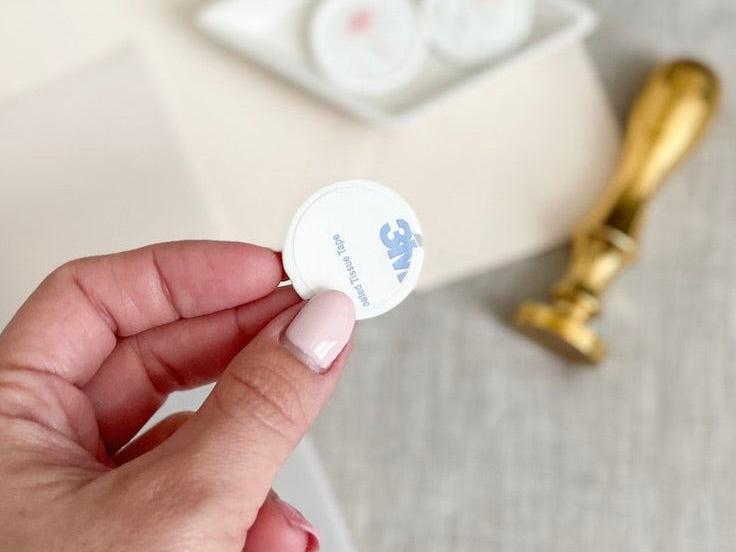
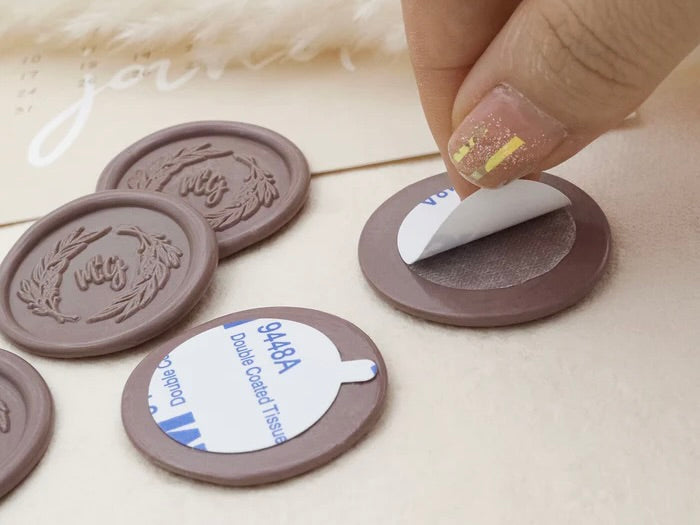
Choose the right adhesive: To transform your wax seals into stickers, you'll need to choose an appropriate adhesive backing that will ensure a strong bond between the seal and your desired surface. Some popular adhesive options include:
- Double-sided adhesive dots: These are small, round, and pre-cut adhesive pieces that are easy to apply. They are suitable for most paper surfaces and offer a clean, mess-free option.
- Double-sided adhesive sheets: These sheets can be cut to size, providing a customizable adhesive backing for your wax seals. They work well on various surfaces, including paper, cardboard, and some fabrics.
- Glue dots: Available in a dispenser or on a roll, glue dots are another mess-free adhesive option. They are slightly thicker than adhesive dots and offer a strong bond on a variety of surfaces.
- Adhesive transfer tape: This type of adhesive is a clear, double-sided tape that offers a strong bond for your wax seals. It can be cut to size, making it a versatile option for different projects.
To choose the right adhesive for your wax seal stickers, consider factors such as the surface you'll be applying the stickers to, the desired bond strength, and ease of use.
8. Apply adhesive backing: Once you've chosen the appropriate adhesive, apply it to the back of each wax seal. For adhesive dots or glue dots, simply press the wax seal onto the adhesive, then peel off the backing and stick it to your desired surface. If using adhesive sheets or transfer tape, cut the adhesive to size and apply it to the back of the wax seal. Remove the protective backing before sticking the wax seal to your project.
As you can see, creating your own wax seal stickers is a rewarding and enjoyable process. With a bit of practice and the right tools, you'll be able to add a touch of elegance and personalization to your invitations, stationery, and various crafts. Now that you're equipped with the knowledge and techniques, it's time to let your creativity run free and explore the endless possibilities that wax seal stickers offer. Happy crafting, and may your projects be graced with the charm and sophistication of your custom wax seal stickers!