The Endless Possibilities of Rubber Stamps
Hello, fellow makers! I’m Kristi, a craft and memory keeping enthusiast with a passion for infusing heart and soul into everything I create. As an avid DIYer, I’m always on the hunt for tools that make personalized projects a breeze while allowing my artful style to shine through. Rubber stamps rank at the top of my list.
These simple supplies have earned a permanent place in my creative space because they give me an easy way to add handmade charm to all I do. Whether I’m designing custom stationery for a friend, decorating my bullet journal, embellishing scrapbook pages or styling my home, rubber stamps are my way to quickly create touches that make each piece uniquely mine.
Rubber stamps are one of my most trusted tools for bringing handmade personality to any project. I wanted to share my love of stamping with you and inspire you to dive into the creative adventures these supplies make possible. As someone who values originality and thrives on DIY bliss, I can promise you these little tools will become your addiction too! They make it delightfully simple to produce one-of-a-kind pieces without hassle or limits.
In this post, I want to share how blissfully simple it is to carve your own custom stamps as well as the countless ways I use them in my creative haven of a studio! These tools give me freedom to spread homemade joy through custom pieces tailored to any occasion or recipient. My hope is that rubber stamping will become your outlet for crafting with meaning and heart. Adventures in DIY bliss await!

Crafting Custom Stamps: Simple DIY Bliss
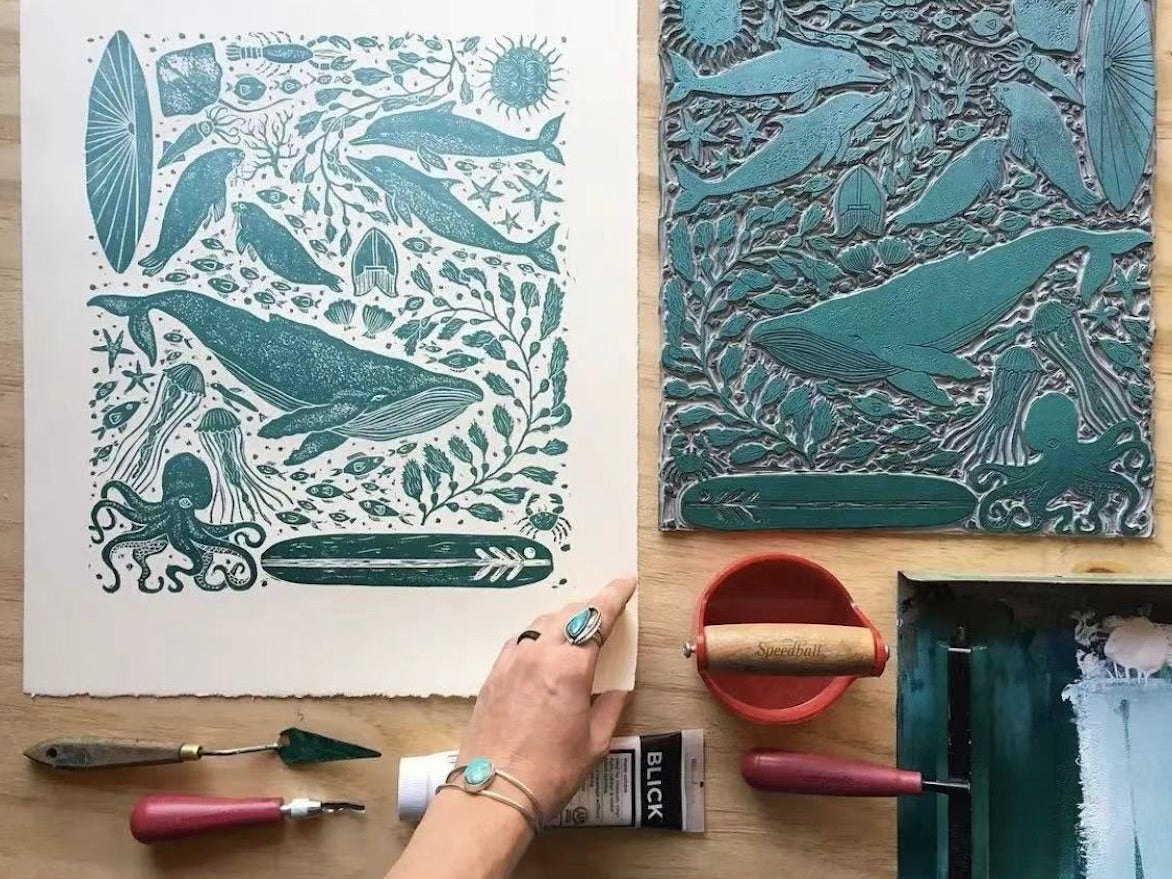
Creating your own rubber stamps is a blissfully simple DIY adventure. All you need is stamp carving rubber, an X-Acto knife, and the vision in your mind. Trace your design onto the rubber, cut away excess material around the sides and any negative space, then voila—you’ve got handmade tools to spread homemade joy!
To craft custom stamps, gather these basic supplies:
● Rubber stamp block: Buy stamp rubber that’s easy to cut. Popular options include Speedy-Cut and Stamper’s block material.
● Cutting mat: A self-healing mat protects your work surface.
● X-Acto knife: Use a sharp craft knife suited for precision cutting. X-Acto is trusted brand.
● Pencil or stylus: For transferring your design onto the rubber block.
● Sanding pad: To smooth any rough edges once cutting is complete.
Next, follow these simple steps:
1. Decide on your stamp design. Find inspiration in your craft or online images. Or handwrite text, numbers or your signature to create a customizable text stamp.
2. Transfer your design to the rubber block. Use a pencil to trace the design you want to cut. Flip the block over to see your design in reverse—how it will stamp. A Laser Printing Rubber Stamp Animation Material Paper would help. Make any needed changes.
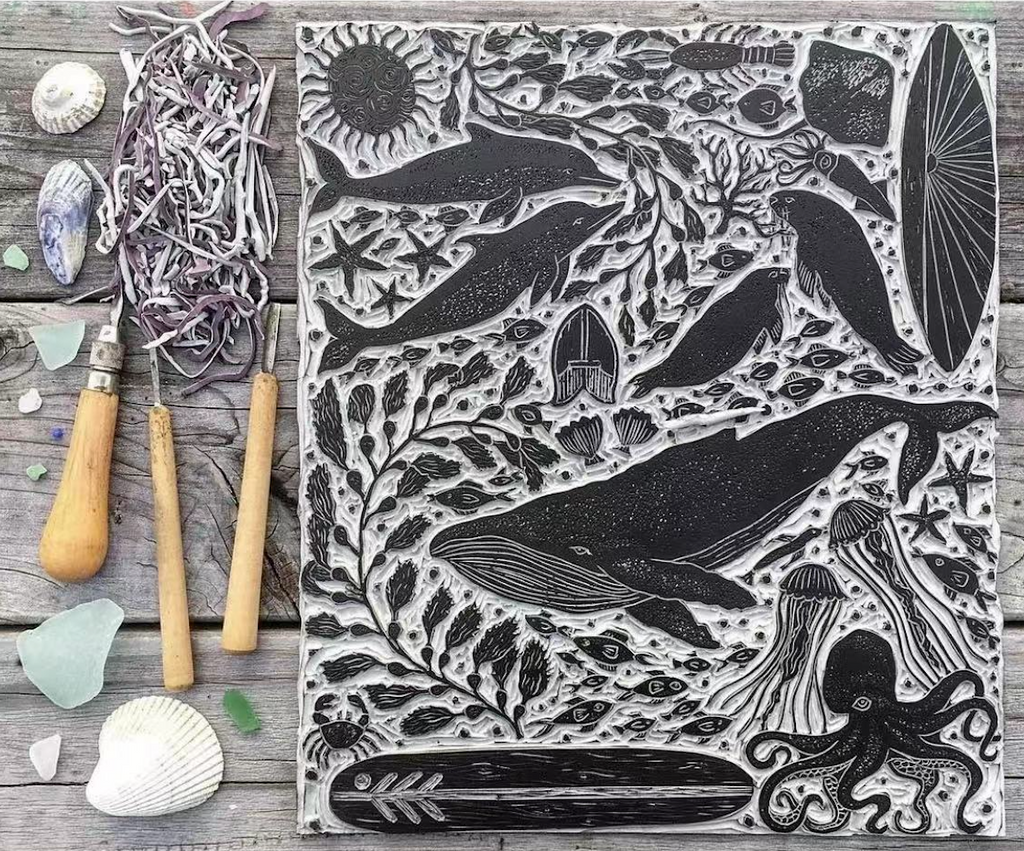
3. Carefully cut around the outer edges of your design. Use an X-Acto knife and cutting mat. Hold the knife at a 45-degree angle, moving slowly and cutting away from you.
4. Cut away negative space in your design. Remove rubber fragments you do not want inked. Wipe away any eraser remains.
5. Check how your stamp inks. Lightly ink the stamp and press onto scrap paper. Not deep enough? Keep cutting. Remove only tiny bits of rubber at a time.
6. Smooth rough edges by sanding. Gently rub a fine-grit sanding pad over outer edges and any remaining rough spots. Wipe away dust with tack cloth.
7. Use your stamp on projects! Apply ink to your custom stamp and press firmly onto stationery, papercrafts, home decor and more. Get creative with different inks and materials.
8. Seal (optional). For a firmer stamp, apply a sealant like Mod Podge or acrylic sealer. Let dry completely, 2 to 3 coats. Sealant not required but will extend the life of your stamps.

Elevate Your Stamp Carving: The Key to Detail and Precision
Two essentials will enhance your custom stamp carving and take your skills to new heights: proper lighting and magnification. Together, these tools make it possible to see every nuance of your design and cut even the finest details with precision.
Lighting is key. When transferring your design to the rubber block, you want to be able to see its entirety clearly. A bright task lamp or desktop light will illuminate your work area, allowing you to make sure every element is etched the way you envision it. Trust me, good lighting makes a substantial difference. Just see how it enabled me to carve this anchor stamp, bleached out for capture but created solely under the glow of my lamp! I’ve completed many stamps on vacation thanks to portable task lighting. Carving on the road or anywhere creativity strikes is bliss!
Magnification provides a close-up view, making it simpler to carve intricate details. Look at the precision enabled by my magnifier lamp! I use a mounted magnifier on my craft desk. Similar options are available at supply stores or online. I also carry a compact magnifier with built-in light for mobility. It fits in my luggage so I can craft custom stamps wherever inspiration leads.
Lighting and magnification are game-changers for elevating your stamp carving skills. With these tools and practice, you’ll be designing and hand-crafting personalized stamps in no time. Let your creativity be your guide. And once your custom tools are complete, stamp to your heart’s content! These handmade supplies are meant to spread homemade joy.
Here’s to lighting the way, seeing the details and crafting custom stamps with meaning. Your DIY adventures in stamp carving await—happy inking!

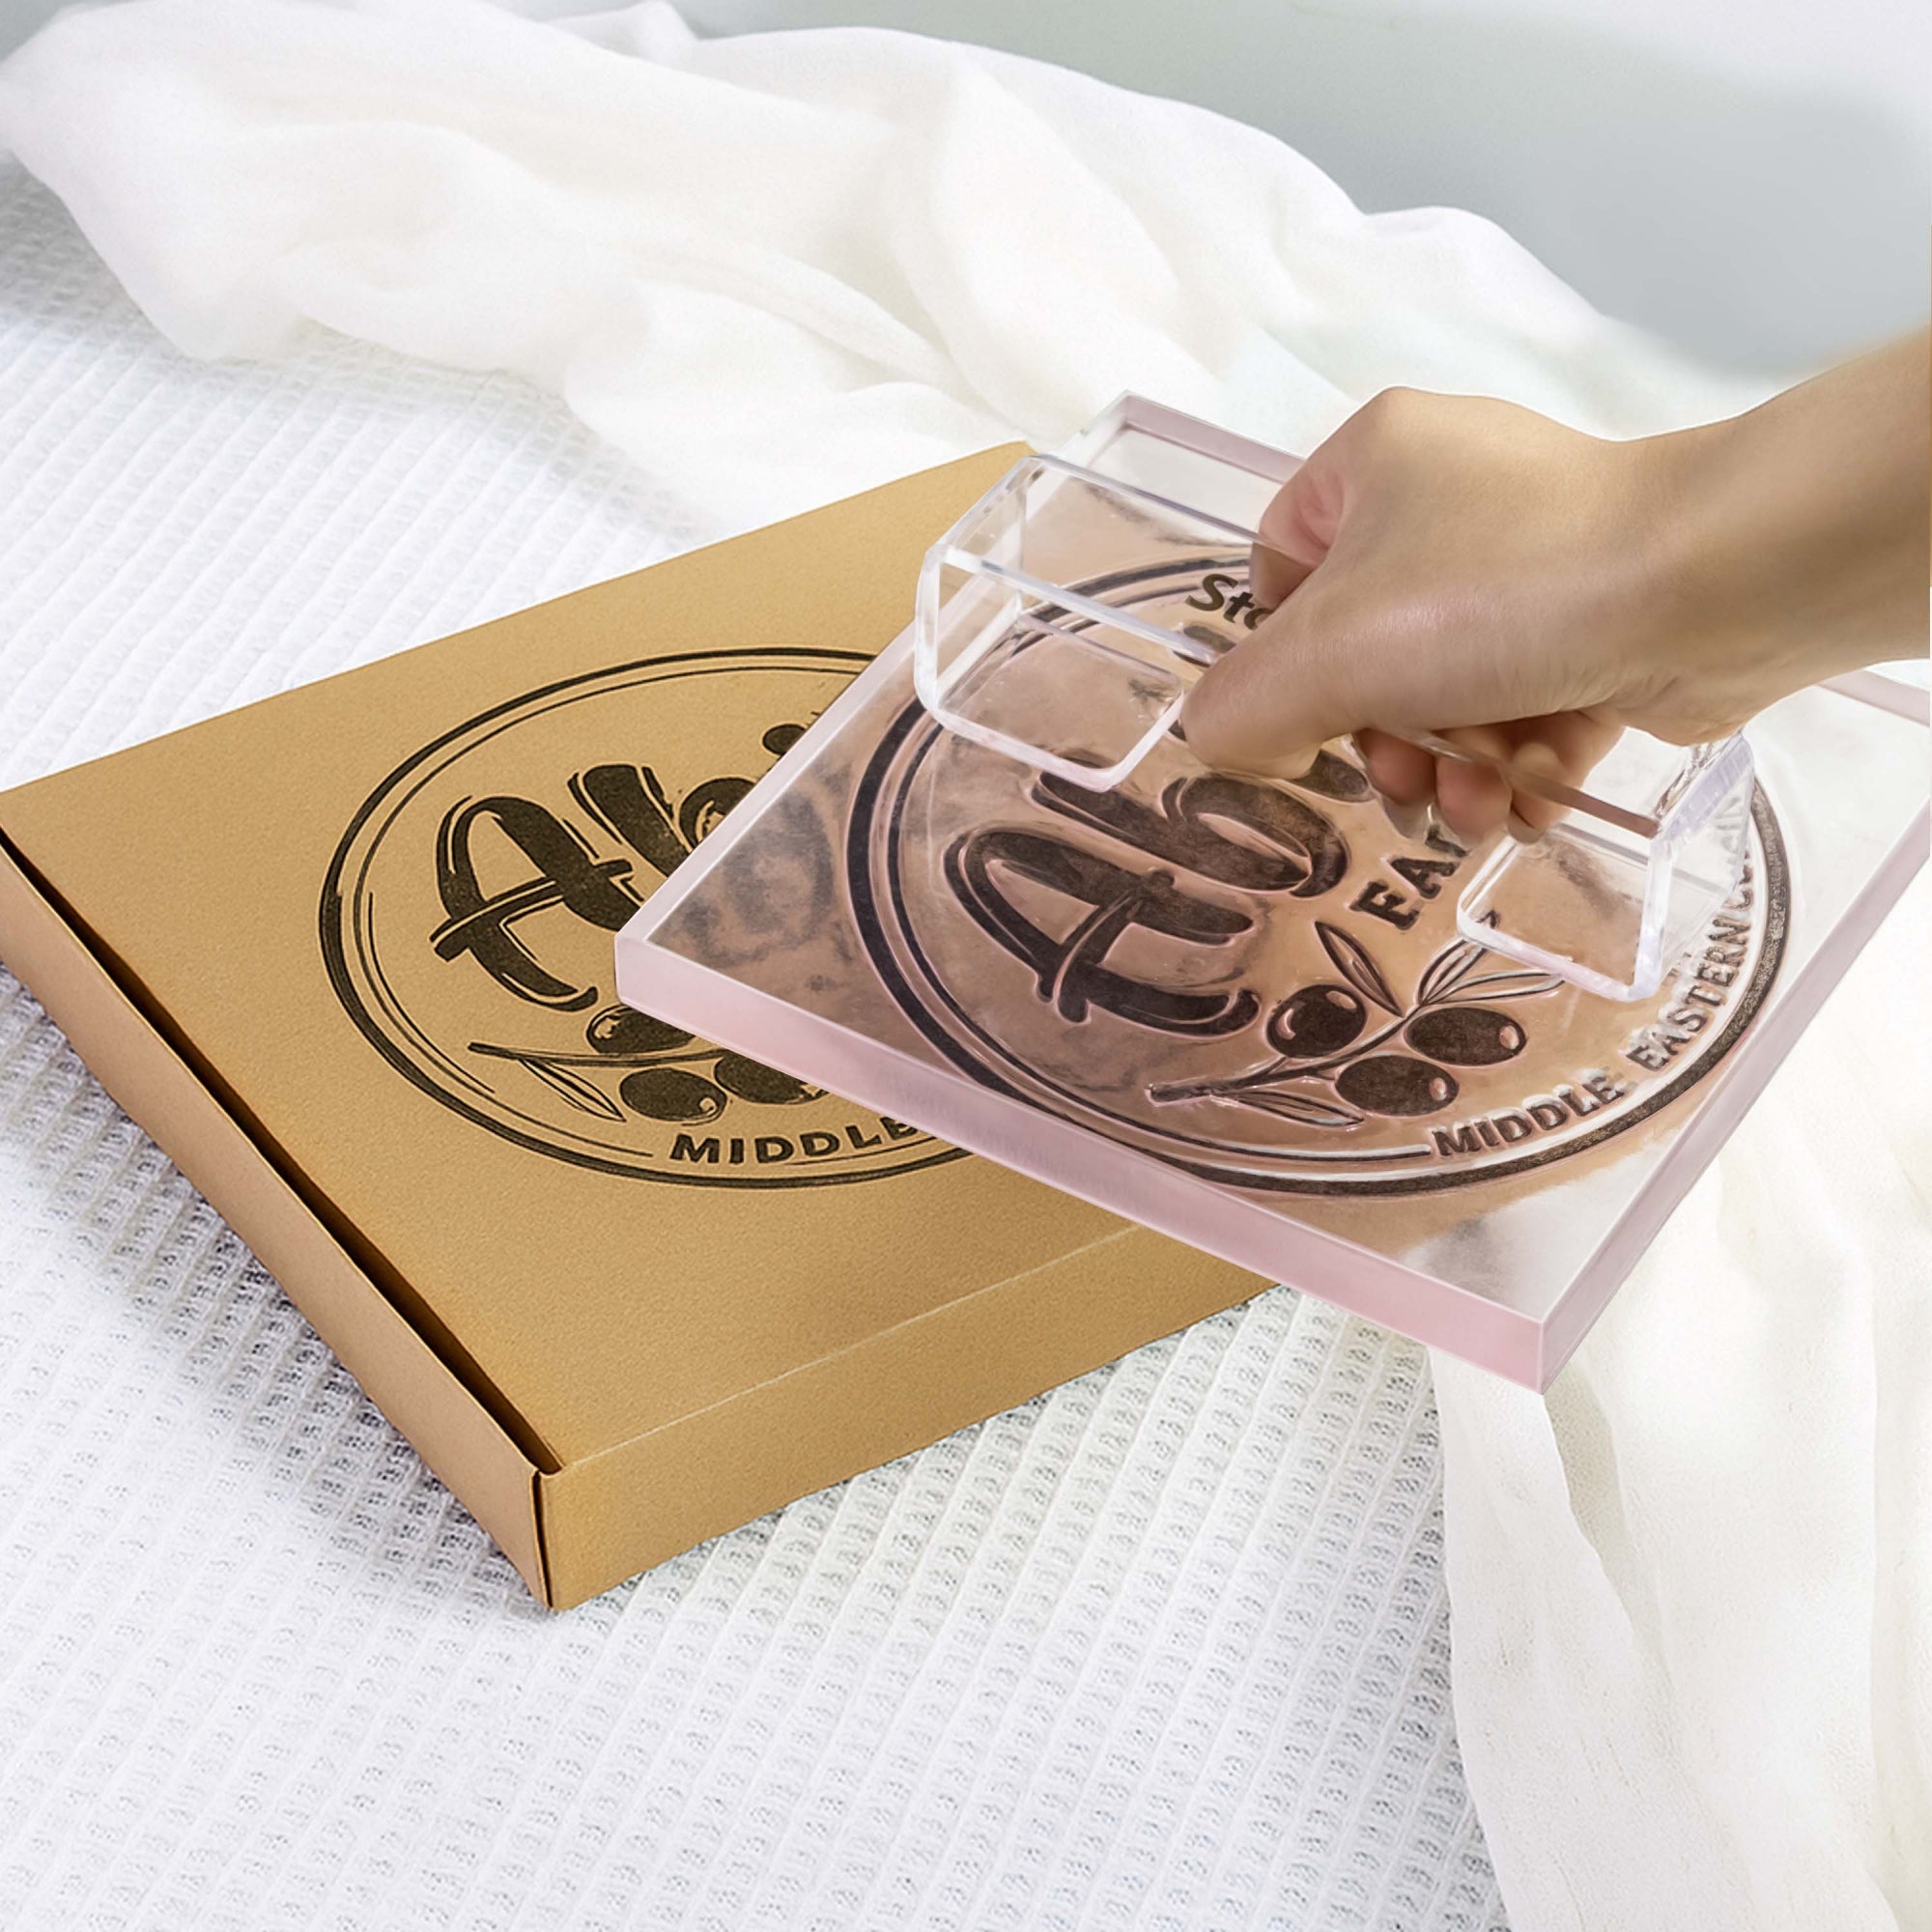
Unleash Creativity Without the Crafting: How Stamprints Makes Custom Stamps Easy
Don’t feel like hand-carving your own rubber stamps? Don’t worry—there’s an effortless solution. Check out Stamprints, a company that produces high-quality custom stamps from your digital designs or handwriting.
With Stamprints, simply upload a scan of your signature, handwritten phrase, doodle or digital design. They handle the rest, creating precision-etched stamps on durable rubber and shipping them straight to you. No cutting or carving required!
I’ve used Stamprints many times to transform my handwritten words, signatures and doodles into stamps for various projects. The results are always flawless. The stamps last for years and provide an authentic handmade feel without the DIY work.

Stamprints offers stamps starting at just $9.95 in a range of sizes. Their Big and Jumbo sizes are ideal for art journaling, stationery and other large-scale crafts. They even provide free US shipping, so no reason not to try them!
If designing stamps sounds more your speed than hand-carving them or you just prefer skipping the manual labor, Stamprints is the perfect solution. Your stamps will appear handmade but with a precision hard to achieve solo. Take my word—once you start using Stamprints, store-bought stamps won’t satisfy!
Check out Stamprints at www.stamprints.com and unleash your creativity with custom stamps made simple. Here’s to happy inking and projects personalized your way, whether handmade or designed digitally without the DIY! Stamping adventures await, friends. May the style be uniquely you!

Rubber Stamping Bliss: Usage Ideas & Inspiration Galore
Now for the fun—using your custom stamps! Stamps are my go-to for jazzing up plain bases like cardstock, wood slices or fabric in a hurry. When I want to quickly enhance a journal page, stamps are my soul mate.
Some stamp-tastic projects:
● Stamped stationery: Personalized note cards, envelopes, gift wrap. Read on for DIY ideas!

● Art journaling or scrapbooking: Add quick personal details.
● Homemade decor: For holidays, events, etc.
● Custom fabric designs: T-shirts, totes, quilts, sewing projects.

● Personalized paperwoodceramic crafts: Painted signs, pots, frames, etc.
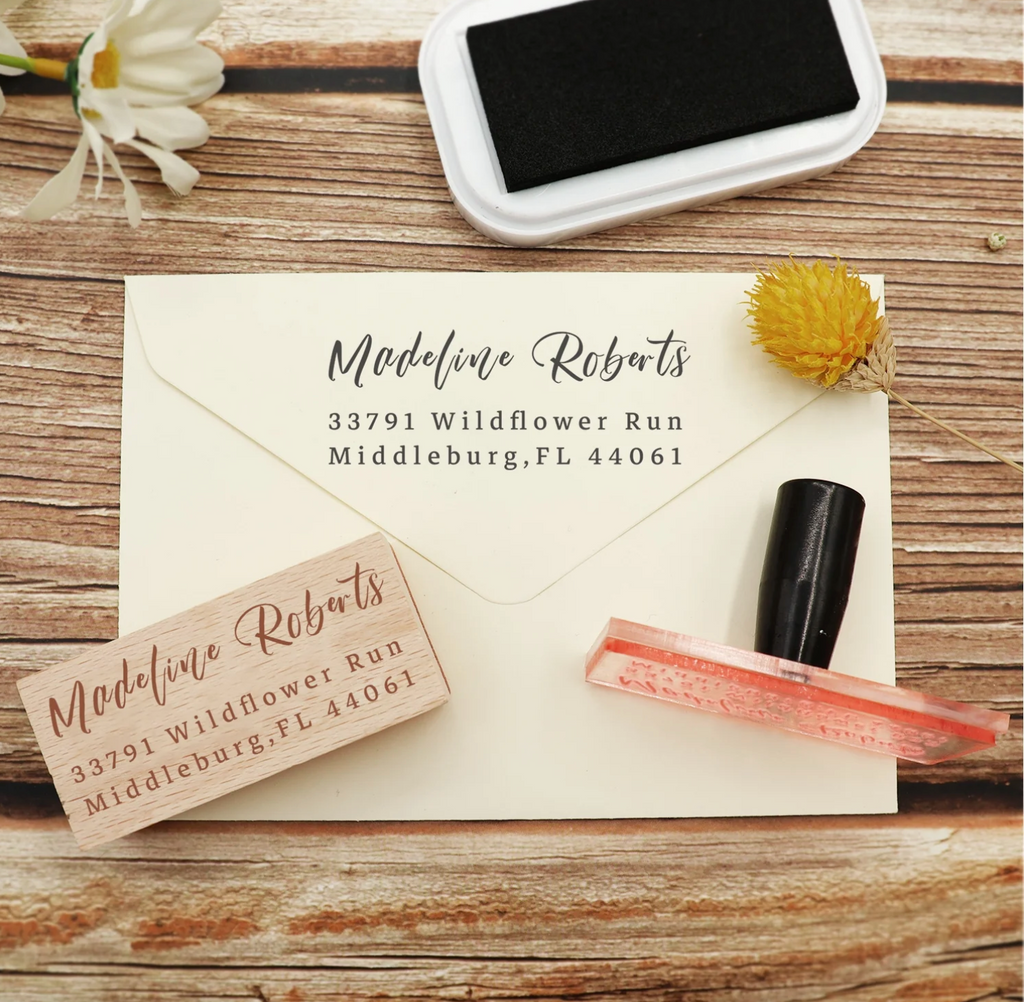
● Addressing: Invitations, labels in your handwriting.
Stamped Stationery & Gift Wrap: DIY personalized touches
Stationery and gift wrap are favorites of mine for using stamps. Quick DIY customizing adds heart to letters, cards and presents. Your loved ones will adore receiving correspondence and gifts featuring your style!
For stationery, start with high-quality blank note cards and envelopes. Test stamps on scrap paper to determine arrangement and ink color, then stamp card frontsenvelopes. Stamp envelope flapscard insides for matching designs.
For gift wrap, use plain Kraft paper, cardboard boxes. Ink stamps to create an allover pattern or border. Mixing different stamps results in a fun collage look. Add twinestringribbon—custom wrap is complete!
Keep ink pads, stamps, paper, ribbon and blank cards/wrap on hand to easily create coordinated sets for any occasion. Stamping stationery and gift wrap allows one-of-a-kind touches reflecting your personality. And you can quickly customize items for last-minute gifting! Your handmade pieces will be so appreciated.
I hope I’ve inspired you to dive into the creative bliss of rubber stamping! These little tools unlock a world of opportunities for custom details and one-of-a-kind handmade gifts. Here’s to inking, stamping, personalized style and unleashing your creativity! May projects be customized, spirit enhanced and art reimagined. Craft on, friends!
More specific tutorial can be found in this video: