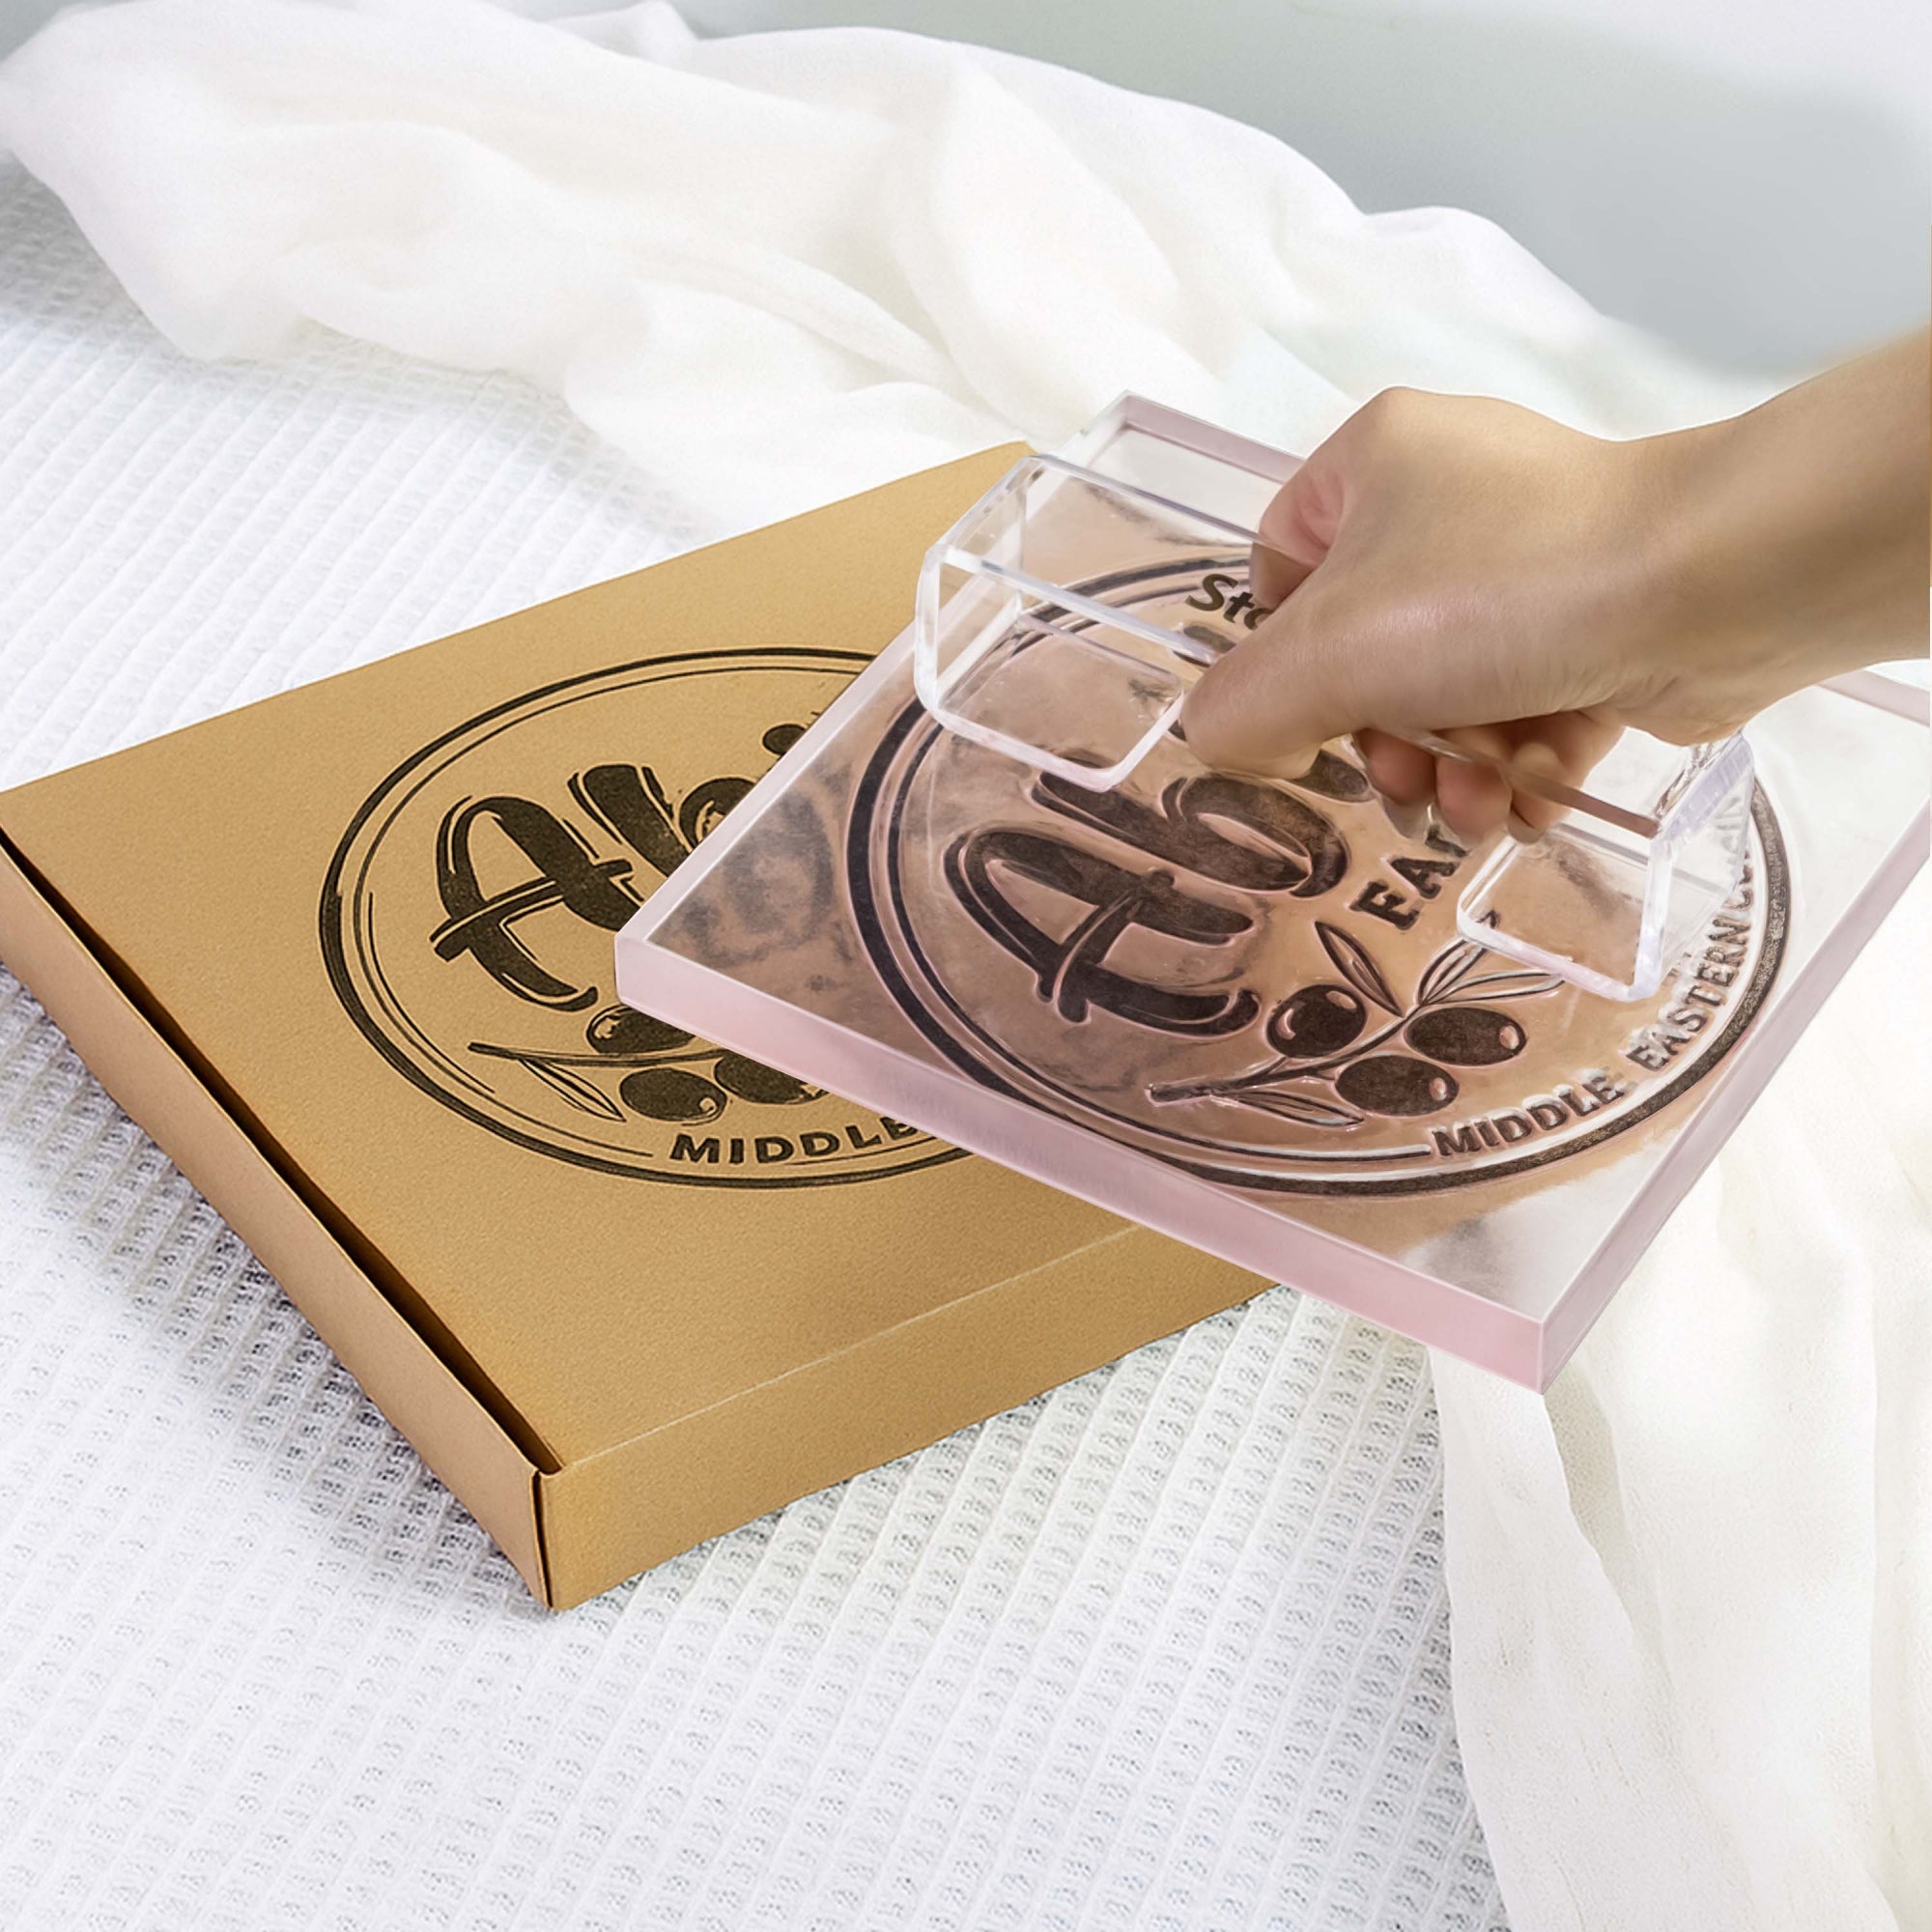
Om du är en bokälskare eller tycker om att lägga till ett personligt märke till ditt bibliotek, en anpassad bokembosser är det perfekta verktyget för dig! Det ger inte bara en unik, personlig stil till dina böcker, brev eller brevpapper utan visar också upp en raffinerad, handgjord känsla.
Idag tar vi dig steg-för-steg genom att montera och använda en bokprägling, så att varje bok du äger kan bära ditt exklusiva avtryck.

Vad är a Bokembossare?
En bokembosser är ett verktyg som är utformat för att trycka upp upphöjda motiv, text eller logotyper på bokomslag, titelsidor eller andra ytor. Med hjälp av en metallform applicerar den tryck för att fysiskt förändra papperets yta utan bläck, vilket skapar en sofistikerad präglad struktur.
Vad är syftet med prägling?
- Autentisering och ägande: Idealisk för personliga biblioteksmärken, institutionsstämplar eller arkivetiketter.
- Konstnärlig dekoration: Lägger till ett elegant mönster till värdefulla böcker.
Vill du lära dig mer om bokembossers? Fortsätt läsa för detaljer!
Hur man monterar en bokprägling
Här är en detaljerad, steg-för-steg-guide för hur du ställer in och använder din bokembosser. Följ med bilderna för att enkelt komma igång.
Steg 1: Ta bort embosserformen
En bokembosser består vanligtvis av ett handtag och en stans (den clipliknande biten). Formen har en rund metallände med din anpassade design eller text ingraverad i mitten. Ta försiktigt bort formen från handtaget.

Steg 2: Rikta in formen med handtaget
Formen har två plattor. Ovansidan har ett cylindriskt utsprång som jämnt överför kraften från handtaget när det trycks ned. Undersidan har två fyrkantiga skåror som är i linje med handtagets monteringspunkter, och låser formen säkert på plats för att förhindra att den glider under användning.
Håll formen med utsprånget uppåt och rikta in det mot handtagets hållaröppning.

Steg 3: Fäst formen i handtaget
Skjut in formen i handtaget och tryck in den tills du hör ett "klick", som signalerar att den är ordentligt låst i präglingen.

Steg 4: Börja prägla och skapa ditt avtryck
Placera ditt papper mellan formens käftar och se till att det är korrekt placerat. Tryck ner handtaget ordentligt och släpp det sedan. Ta bort papperet och kontrollera det präglade resultatet.
Hur man använder en bokembosser
Använda en bokembosser att skapa ett fantastiskt, upphöjt intryck på dina böcker eller brevpapper är enkelt med rätt tillvägagångssätt. Följ dessa steg för att säkerställa en perfekt präglingsupplevelse:
Steg 1:Förbered ditt papper
Börja med att placera ditt papper (som en boks titelsida eller ett brevpapper) plant mellan präglingsmaskinens käftar. Se till att den är korrekt inriktad för att uppnå ett polerat resultat.
Steg 2:Applicera jämnt tryck
Tryck ned präglingshandtaget stadigt och jämnt för att skapa en skarp, upphöjd effekt. Håll embossern stadigt under processen för att undvika förskjutningar.
Steg 3:Kontrollera resultatet
Släpp handtaget, ta bort papperet och inspektera det präglade avtrycket. Om det ser ojämnt ut, se till att trycket applicerades korrekt och att materialet placerades plant.
Om du vill uppnå ett perfekt avtryck, öva på skrotpapper innan du präglar specialdokument. Detta hjälper din teknik och säkerställer en tydlig, professionell finish varje gång.
Viktiga tips för att förbättra din Bokembossare Uppleva
Välj rätt papper eller klistermärken
Prägling fungerar bäst på medeltjockt papper, som specialpapper eller klistermärken. Tunt papper kan gå sönder, medan för tjockt papper kanske inte har en tydlig design.
Var uppmärksam på präglingsorienteringen
Riktningen på din embosser spelar roll och varierar beroende på användningsfall. Här är en snabbreferens för vanliga bokpräglingspositioner.
| Vanlig inbäddning | Relieforientering |
|---|---|
| Längst ner i boken | Bottenorientering |
| Höger sida av boken | Rätt orientering |
| Böcker från höger till vänster (t.ex. arabiska romaner) | Vänsterorientering |
Nyfiken på embossers orientering? Dyk djupare med ytterligare läsning!

Underhåll din bokprägling
Precis som alla precisionsverktyg behöver en bokprägling ordentligt skött. Här är tre tips:
- Rengör formen: Torka bort pappersrester med en mjuk trasa för att bibehålla en skarp prägling.
- Lagring: Förvara den på en sval, torr plats för att förhindra metalloxidation.
- Rutinkontroller: Inspektera tryckmekanismen regelbundet för att säkerställa konsekventa resultat.
Det är enkelt att använda embossern!
Med bara fyra enkla steg – att ta bort formen, rikta in den mot handtaget, säkra den på plats och prägla – kan du lägga till en anpassad, elegant touch till dina böcker och brevpapper.
Oavsett om du är en bokmask som vill lyfta din samling eller letar efter en omtänksam present, erbjuder en bokprägling oändlig kreativitet och roligt. Prova det och gör varje bok unik till din!
FAQ
F: Vad är en bokprägling och hur fungerar den?
S: En bokembosser är ett specialiserat verktyg som är utformat för att skapa ett förhöjt intryck på omslaget eller sidorna av en bok. Genom att använda en kombination av tryck och en stans med en anpassad design skapar embossern ett skarpt intryck som är både estetiskt tilltalande och professionellt till utseendet. Processen involverar att rikta in plattan med det område du vill täta, applicera ett fast tryck och säkerställa att orienteringen är perfekt för bästa resultat.
F: Kan jag skapa perfekta anpassade mönster för min prägling?
S: Naturligtvis kan du skapa en specialdesignad embosser! Vi erbjuder en mängd olika anpassningsalternativ – skicka oss gärna text, doodles eller till och med foton. Tillsammans kommer vi att ta reda på hur du designar ditt idealiska mönster. Låt mig veta vilka specifika designidéer du har i åtanke!
Om du vill lära dig att designa ditt ideala mönster, kolla in vår steg för steg guide.


