


مقدمة
تضفي ملصقات ختم الشمع لمسة من الأناقة والشخصية على الرسائل والدعوات والحرف اليدوية المتنوعة. إن إنشاء هذه الملصقات عملية ممتعة ومجزية تجمع بين التقنيات التقليدية والراحة الحديثة. سيرشدك هذا الدليل الشامل خلال الخطوات اللازمة لصنع ملصقات ختم الشمع الخاصة بك، مع تقديم النصائح والحيل لضمان أن تكون إبداعاتك جميلة وعملية.
المواد المطلوبة
قبل الخوض في هذه العملية، قم بجمع المواد التالية:
- عيدان الشمع:متوفر بألوان وتشطيبات مختلفة.
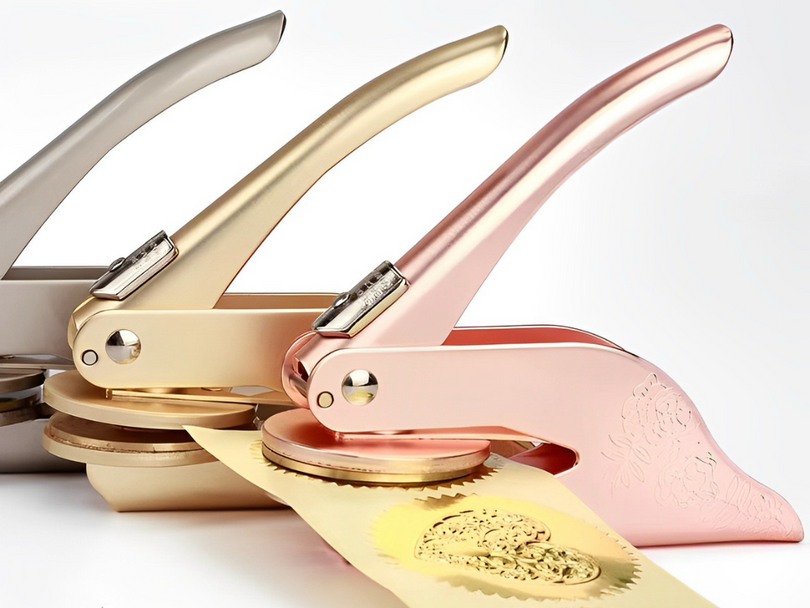
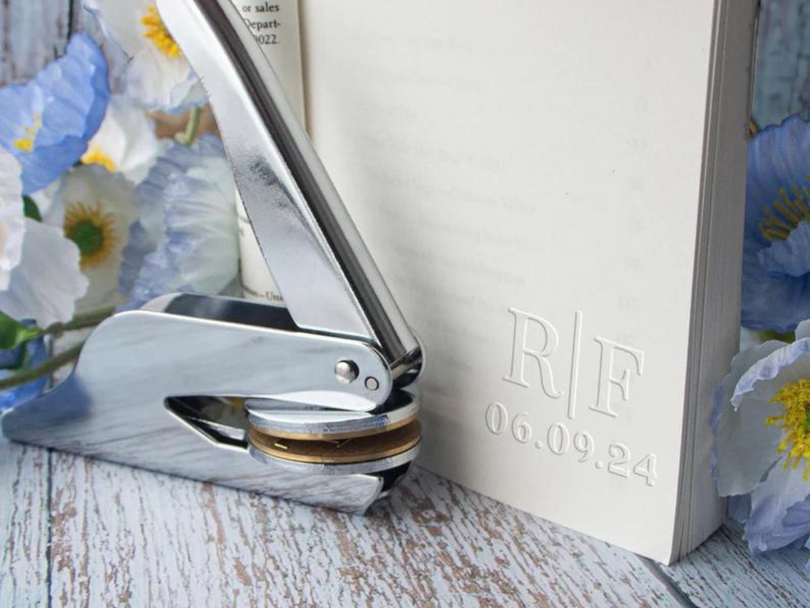
- ختم الشمع:اختر التصميم الذي يناسب أسلوبك.
- مصدر الحرارة:أ مسدس الغراء أو أ ملعقة تذويب الشمع.
- سطح غير لاصق:مثل ورق البرشمان أو حصيرة السيليكون.
- دعم لاصق:شريط لاصق مزدوج الجوانب أو نقاط لاصقة.

دليل خطوة بخطوة
1. قم بإعداد مساحة العمل الخاصة بك
قم بإعداد مساحة عمل نظيفة ومنظمة. ضع سطحًا غير لاصق مثل ورق البرشمان أو حصيرة السيليكون لمنع التصاق الشمع وتسهيل إزالة الأختام النهائية.
2. أذيب الشمع
إذا كنت تستخدم مسدس الغراء، أدخل عصا الشمع واتركها حتى تسخن. إذا كنت تستخدم ملعقة إذابة الشمع، ضع قطعة صغيرة من الشمع في الملعقة واحملها فوق مصدر حرارة حتى تذوب. تأكد من ذوبان الشمع بالكامل وتمتعه بقوام ناعم.
3. صب الشمع
بمجرد ذوبان الشمع، اسكبي كمية صغيرة بعناية على السطح غير اللاصق. احرصي على الحصول على شكل دائري، بحجم العملة المعدنية تقريبًا. تعتمد كمية الشمع المطلوبة على حجم ختمك.
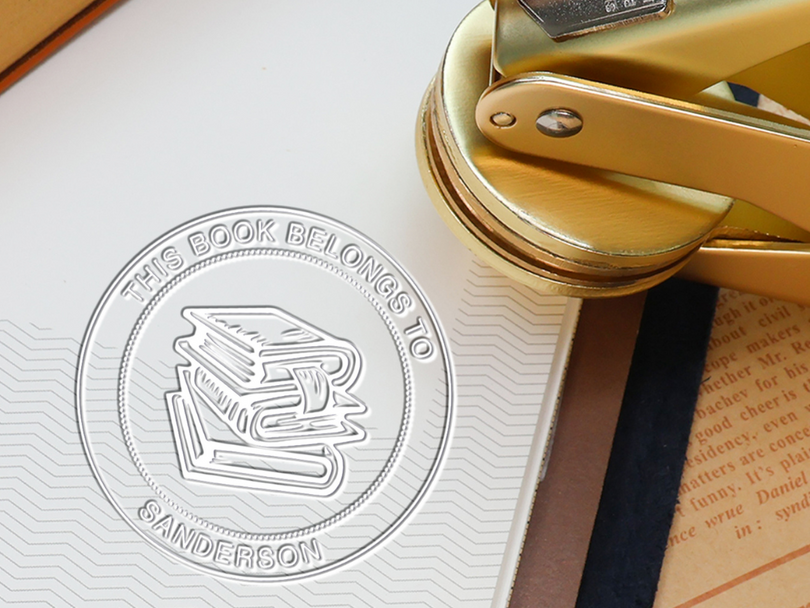
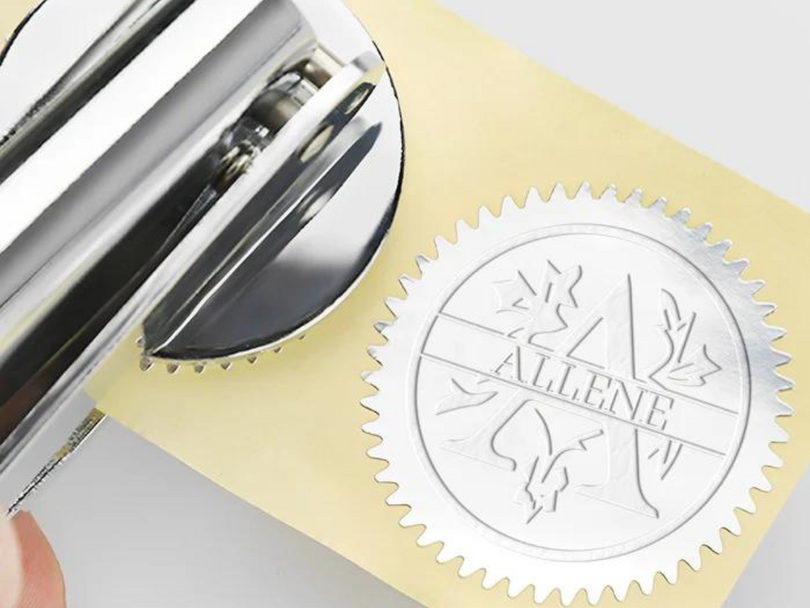
4. ختم الشمع
بينما لا يزال الشمع ساخنًا ومرنًا، اضغط على ختم الشمع بقوة في منتصف تجمع الشمع. أمسك الختم في مكانه لبضع ثوانٍ للتأكد من طباعة التصميم بوضوح. ثم ارفع الختم برفق بعيدًا عن الشمع.
5. دع الشمع يبرد
اترك ختم الشمع ليبرد ويتصلب تمامًا. يستغرق هذا عادةً بضع دقائق. بمجرد أن يبرد، يجب أن ينفصل الختم بسهولة عن السطح غير اللاصق.
6. أضف طبقة لاصقة
لتحويل أختام الشمع إلى ملصقات، قم بلصق طبقة لاصقة على ظهرها. قم بقص قطعة صغيرة من الشريط اللاصق ذي الوجهين أو استخدم نقاط لاصقة وقم بلصقها على ظهر ختم الشمع. سيسمح لك هذا بلصق الختم على الأظرف أو البطاقات أو الأسطح الأخرى.
نصائح للحصول على أختام شمعية مثالية
- الممارسة تؤدي إلى الإتقان:قد يستغرق الأمر عدة محاولات للحصول على الكمية المناسبة من الشمع والضغط اللازمين للختم. تدرب على قصاصات ورق أو حصيرة سيليكون حتى تشعر بالثقة.
- تجربة الألوان:قم بخلط عيدان الشمع ذات الألوان المختلفة لإنشاء أختام فريدة ومخصصة.
- استخدم وسادة التبريد:إذا كنت تقوم بصنع أختام متعددة، ففكر في استخدام وسادة تبريد لتسريع عملية التصلب.
- تخزين بشكل صحيح:قم بتخزين عيدان الشمع والطوابع في مكان بارد وجاف لمنعها من الذوبان أو الانحناء.
استخدامات مبتكرة لملصقات ختم الشمع
تعتبر ملصقات ختم الشمع متعددة الاستخدامات ويمكن استخدامها بطرق إبداعية مختلفة:
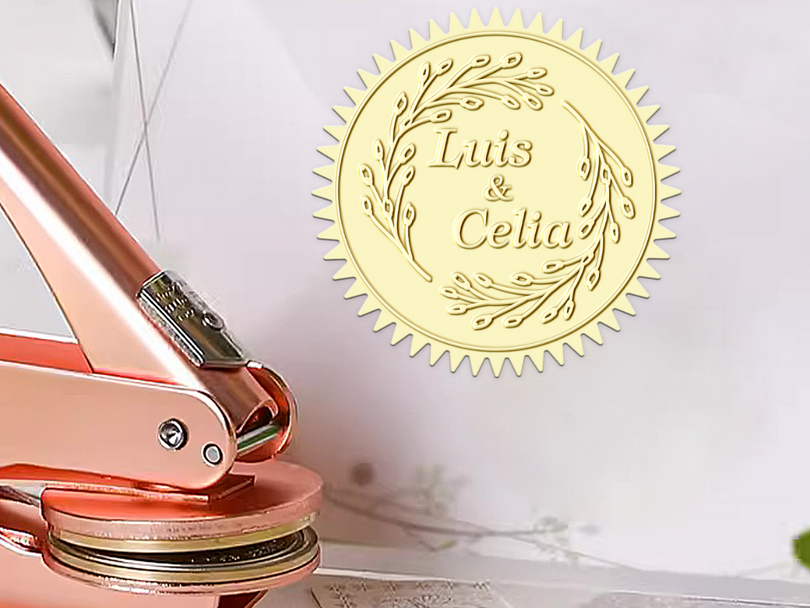
- دعوات الزفاف:أضف لمسة من الأناقة إلى دعوات الزفاف الخاصة بك عن طريق ختم المظاريف بأختام الشمع الشخصية.
- تغليف الهدايا:قم بتعزيز طريقة عرض هداياك عن طريق إضافة ختم الشمع إلى ورق التغليف أو بطاقات الهدايا.
- سكرابوكينغ:قم بدمج أختام الشمع في صفحات سجل القصاصات الخاص بك للحصول على مظهر عتيق ومتطور.
- رسائل مكتوبة بخط اليد:اجعل رسائلك مميزة عن طريق إغلاق المظاريف بأختام الشمع.
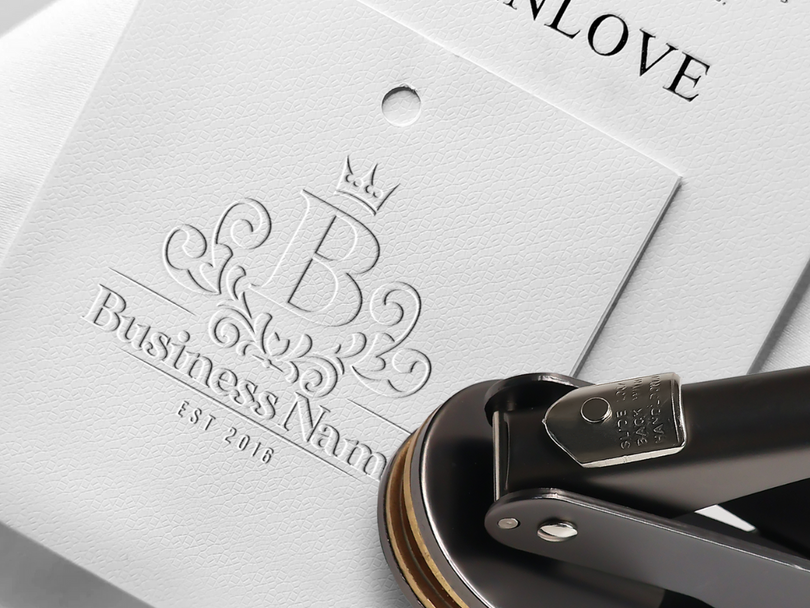
- العلامة التجارية للأعمال:استخدم أختام الشمع المخصصة لإضافة لمسة فريدة واحترافية لمراسلاتك التجارية وتغليفها.

التعليمات
1. هل يمكنني استخدام أي نوع من الشمع لصنع أختام الشمع؟
من الأفضل استخدام شمع مصمم خصيصًا للإغلاق. قد لا يكون شمع الشموع العادي ذو القوام المناسب وقد يتشقق أو ينكسر بسهولة.
2. كيف أقوم بتنظيف ختم الشمع الخاص بي؟
لتنظيف ختم الشمع، امسحه برفق بقطعة قماش ناعمة وهو لا يزال دافئًا. لإزالة البقايا العنيدة، يمكنك استخدام كمية صغيرة من الكحول المحمر.
3. هل يمكنني إعادة استخدام أختام الشمع؟
تُستخدم أختام الشمع بشكل عام للاستخدام مرة واحدة. ومع ذلك، إذا تمت إزالتها بعناية، فيمكن إعادة استخدامها في بعض الأحيان. من الأفضل إنشاء أختام جديدة للحصول على أفضل مظهر.
4. كيف يمكنني منع فقاعات الهواء في أختام الشمع الخاصة بي؟
لتجنب فقاعات الهواء، تأكد من ذوبان الشمع بالكامل وتحريكه برفق قبل صبه. صب الشمع ببطء وثبات لتقليل دخول الهواء.
5. هل هناك أنواع مختلفة من طوابع ختم الشمع؟
نعم، تأتي طوابع الشمع بأشكال ومواد مختلفة. يمكنك العثور على طوابع ذات أنماط معقدة وأحرف أولية وحتى تصميمات مخصصة. اختر ما يعكس أسلوبك الشخصي أو موضوع مشروعك.
خاتمة
إن صناعة ملصقات ختم الشمع هي حرفة ممتعة ومجزية تضفي لمسة من الأناقة على أي مشروع. باتباع هذا الدليل والتجريب باستخدام تقنيات ومواد مختلفة، يمكنك صناعة أختام شمع جميلة ومخصصة ستثير الإعجاب وتسعد. سواء للمناسبات الخاصة أو للاستخدام اليومي، فإن ملصقات ختم الشمع هي إضافة خالدة ومتطورة لمجموعة أدواتك الإبداعية.
لمزيد من المعلومات حول الحرف اليدوية والمشاريع التي تصنعها بنفسك، قم بزيارة أفكار للصناعة اليدوية و مشاريع افعلها بنفسك. صناعة سعيدة!