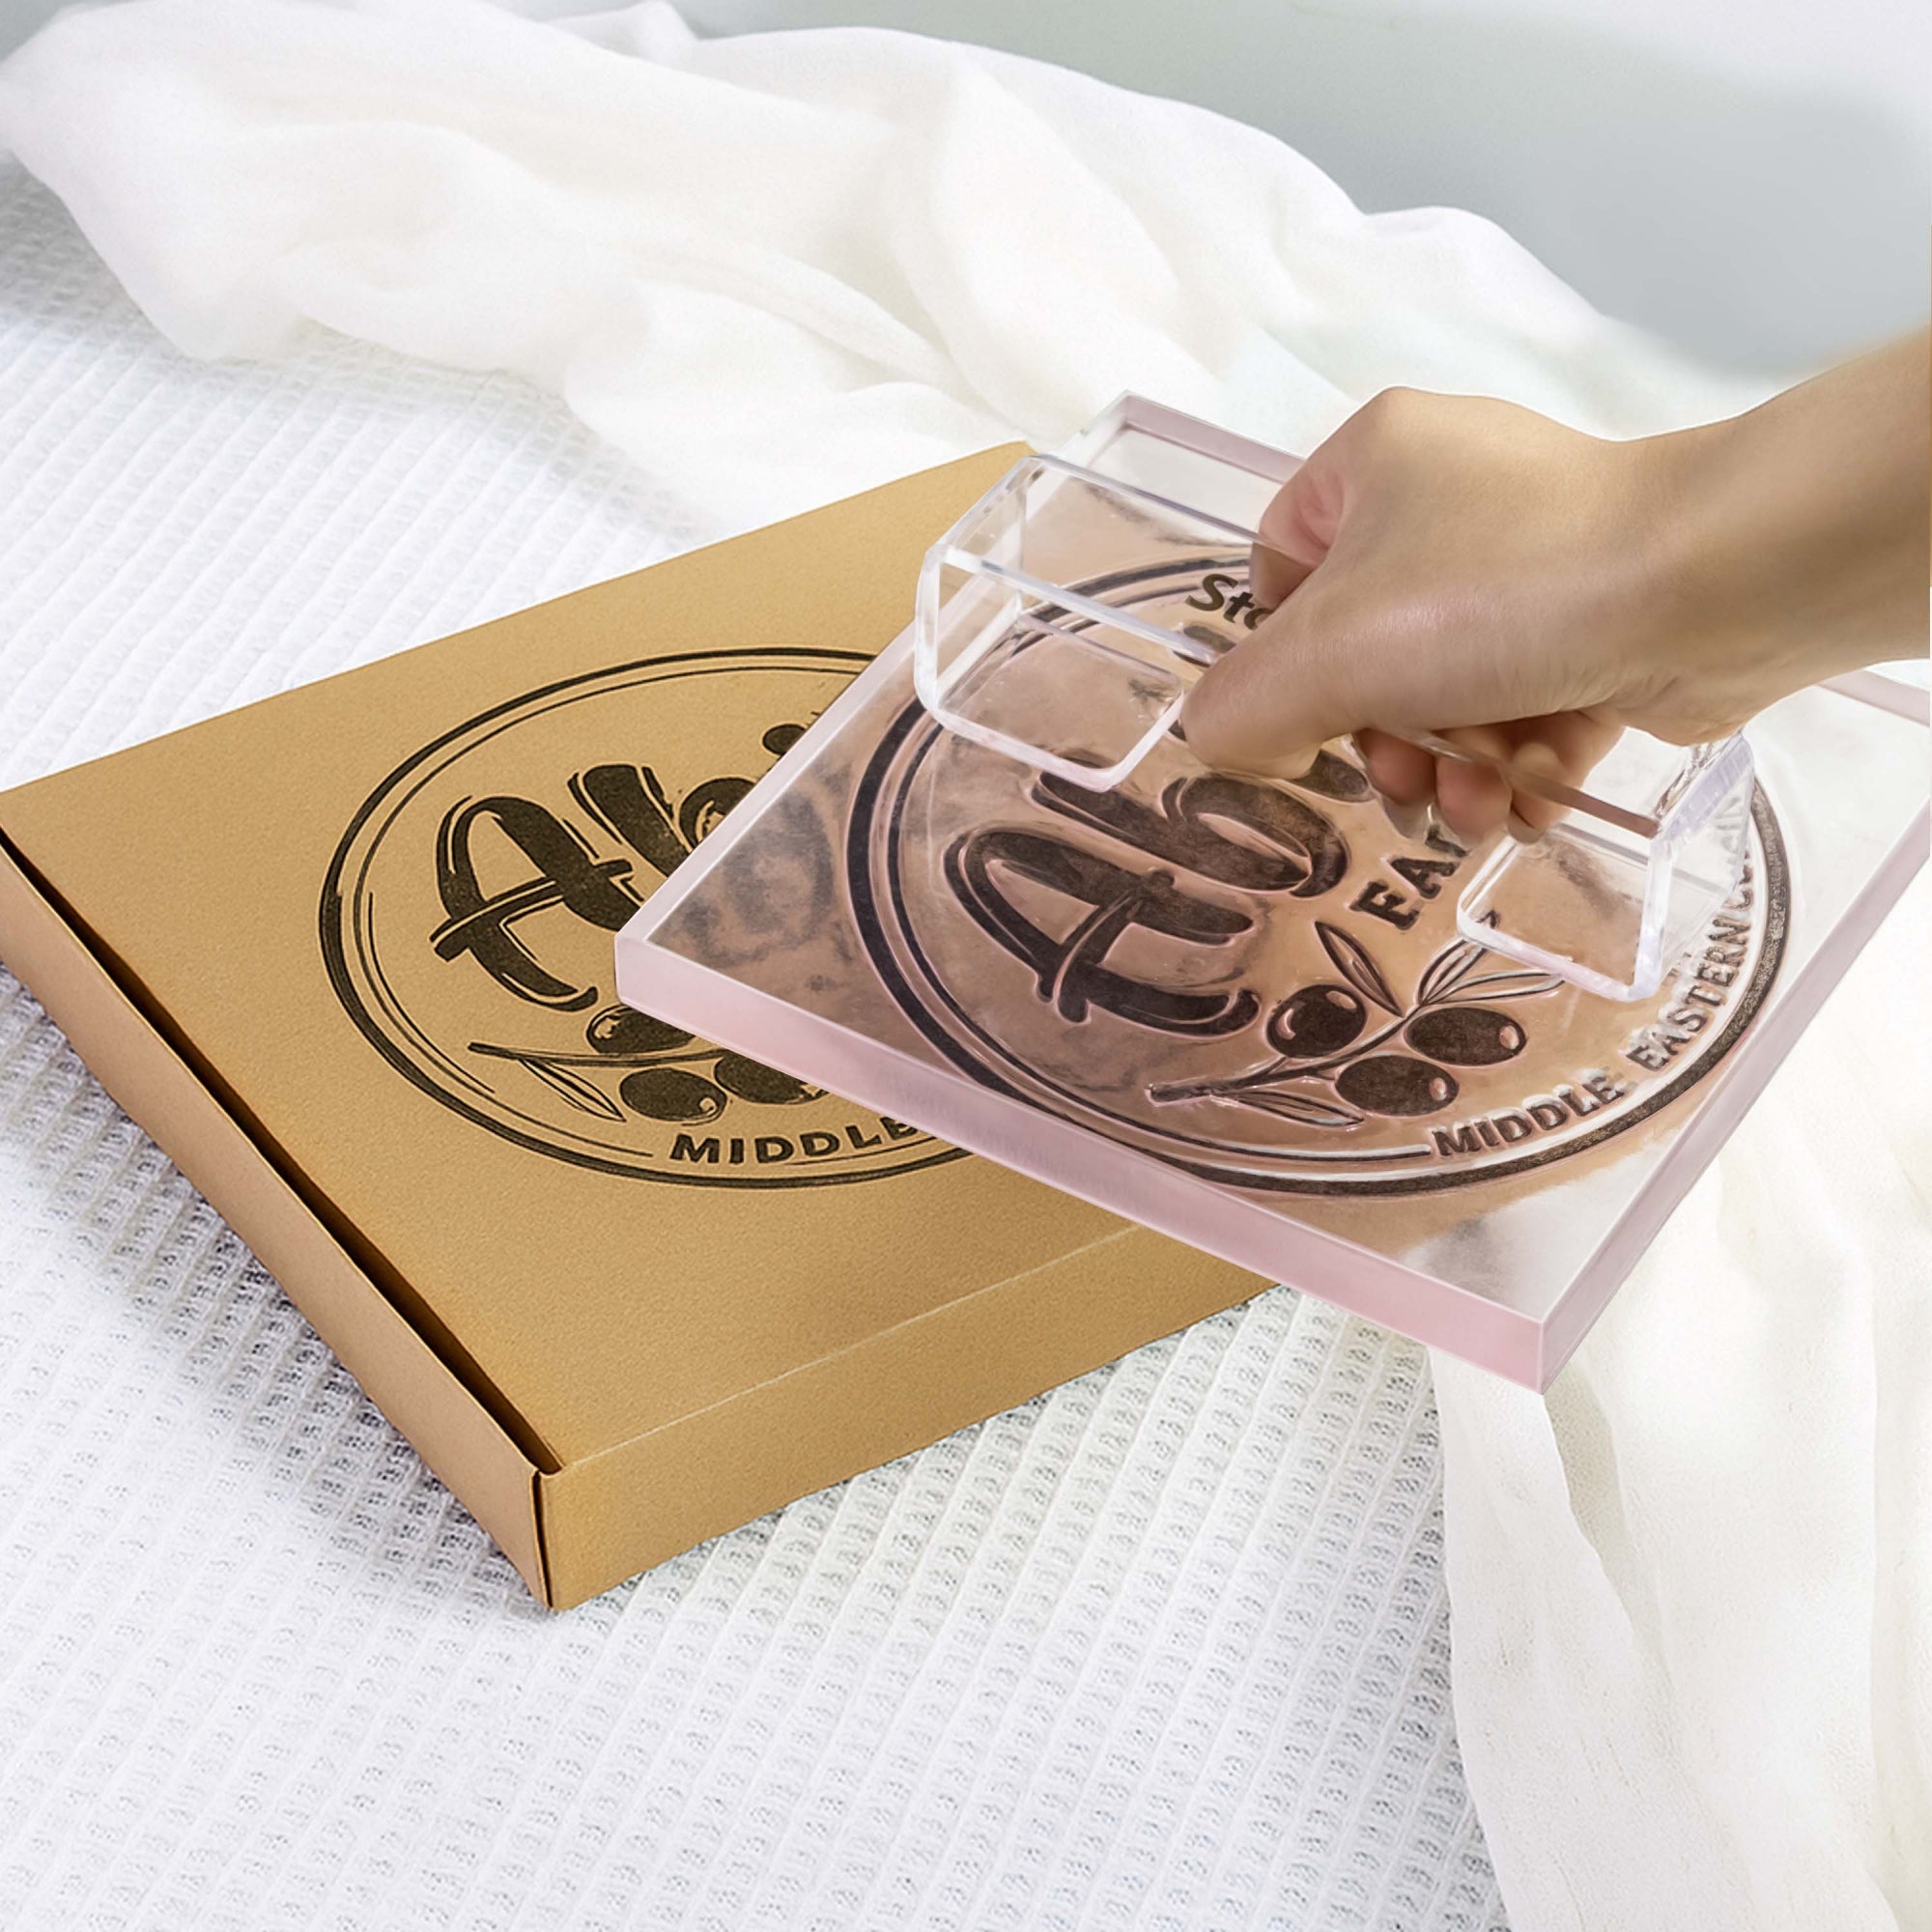
Silicone stamps have charmed their way into the hearts of journaling and crafting enthusiasts as versatile and user-friendly tools. Unlike their rubber counterparts, these stamps boast a compact form factor, making storage and usage a breeze. To optimize the application of silicone stamps, many crafters pair them with acrylic blocks – an ingenious combination serving as both a handle and a tool for precise positioning during stamping.
Today, let's embark on a journey to unravel the correct method of using silicone stamps with acrylic blocks. With a few simple steps, you'll be on your way to achieving flawless stamped creations that reflect your unique style.
Step 1: Select Your Desired Silicone Stamp
Our shop proudly offers an array of designs, ranging from charming animal themes to festive holiday motifs, ensuring you'll find the perfect stamp to bring your vision to life. Begin by carefully selecting the silicone stamp you intend to use from its backing board, and remove it from the backing. The flexibility of silicone stamps makes this process effortless, allowing you to choose the perfect design for your project.

Step 2: Match with an Appropriate Acrylic Block
Enter the stage: the versatile acrylic block. Available in an assortment of shapes and sizes, these transparent blocks provide the essential foundation for your crafting masterpiece. This transparent block acts as both the handle for your silicone stamp and a surface for optimal stamping alignment. Remember to tear off the protective film outside the acrylic block before using.
Gently affix your chosen silicone stamp onto the acrylic block. The magic here lies in the simplicity – no extra adhesive or glue is required. Just attach the smooth side of the silicone rubber stamp to the acrylic handle, allowing for repeated attachment and removal without a fuss.

Step 3: Prep Your Stamp for Ink Application
Hold the acrylic block, now adorned with the silicone stamp, and lightly tap it onto an ink pad. This process transfers ink onto the silicone stamp's surface, coloring it for your desired effect. The flexibility of the silicone material ensures even ink coverage, setting the stage for a vibrant and precise stamped image.

Step 4: Bring Your Creation to Life
With your silicone stamp appropriately inked, it's time to bring your imagination to life. Position the acrylic block and silicone stamp over your chosen surface – whether it's a journal page, a card, or any crafting medium you prefer. Apply gentle, even pressure to ensure a clean and crisp stamped image. Release the block to reveal your stunning creation, now imprinted with your chosen design.

Tips at the End
After stamping, a quick clean-up ensures that your silicone stamp remains in top condition for future projects. Use a tissue or cloth to gently wipe off any residual ink from the stamp. This diligent maintenance guarantees the longevity and quality of your stamps, ready for your next crafting endeavor.
Incorporating silicone stamps and acrylic blocks into your crafting routine can elevate your projects to new heights. This dynamic duo offers convenience, precision, and endless creative possibilities. So, whether you're a seasoned crafter or just venturing into the world of crafting, embrace the power of silicone stamps paired with acrylic blocks, and watch your creations blossom with each stamped impression.
Pick your silicone stamps and match them with our acrylic blocks and start your creative hand crafting journey now!


