Have you ever admired those perfectly applied, bubble-free stickers on someone's laptop or water bottle and wondered how they achieved such flawless results? Or perhaps you've experienced the frustration of applying a sticker only to have it crooked, full of air bubbles, or impossible to remove without damage? The world of PET stickers—those premium, glossy and often waterproof decorations—has its own set of unwritten rules that can transform your sticker game from amateur to expert.
What Makes PET Stickers Special?
PET (polyethylene terephthalate) stickers have revolutionized the decorative sticker market with their remarkable durability and versatility. Unlike paper or vinyl alternatives, these high-quality stickers resist water, sunlight, and scratches, making them ideal for everything from water bottles to outdoor equipment. Their crystal-clear transparency when used as overlays or their vibrant colors when printed make them the professional's choice for lasting applications.

The Science of Perfect Application
Preparation: The Step Most People Skip
Professional sticker application begins long before the sticker leaves its backing. First, thoroughly clean your target surface with isopropyl alcohol or a mild soap solution. Any dust, oil, or residue will compromise adhesion and potentially create air bubbles. Allow the surface to dry completely before proceeding.
Pro tip: For electronic devices, power them down before cleaning and applying stickers to avoid static electricity that can attract dust particles.
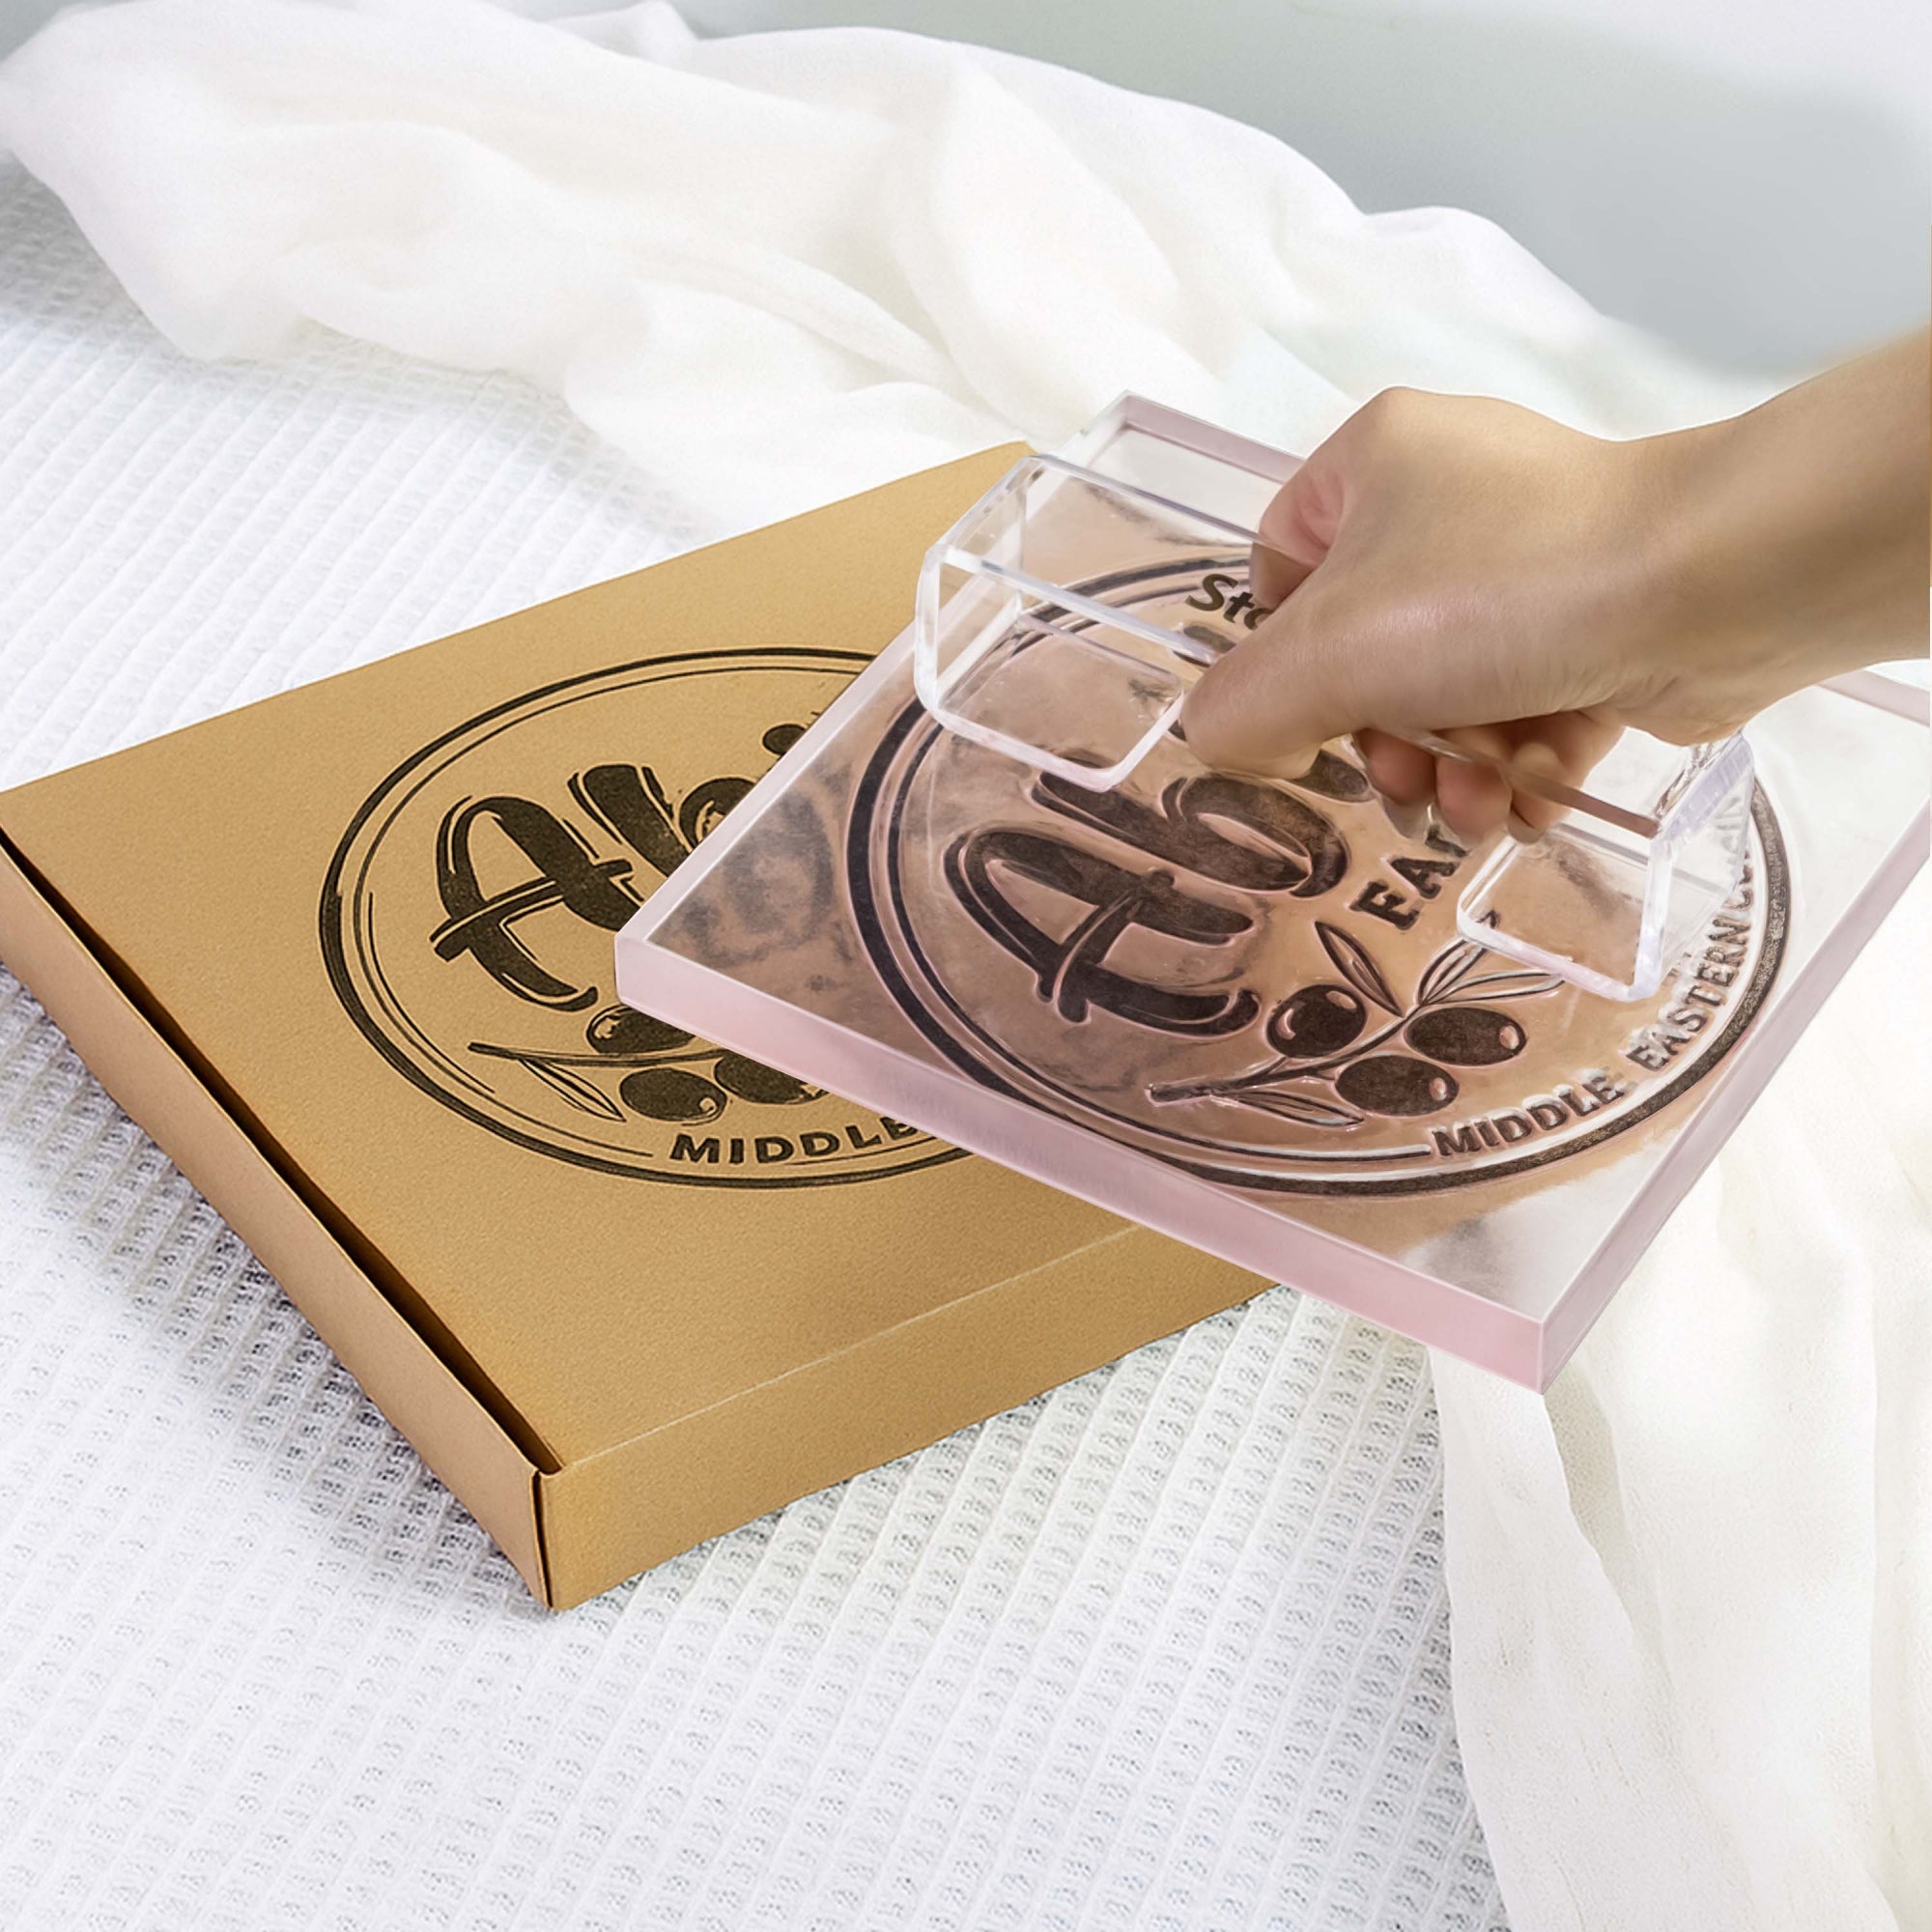
The Perfect Peel: A Game-Changing Technique
One of the most challenging aspects of working with PET stickers is removing them from their backing without stretching or damaging them. Here's the expert method:
1. Instead of pulling the sticker directly off the backing, use the sealing sticker that often comes attached or a small piece of scotch tape as a handling tool.
2. Apply this handling aid to one corner of your PET sticker.
3. Gently lift and pull the backing paper away from the sticker rather than pulling the sticker from the backing.
4. For larger stickers, peel away the backing gradually while keeping the sticker close to the surface you'll apply it to.

Easy Application Guide for Decorative PET Stickers
Clean the area with a soft cloth and mild soap, removing any dust, dirt, or grease. Allow the surface to dry completely before applying the sticker.
Position the sticker carefully using a pair of tweezers or a stencil, ensuring precise placement. Once in place, use a squeegee, a credit card, or a silicone scraper to smooth it out, removing any air bubbles or wrinkles.
Designer's secret: For intricate designs, try the "hinge method"—align the sticker perfectly, apply a piece of tape across the center to create a hinge, lift one half, remove that portion of backing, apply it, then repeat for the other half.
Removal and Reuse: Yes, It's Possible!
Unlike cheaper stickers that tear apart during removal attempts, quality PET stickers can often be removed intact and even reused with the right technique:
1. Use a hairdryer on low heat to warm the adhesive gently.
2. Starting at one corner, slowly and steadily peel the sticker back at a 45-degree angle.
3. For reuse, clean the adhesive side with mild soap and water, let it dry completely, then apply a thin layer of repositionable adhesive spray if needed.
Beyond Decoration: Practical Applications
The versatility of PET materials extends far beyond conventional stickers. One of the most elegant applications is creating personalized dried flower accessories—a perfect blend of nature and craftsmanship. Here's how to create your own botanical keepsake using transparent PET materials:

Creating Botanical PET Accessories: A Step-by-Step Guide
Materials Needed:
● Clear PET shaped templates (perfume bottle shape or other designs)
● Dried flowers or botanical elements
● Decorative tassels or charms
● Tweezers for precise placement
Step 1: Carefully Open the PET Template
Gently separate the PET template along its edges. Most designs come with two sides that fit together perfectly. Take your time with this step to avoid fingerprints or bending the material.
Step 2: Arrange Your Botanical Elements
Using tweezers, carefully place dried flowers, petals, or small leaves inside one half of the PET template. Create an artistic arrangement, considering how the elements will appear when viewed from both sides. Less is often more—avoid overcrowding for a more elegant result.
Step 3: Create Attachment Points
Once your botanical composition is perfect, close the PET template by securing both halves together. Use a hole punch to create a clean opening at the top of your design. For precision, choose a small-diameter punch tool designed for delicate materials.
Step 4: Add Finishing Touches
Thread decorative elements through the punched hole to complete your creation. A vibrant tassel, silk ribbon, or metal charm can transform your botanical PET piece into a sophisticated accessory. These finishing touches not only add visual appeal but also functionality.
Practical Uses:
● Elegant bookmarks for journals or favorite books
● Personalized luggage tags with a botanical touch
● Window ornaments that catch natural light
● Rearview mirror hangings for a touch of nature in your vehicle
● Keychain accessories with sentimental value
● Gift toppers that become keepsakes

This project showcases how PET materials can be transformed into lasting art pieces that preserve nature's beauty. The transparent quality of PET provides perfect visibility for your botanical specimens while protecting them from damage, creating a timeless keepsake that celebrates both nature and craftsmanship.
FAQ
Q: What is the best material for custom stickers?
A: PET (Polyethylene Terephthalate) is one of the best materials for custom stickers. It's durable, water-resistant, and offers a glossy finish. PET stickers are also resistant to fading when exposed to environmental factors, making them ideal for both indoor and outdoor use.
Q: How do I ensure that the sticker will stick properly?
A: To ensure that your PET sticker adheres properly, make sure the surface is clean and dry before application. Remove any dust or debris, and if applying to a curved surface, start from the center and work your way outwards to avoid air bubbles. For best results, apply pressure evenly across the entire sticker.
Q: Can I use PET stickers on vinyl surfaces?
A: Yes, PET stickers can be used on vinyl surfaces. However, it's important to note that the adhesive strength may vary depending on the type of vinyl. For optimal results, test a small area first and ensure the vinyl surface is clean and dry before applying the sticker.
Q: What's the best method to apply wet application PET stickers?
A: For wet application of PET stickers, mix a few drops of mild soap with water in a spray bottle. Lightly mist the surface and the back of the sticker. This will allow you to position the sticker easily. Once in place, use a squeegee or credit card to push out any water and air bubbles from the center outwards. Let it dry completely before exposing to water.
Q: How long do PET stickers last?
A: PET stickers are known for their longevity. When properly applied and cared for, they can last for a long time, often several years, without fading or peeling. Their durability makes them an excellent option for both indoor and outdoor use, resisting environmental factors like UV rays and moisture.
Q: Can I print PET stickers using inkjet printers?
A: While some PET sticker papers are compatible with inkjet printers, it's important to check the product specifications. For the best results and most durable finish, it's recommended to use laser printers or professional printing services. These methods ensure that the ink adheres properly to the PET material and doesn't smudge or fade easily.
Q: What types of custom stickers can be made with PET material?
A: PET material offers a wide range of options for custom stickers. You can produce labels, product stickers, brand logos, bumper stickers, and decorative stickers. PET's versatility allows for various shapes, sizes, and designs, making it suitable for almost any sticker application you want to use.
Q: How do I remove the backing from PET stickers without damaging them?
A: To remove the backing from PET stickers, start at one corner and slowly peel it away. If you're having difficulty, you can use the "bend and snap" method: slightly bend the corner of the sticker, which will cause the backing to separate. For larger stickers, peeling the backing off under running water can make it easier, but ensure your hands are dry when applying the sticker afterwards.
Q: Are PET stickers environmentally friendly?
A: While PET stickers are not biodegradable, they are recyclable. Many recycling facilities accept PET materials. Additionally, their durability means they don't need to be replaced as often as less durable alternatives, potentially reducing overall waste. If environmental impact is a top concern, look for companies that offer eco-friendly PET options or alternative sustainable materials.
Q: What's the best way to design and upload artwork for PET stickers?
A: To design and upload artwork for PET stickers, use high-quality vector graphics software for the best results. Ensure your design meets the printer's specifications for resolution (usually 300 DPI or higher) and color mode (typically CMYK for print). When you upload your design, most printing companies offer templates or guidelines to help you position your artwork correctly. Always double-check the preview before finalizing your order to ensure the stickers will look exactly as you want them.