Wax seals, those timeless and elegant symbols of sophistication, can elevate your letters, invitations, or craft projects to a new level. The remarkable thing is that creating these exquisite wax seals is simpler than you might think, and it requires only a handful of essential tools. In this detailed DIY guide, we will lead you through the straightforward steps of crafting these beautiful wax seals using a wax seal stamp. So, let's embark on this journey!
Materials Needed:
- Wax Seal Stamp: The star of the show, your key to elegant seals.
- Wax Beads or Wax Sticks: The building blocks of your seals. You can find a great selection here.
- Melting Equipment: This can be a wax melting spoon, or for the dedicated crafters, a specialized wax melting kit.
- Melting Spoons: Essential for precise wax handling.
- A Suitable Surface for Stamping: Whether it's a silicone board, marble board, or sturdy cardboard, your choice will determine the seal's finish.
Step 1: Gather Your Tools
The first order of business is to ensure you have all the necessary tools at your disposal. Among them, you'll need a wax seal stamp, wax beads or sticks, melting equipment, melting spoons, and a flat, suitable surface for your stamping endeavors.

Step 2: Melt the Wax
Now, the creative alchemy begins. Melt the wax beads or sticks using your chosen method. If you're going for sticks, breaking them into smaller pieces will expedite and ensure an even melt. A wax melting spoon is the preferred tool to expertly handle the wax, whether over a candle flame or with a dedicated wax melting device.
Step 3: Prepare Your Stamping Surface
Your canvas is critical. Prepare your chosen surface (silicone, marble, or sturdy cardboard) on a flat, heat-resistant workspace. The cleanliness and debris-free condition of your workspace are crucial for the perfect seal.
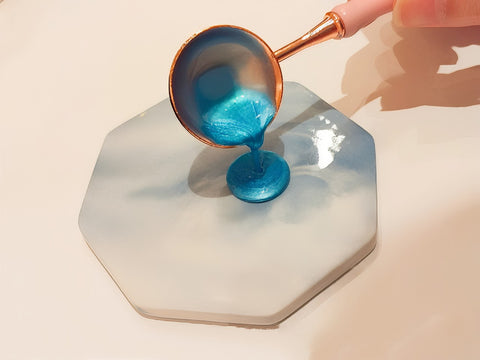
Step 4: Pour the Melted Wax
With the molten wax now in its prime, gently pour it onto your prepared surface. The wax should form a small, smooth puddle, poised for your creative touch.

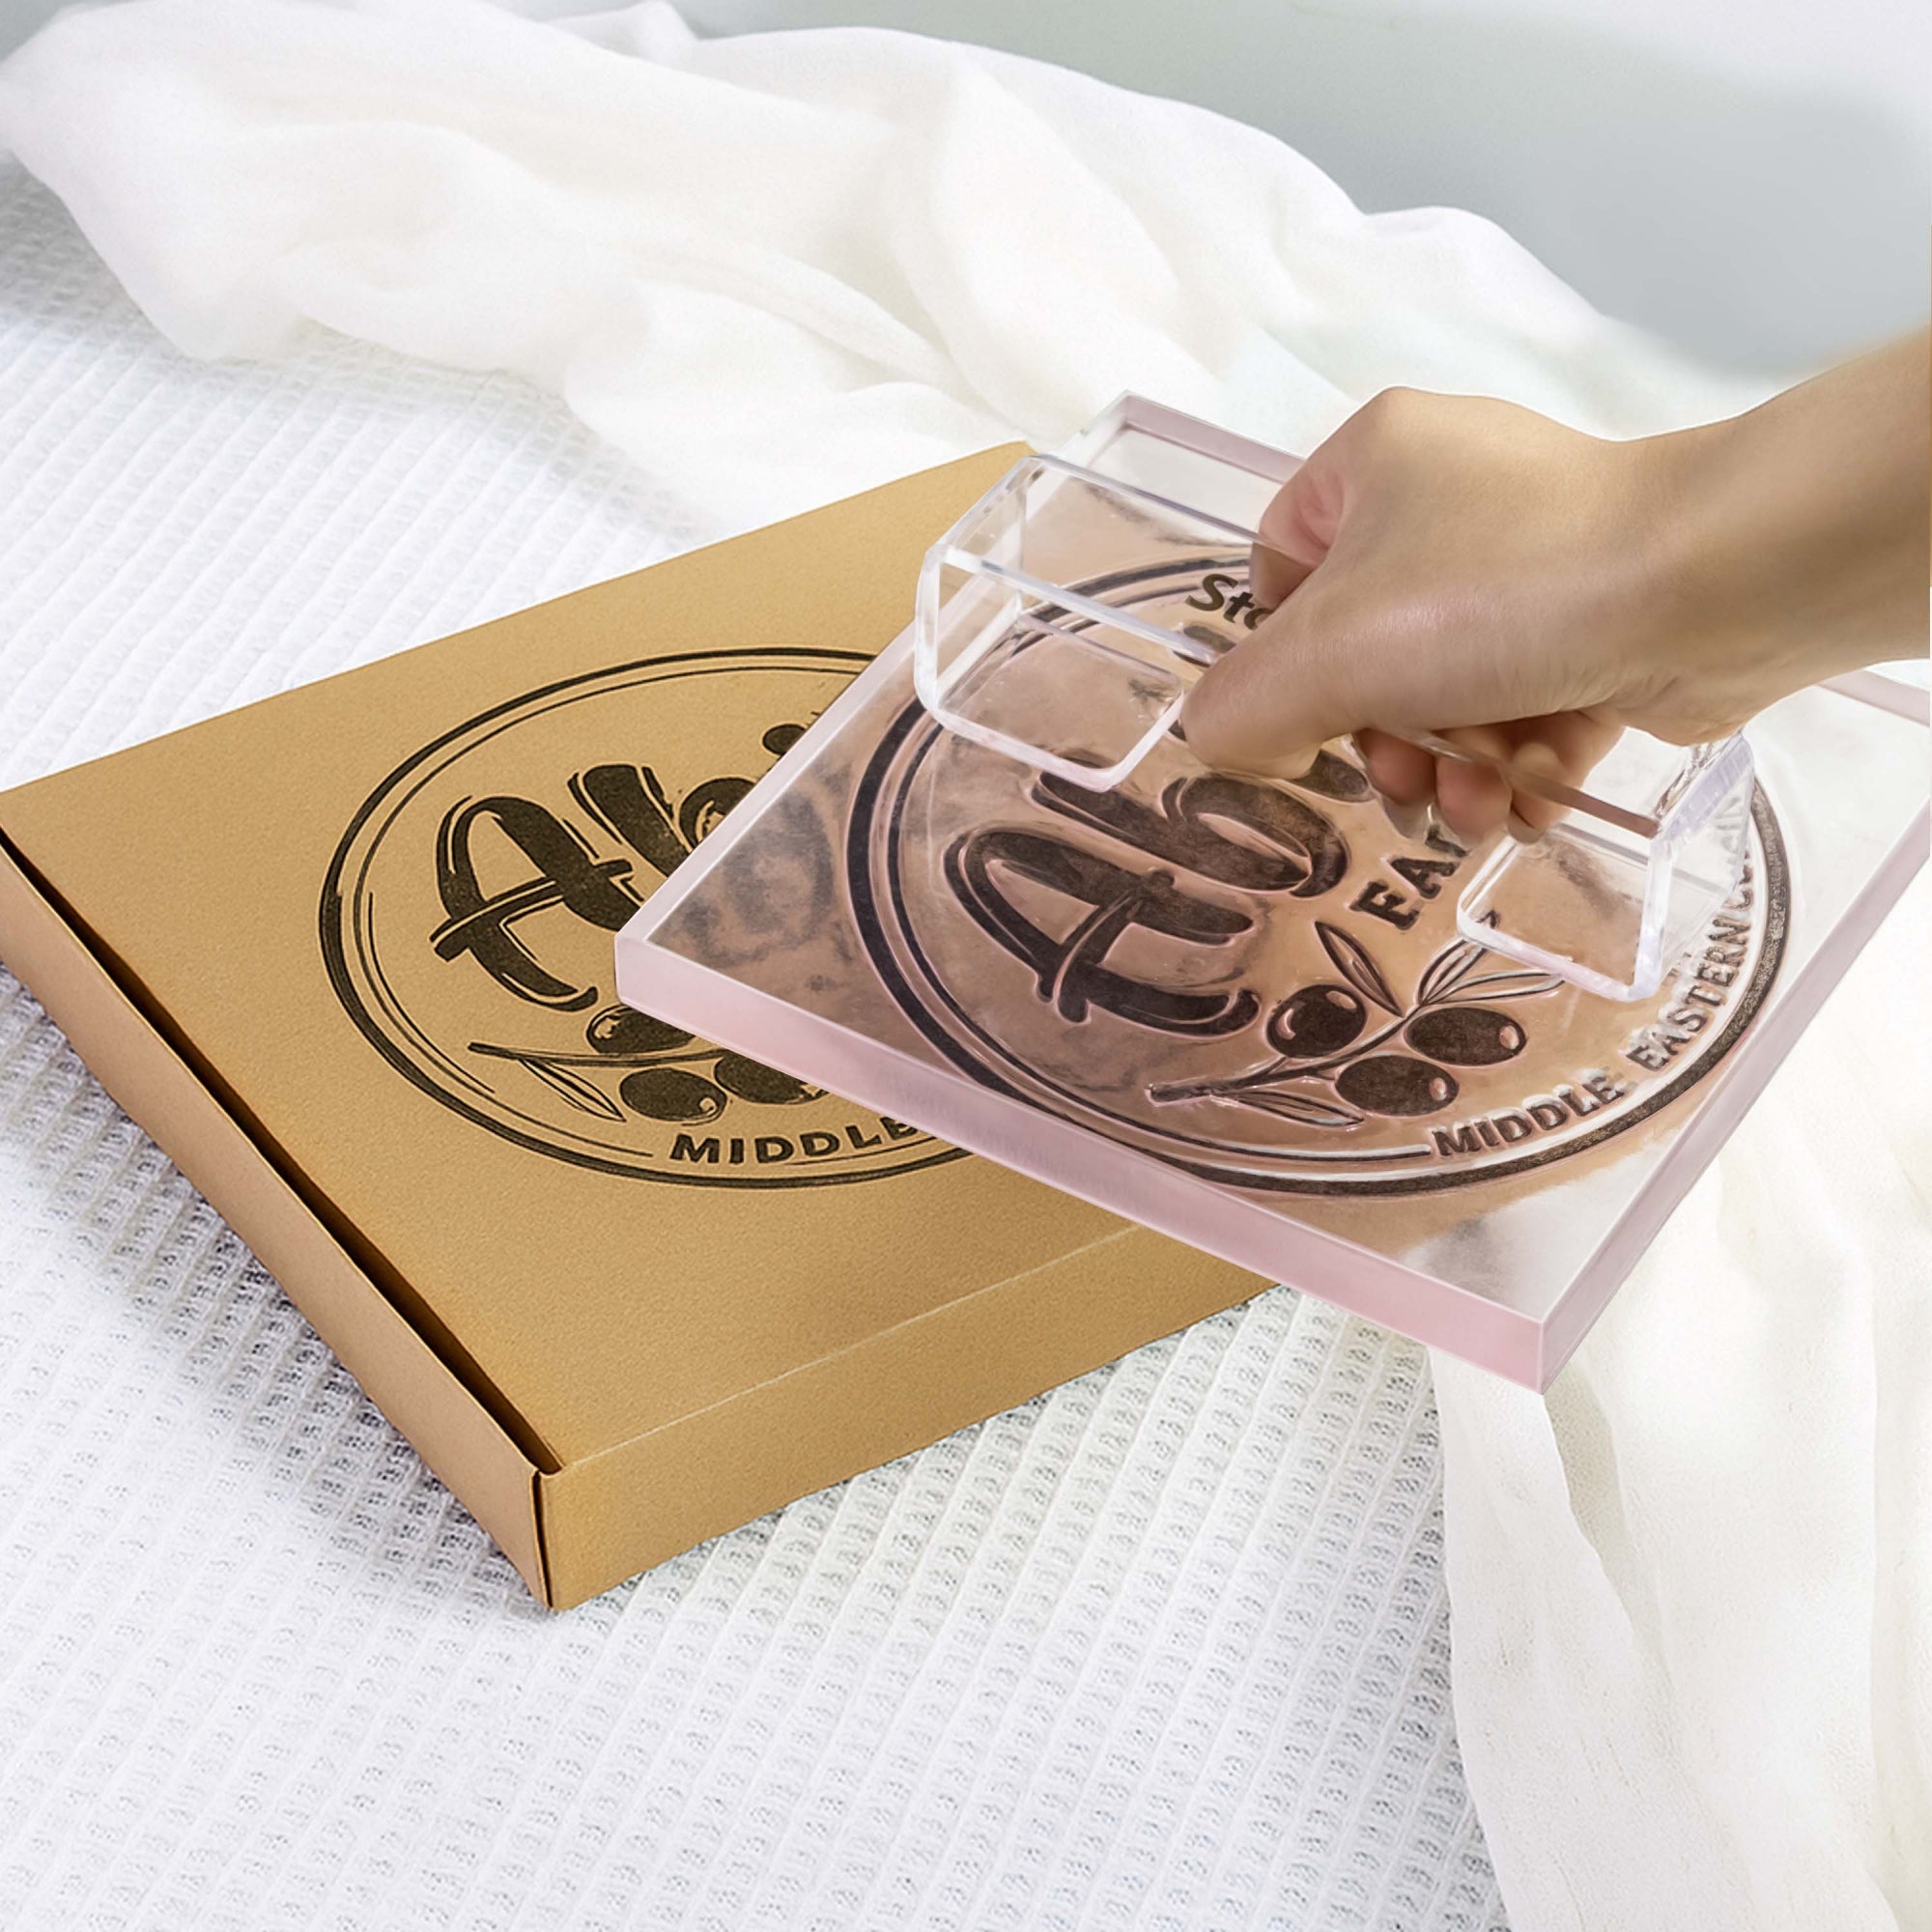
Step 5: Stamp Your Wax Seal
As the wax maintains its warm and flexible state, bring forth your wax seal stamp. Gently press it into the molten wax puddle. Ensure your design is precisely centered and aligned according to your vision.

Step 6: Apply Even Pressure
Firm and even pressure are key. Hold the wax seal stamp in place for a few seconds. This duration ensures a crisp and precise impression while avoiding any unwanted smudging.
Step 7: Allow It to Cool
Patience is a virtue in crafting these elegant wax seals. Allow the wax to cool and solidify; this process usually takes about 30 seconds to a minute. You'll witness the wax transforming into a matte, hardened finish.
Step 8: Carefully Remove the Stamp
Once your wax seal has cooled and solidified, it's time for the grand reveal. Carefully lift the wax seal stamp away from the wax. What you're left with is a wax seal that boasts a sharp and elegant design, a testament to your creative craftsmanship.

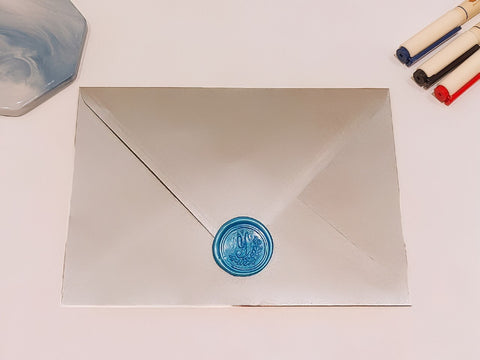
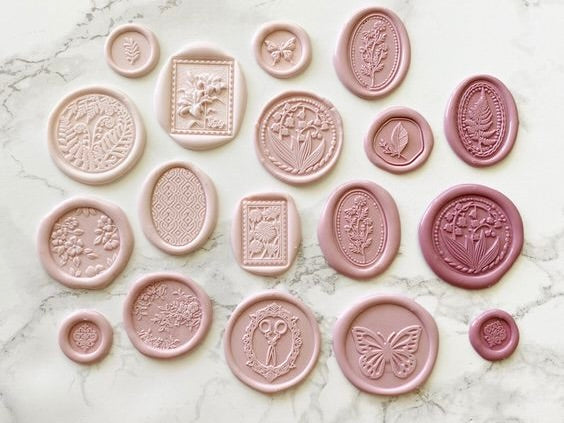
Crafting these wax seals is a wonderfully artistic yet straightforward process. With the right tools and a bit of practice, you can add an unmistakable touch of sophistication to your correspondence and craft projects. Feel free to experiment with a spectrum of wax colors and diverse stamp designs, customizing your seals to suit any occasion. Find satisfaction in sealing envelopes and elevating your creative works with the enduring elegance of your handcrafted wax seals.
Elevate your projects with our DIY guide and embrace the art of crafting these elegant wax seals. Revel in the timeless sophistication that they bring to your creations. Let's get crafting!


