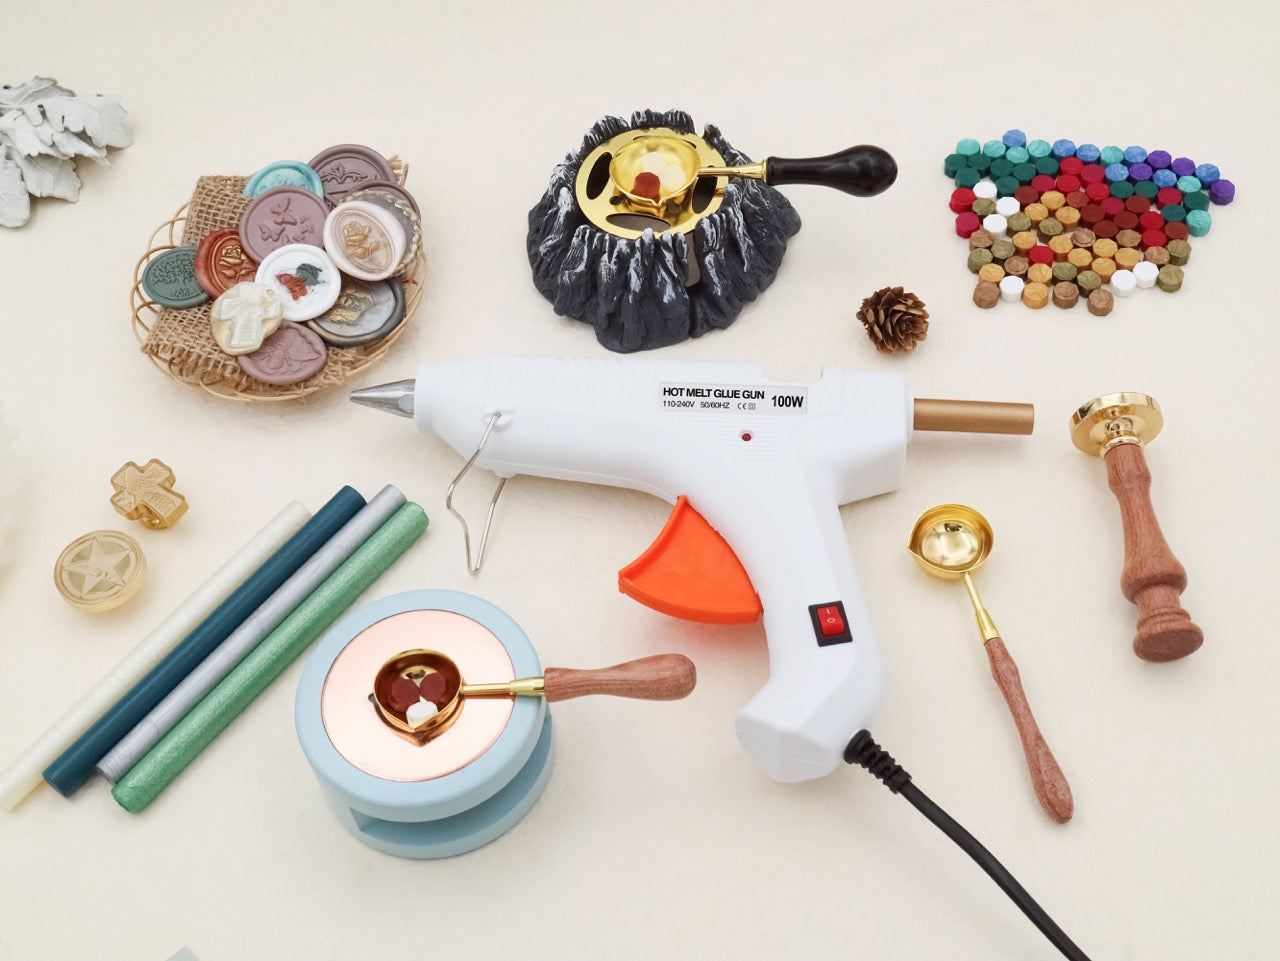
Wax seal production steps
You can check out our previous blog for the tools needed for traditional fire lacquer and wax seals "About Wax Seal". Once the tools are ready, we can start making:
1. Place an appropriate number of wax beads (3 octagon beads = 1 25mm / 1" seal, 4 beads = 1 30mm / 1.18" seal, 6 beads = 1 35mm / 1.38" seal, 7 beads = 1 40mm / 1.57" seal) on a metal spoon and use a candle to lightly heat it from below. Do not overheat the wax or there will be some air bubbles on the surface.
2. Quickly pour the melted wax onto the envelope.
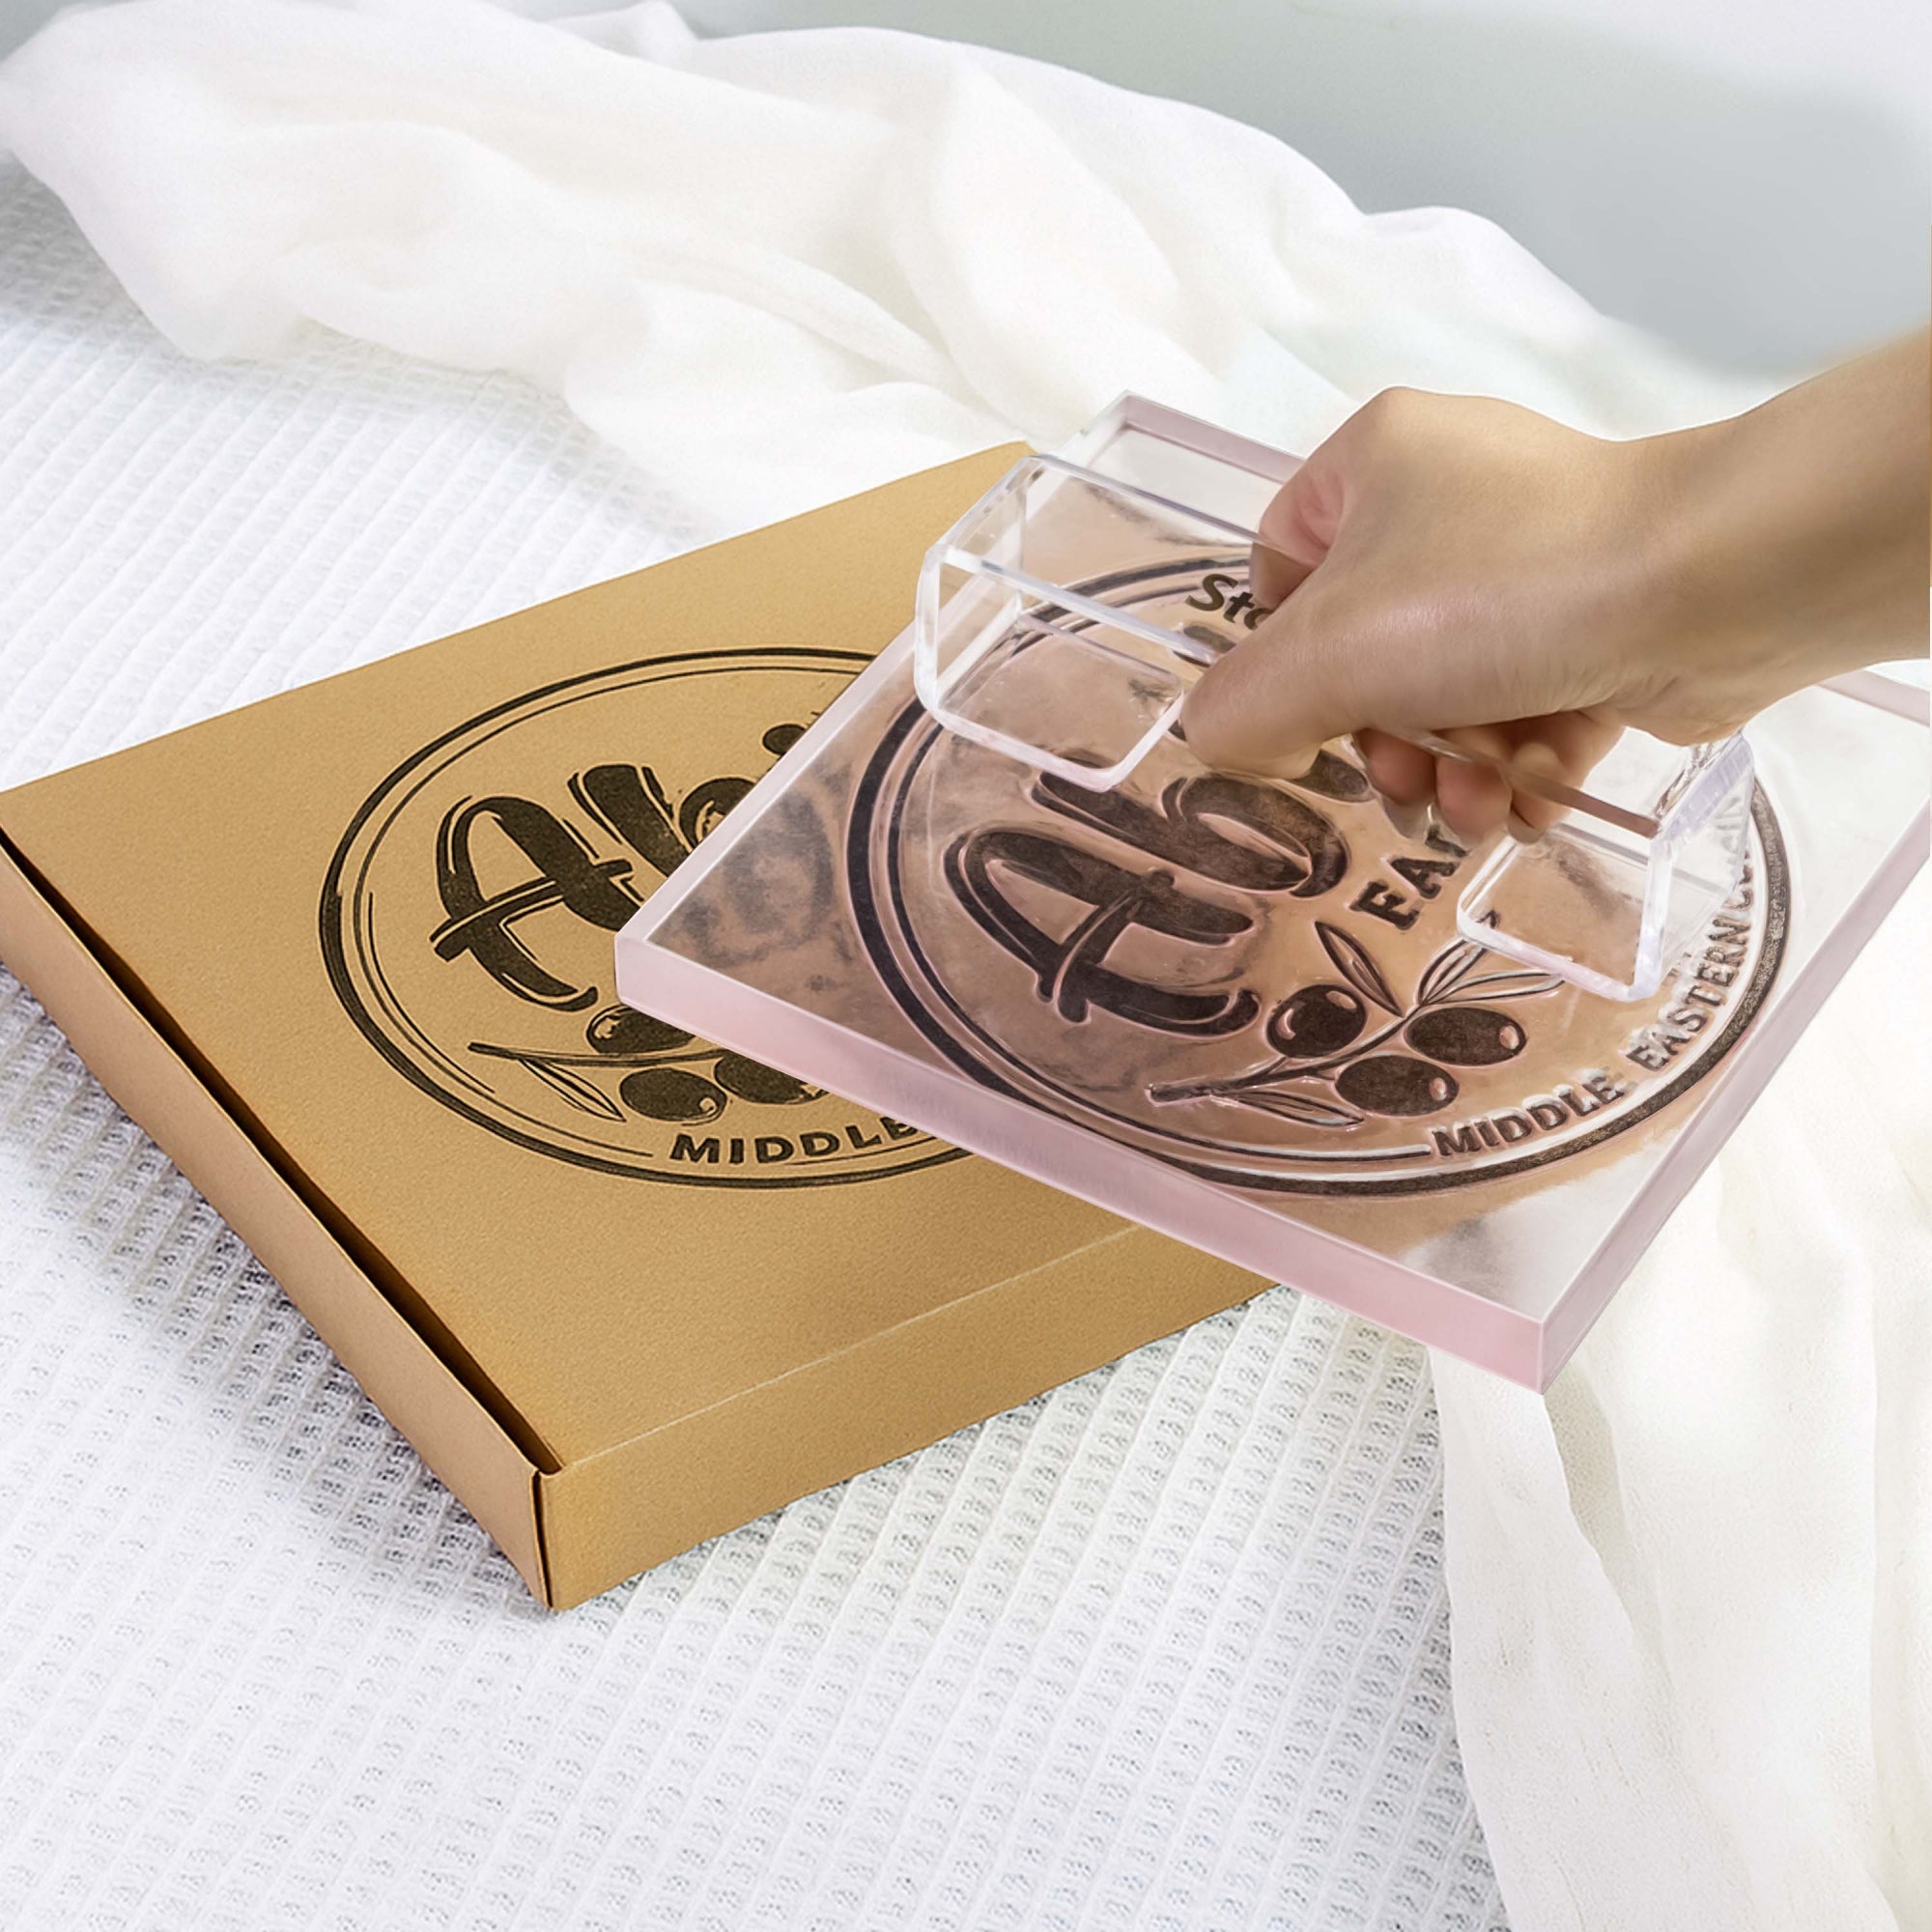
3. Make sure your stamp design is face up. Press the stamp firmly into the wax and hold for 10 to 15 seconds.
Once the wax has cooled, you will be able to lift the stamp cleanly without much effort.
4. When done, wipe off any remaining wax before the spoon cools.
Alternatively, you can take a more modern approach: glue gun sealing wax. The production time of the glue gun method is almost ten times faster than the traditional wax method. It's more efficient when you need to make a lot of wax seals, such as your wedding invitations or business invitations.
The tools you need are: Glue gun and glue gun wax. One wax stick makes approximately 8 25mm (1") wax stamps and 6 30mm (1.2") wax stamps.
How this works:
1. Open the bracket, insert the wax stick into the glue gun, and pull the trigger several times, so that the wax stick can enter completely
2. Plug in the power supply, turn on the power switch of the glue gun, and use the wax inside to heat the glue gun for about 5-8 minutes. Pull the trigger until the liquid wax comes out of the gun mouth and it is ready to use.
3. Drop the appropriate wax onto the envelope and wait 5 to 10 seconds to press the stamp.
4. After the wax liquid cools and solidifies, lift the stamp from the wax.