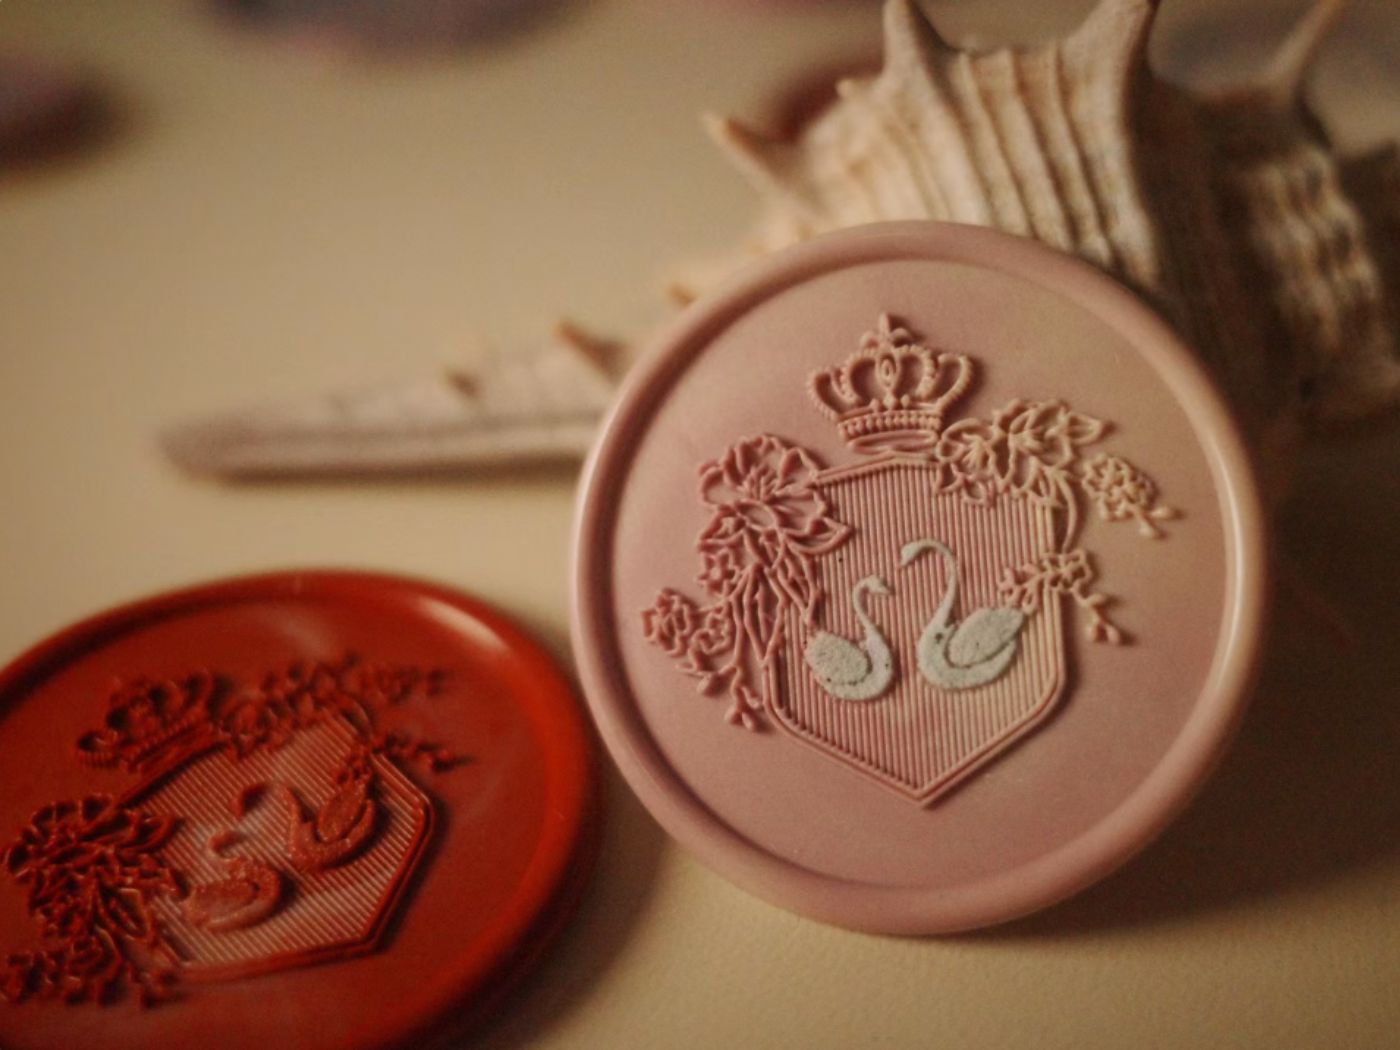
Every perfect wax seal is the finishing touch on an elegant letter.
Seen those perfect round wax seals online? Your own probably look uneven. As fancy invitations grow popular, a flawless seal shows true craftsmanship.
Wax seals have moved from old-world necessity to modern design trend, thanks to social media. Yet even among enthusiasts, few can make consistently round, smooth seals.
This article will unveil exclusive techniques from professional wax seal artists, helping you overcome the challenge of irregular edges and effortlessly master the essence of creating flawlessly round wax seals.
01 The Allure of Perfect Seals: Why Round Edges Matter
Much of the charm of wax seals stems from their uniqueness—each one as individual as a snowflake. However, in certain design contexts, perfectly round wax seals offer irreplaceable advantages:
● Modern Minimalist Aesthetics: Clean, round edges align perfectly with modern design language
● Enhanced Professionalism: Regular shapes convey precision and professional quality
● Visual Balance: Creates a stable visual anchor on invitation cards and other designed materials
● Harmony with Geometric Designs: Perfectly complements contemporary popular geometric patterns
"While I appreciate the beauty of naturally irregular wax seals, the visual impact of precisely round seals when paired with minimalist design is incomparable," shares renowned wedding designer Lina. "They convey a restrained and precise elegance."

02 Five Challenges of Creating Perfectly Round Wax Seals
Why is creating a perfectly round wax seal so challenging? According to our survey, wax seal enthusiasts typically face these issues:
1. Bubble Trouble: Small bubbles appearing on the surface, disrupting the smooth finish
2. Irregular Edges: Thickness varying around the circumference, preventing perfect roundness
3. Uneven Surface: Height differences between the center and edges of the seal
4. Misaligned Stamp: Pattern not centered, disrupting overall balance
5. Difficult Removal: Completed seal difficult to remove cleanly from the stamp
"The most common mistake is rushing the process," points out wax seal artist Wendy. "Both temperature control and stamp placement require patience and precision. Creating wax seals is an art that demands composure."


03 Professional Tools and Materials: The First Step to Success
Essential Tools Checklist
The following tools will help you achieve perfect round wax seals:
● High-Quality Wax Seal Stamp: Choose precisely engraved metal stamps with clear edges
● Wax Gun or Melting Spoon: Temperature-stable tools ensure ideal wax conditions
● Wax Sticks or Beads: Quality wax materials determine the final result
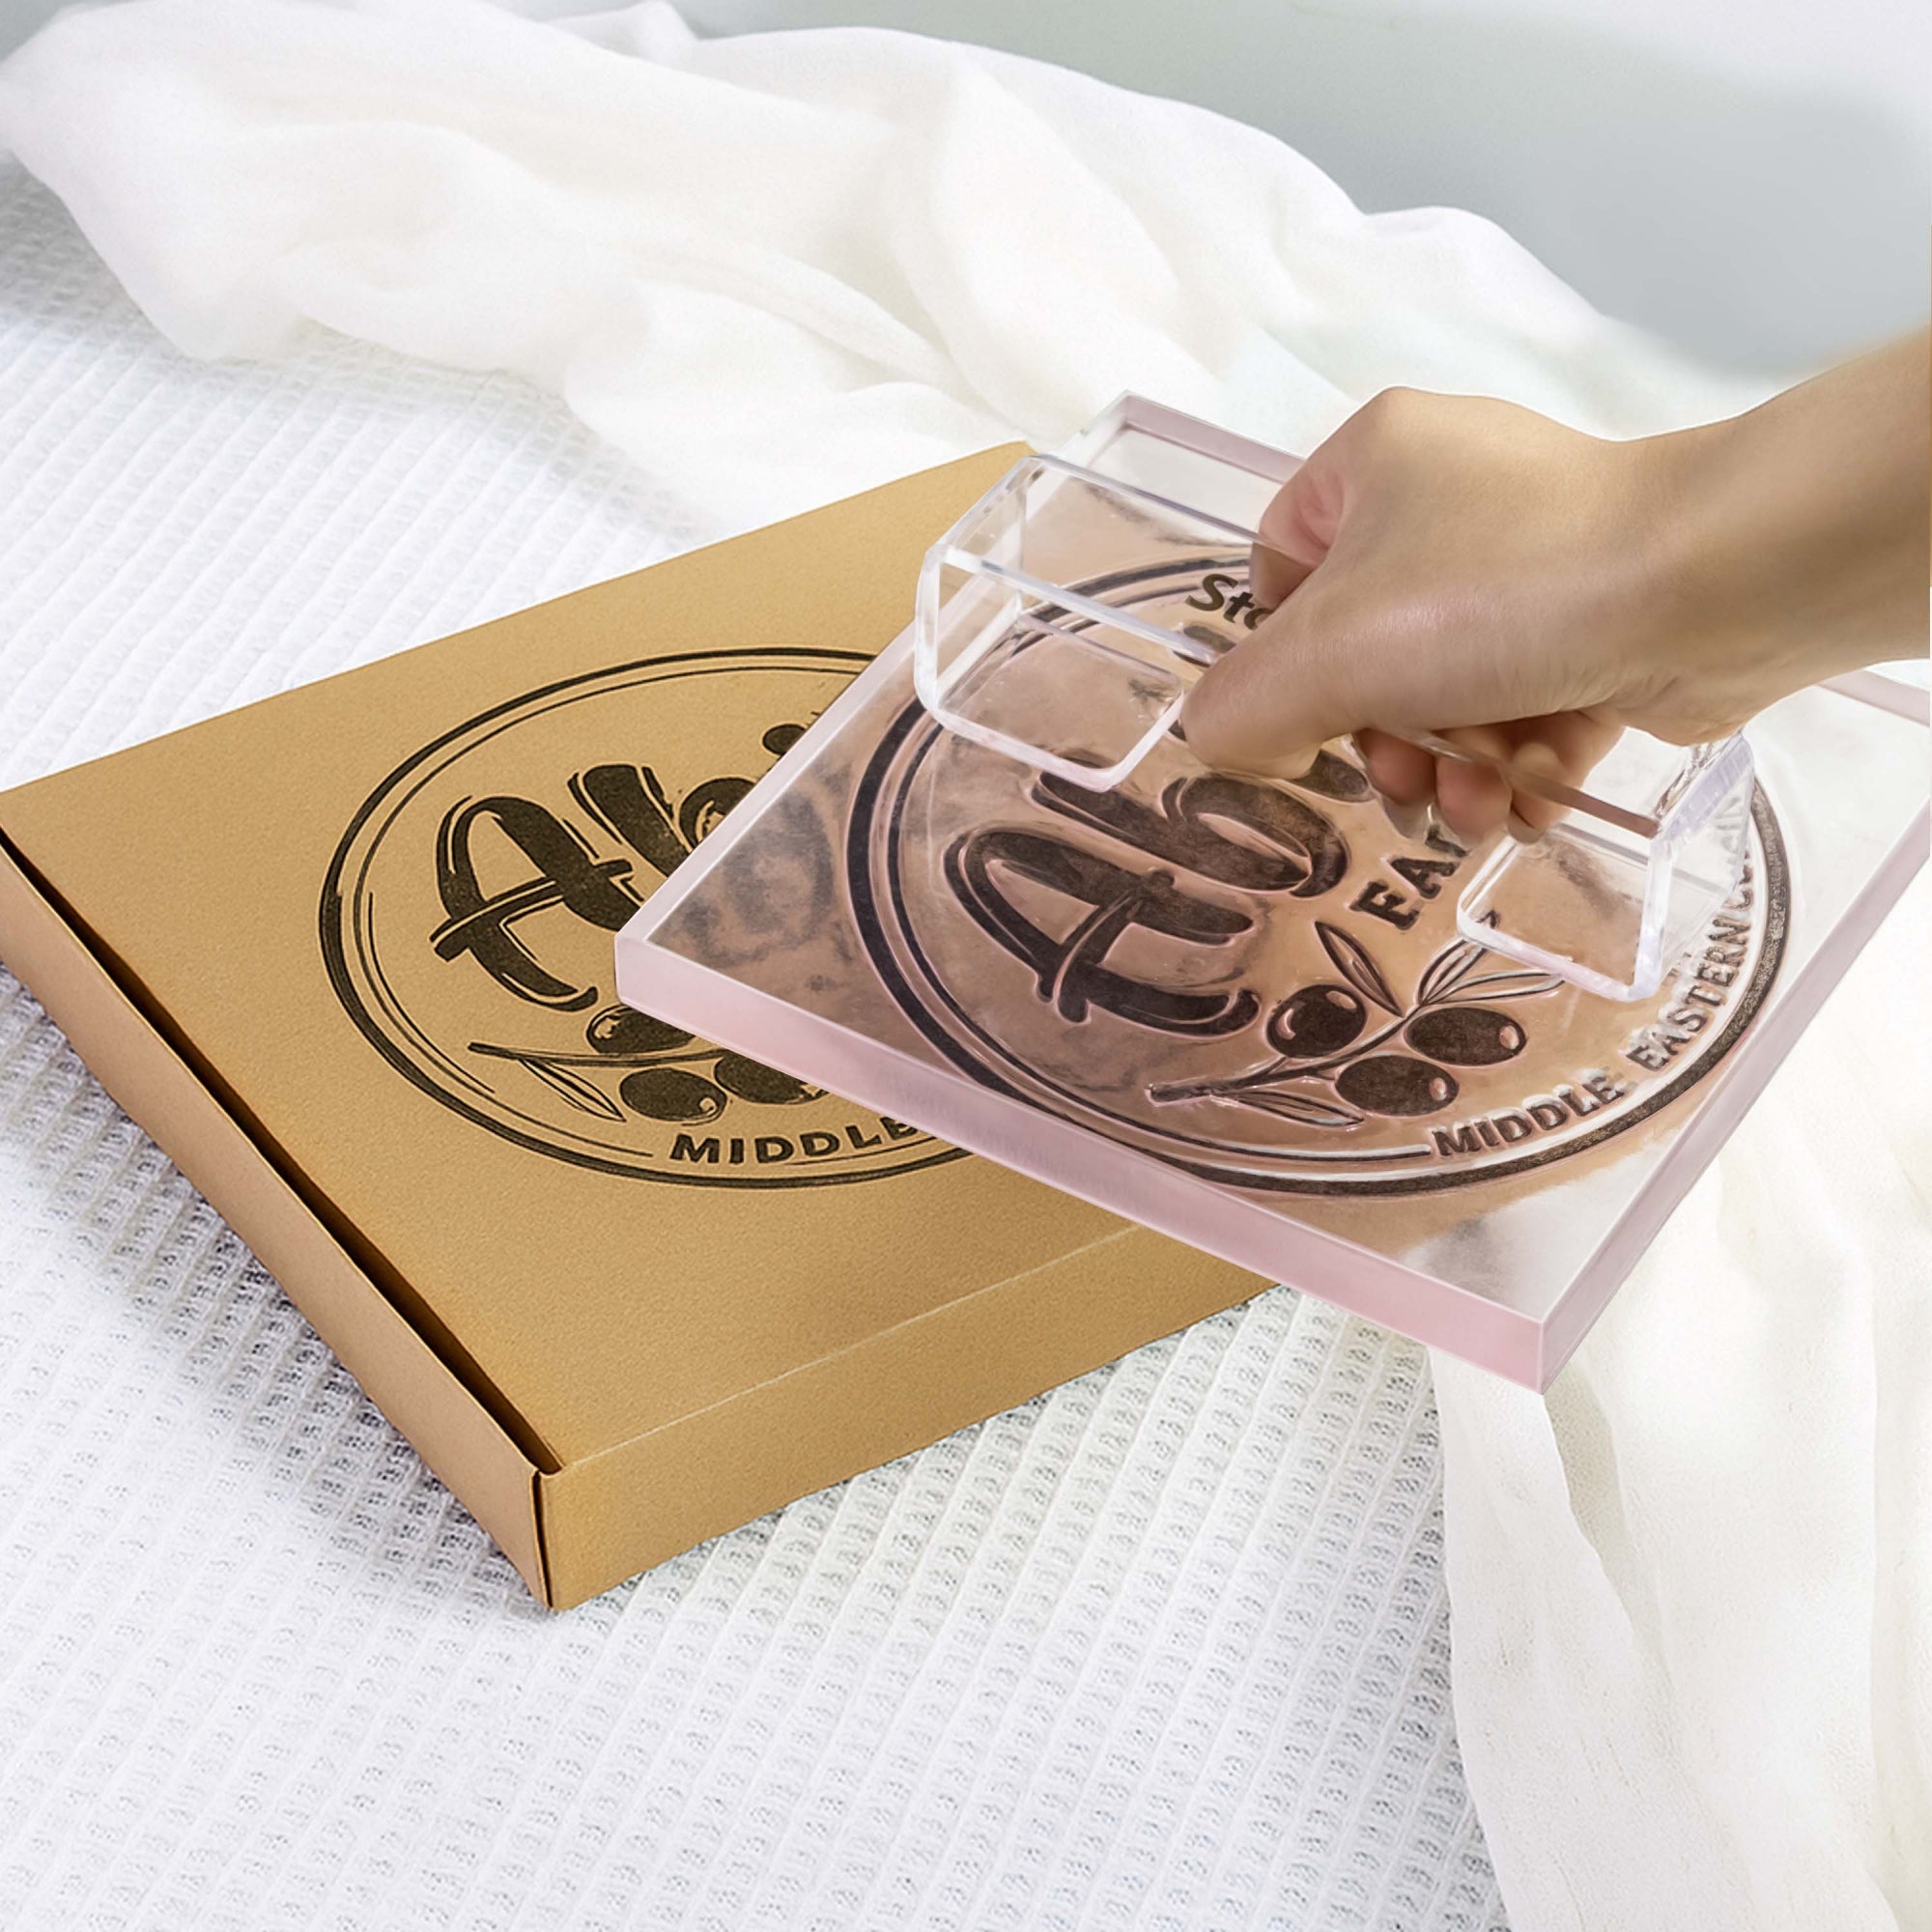
● Silicone Mat: Provides an ideal working surface for easy removal
● Ice Cubes or Ice Pack: For rapid cooling of the stamp
● Fine Tweezers: For holding paper or envelopes when needed
"The difference between professional wax seal artists and amateur enthusiasts often lies not in technique, but in tool selection and maintenance," says stationery designer Lin. "A well-maintained stamp and stable heating tool are the foundation of perfect wax seals."

04 Step-by-Step Guide to Creating Perfect Round Wax Seals
Step One: Eliminating Risks—Avoid Bubbles
Bubbles are the greatest enemy of perfect wax seals. To ensure a smooth, flawless surface:
● Set your wax gun to low temperature (approximately 120°C) to prevent overheating
● When using a melting spoon, ensure the flame doesn't directly contact the wax
● When wax appears to be "boiling," immediately reduce heat or pause heating
● Heat evenly to avoid localized overheating
Step Two: Perfect Pouring—Control Wax Flow
Pouring technique directly determines the shape of your wax seal:
● Position your wax gun or melting spoon close to the surface (approximately 1-2cm)
● Stabilize your wrist, maintaining a centered position
● Apply or pour at a steady pace, forming a natural circle
● Aim to create a circular wax drop slightly larger than your stamp
● Avoid pouring from height which causes splatter effects
Step Three: Precise Quantity Control—Master the Perfect Amount
For standard 1-inch diameter stamps:
● Wax Gun: One complete squeeze is typically just right
● Wax Beads: 3-4 medium-sized beads (approximately 7-8mm diameter)
● Wax Sticks: About 1.5-2cm length of stick
Step Four: Stamp Placement—The Decisive Moment
● Ensure your stamp is clean and free of residue
● Gently blow on the stamp surface to ensure it's dust-free
● Precisely align with the center of the wax drop
● Press down vertically and slowly, maintaining even pressure
● Avoid shaking or adjusting position
Step Five: Cooling and Setting—Patiently Awaiting Results
● Maintain pressure for at least 10 seconds without moving
● Avoid any vibration or shaking
● To accelerate, pre-cool your stamp (cool with ice for 5 minutes)
● Gently lift the stamp; if it feels sticky, continue waiting
● After complete separation, avoid touching the wax seal surface immediately

05 Advanced Techniques: From Professional to Excellence
Stamp Pre-treatment Techniques
● Ice Water Cooling Method: Soak the stamp in ice water for 5 minutes before use
● Spray Isolation Method: Spray an extremely thin layer of cooking oil on the stamp
● Double Impression Method: First press lightly to position, adjust if needed, then press firmly
Edge Perfecting Techniques
● Micro-adjustment Method: Use a toothpick to adjust edges when wax has cooled slightly but isn't completely set
● Heat Shaping Method: Briefly pass a hair dryer on lowest setting over edges to naturally round them
● Post-stamping Polishing Method: Gently rub seal edges with an extremely soft cloth to enhance luster
"True master-level wax seals not only have perfect shape but also possess a delicate lustrous quality," says wax seal collector Professor Wu. "This requires deep understanding of material properties and relentless pursuit of detail beyond basic techniques."

06 Common Problems and Solutions
Q: Why do my wax seals always have bubbles?
A: The most common cause is overheated wax. Reduce heating temperature, ensuring the wax is just barely melted enough to flow. Additionally, it's important to avoid moisture or other liquids mixing with your wax.
Q: How can I ensure the stamp design is centered in my wax seal?
A: Before pouring wax, you can mark the center point on your working surface with a fine pencil. Another technique is to use a transparent silicone mat with a template of concentric circles underneath as a visual reference.
Q: How can I prevent the wax seal from sticking to the stamp?
A: Ensuring complete cooling is key. Additionally, before use, you can wipe the stamp surface with a clean cotton cloth lightly dampened with cooking oil (removing excess oil), creating an extremely thin isolation layer.
07 From Technique to Art: Giving Wax Seals Personal Style
After mastering the technique of perfect round wax seals, the next step is to imbue them with unique personal style:
● Color Layering Technique: Mix 2-3 wax colors to create marble-like texture effects
● Gold Foil Accents: Gently press gold foil flakes onto wax before it's completely cooled
● Aromatic Wax Seals: Add a small amount of essential oil to the wax, transforming the seal into an aromatic experience
● Custom Stamps: Design personalized stamps based on individual style or brand
"Wax seals are not just a practical sealing method, but a form of personal expression," designer Hedi believes. "When technique is no longer a barrier, you can begin exploring broader creative spaces, making each wax seal an extension of personal art."

08 Conclusion: The Craftsman's Path Begins with Details
The art of perfectly round wax seals demands five fundamentals: a completely level surface, precise wax quantity, centered pouring technique, accurate stamp placement, and dedicated practice. Master these elements to transform your seals from ordinary to exceptional.
A perfect round wax seal may seem like a simple goal, yet it embodies the ultimate pursuit of detail and respect for process. From temperature control to wrist stability, from material selection to patient waiting, each step reflects the craftsman's spirit.
When you master this seemingly ancient yet full of modern aesthetic art, you acquire not just the ability to decorate letters, but also a life attitude that focuses on the present and respects the process. After all, the charm of wax seals lies not only in their appearance but also in the concentration and care they carry.