Proper Care and Maintenance of Rubber Stamps
Rubber stamps are versatile tools that can transform ordinary paper into customized works of art. However, with regular use, rubber stamps accumulate ink and debris that can compromise the quality of their impressions. Appropriate cleaning and maintenance are essential to optimize rubber stamp performance and durability. This guide outlines best practices for preserving rubber stamps in pristine condition and producing clear impressions on demand.
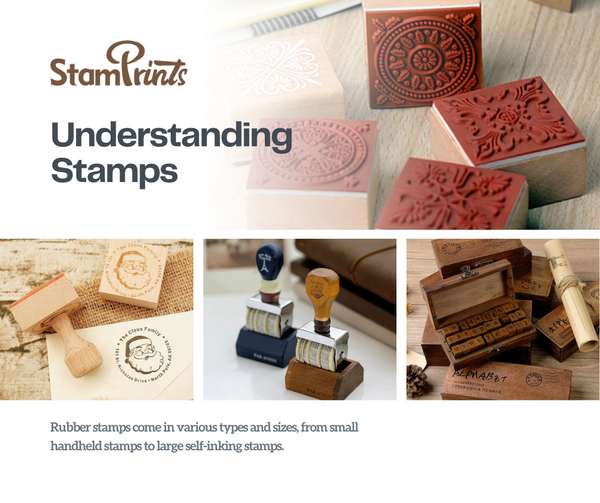
Understanding Your Rubber Stamps
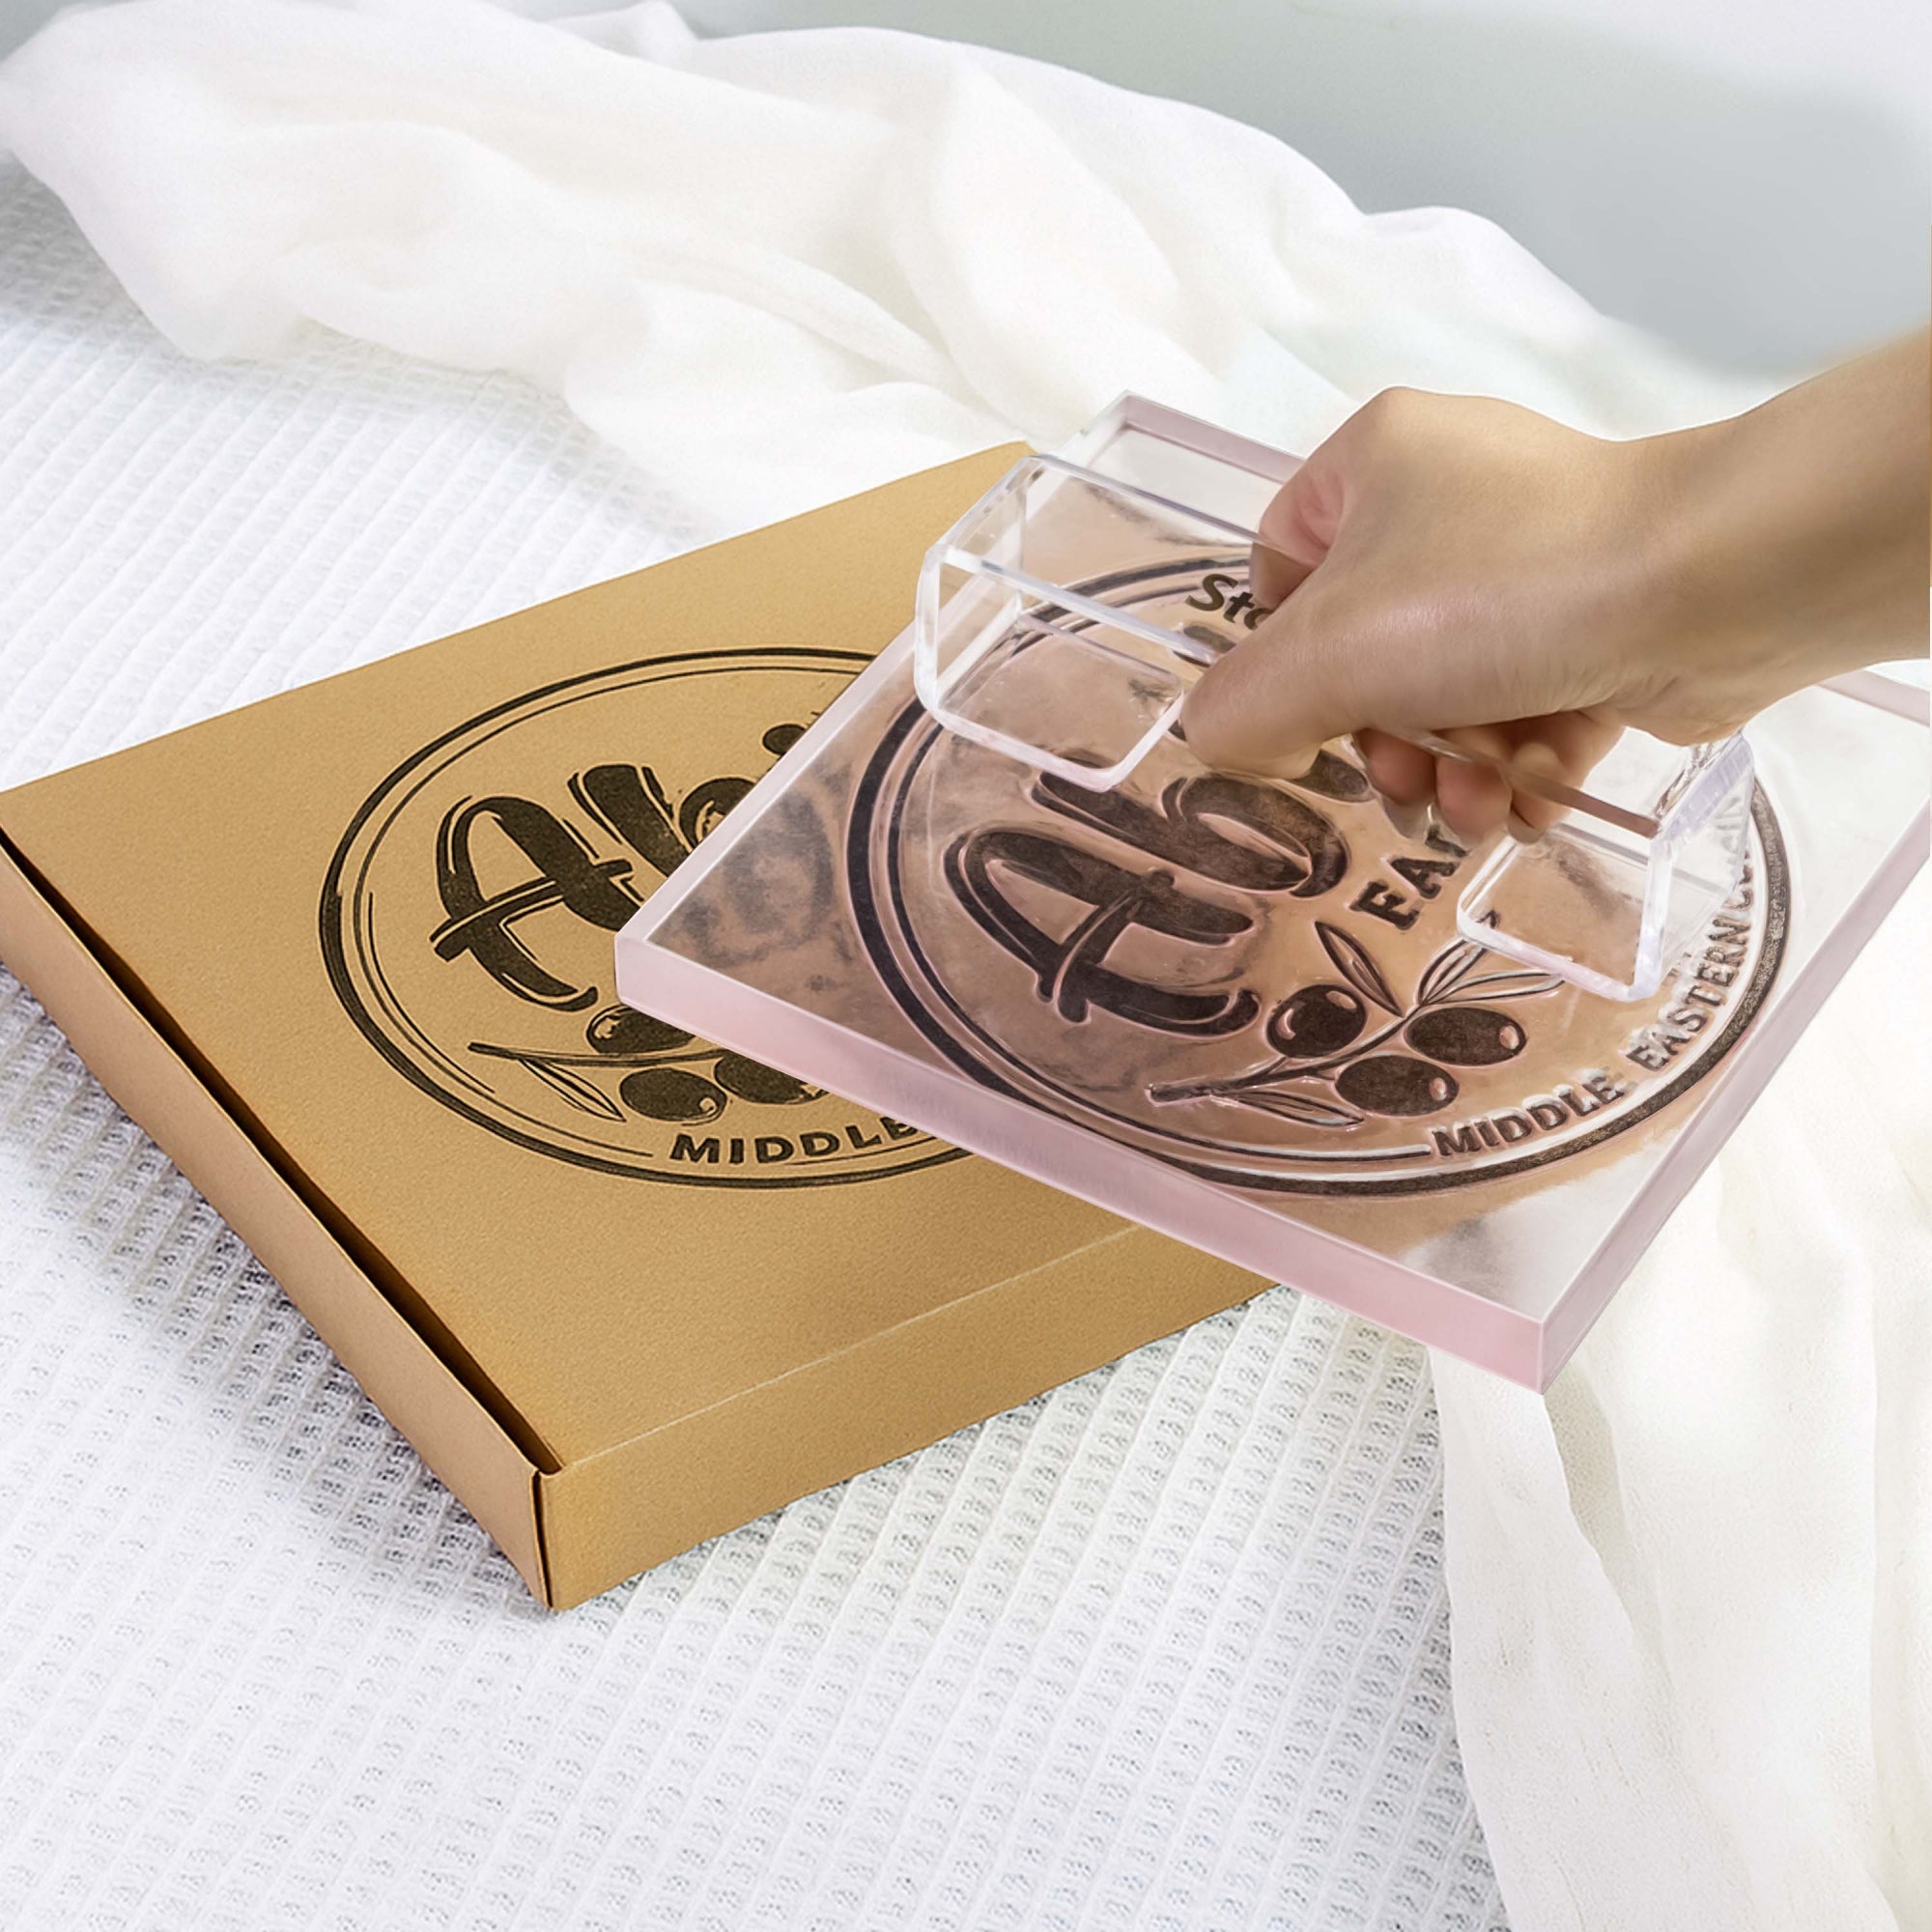
Rubber stamps come in various types that require customized care. While cleaning procedures remain largely the same across models, additional steps may apply to certain constructs. Handheld, wood-mounted and self-inking rubber stamps are common variants.
Cleaning Rubber Stamps: A Step-By-Step Process
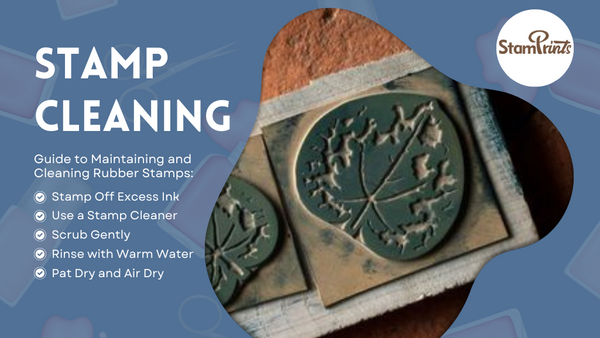
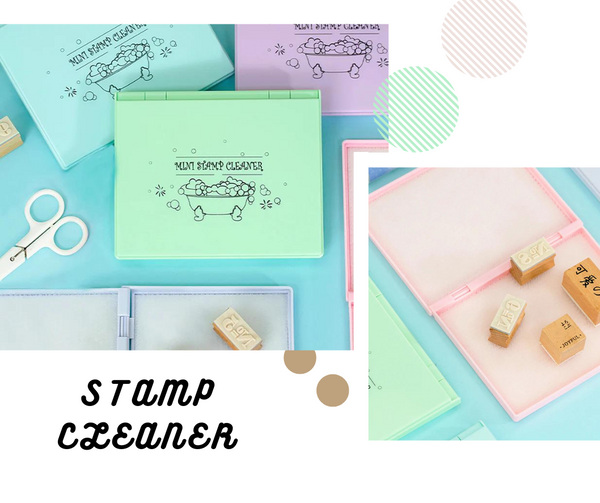
1. Remove Excess Ink: After stamping, press the rubber stamp onto scrap paper to clear away leftover ink. Removing excess ink before cleaning makes the process easier and more effective.2. Apply Stamp Cleaner: Specialized stamp cleaners break down ink without damaging rubber. Spray stamp cleaner onto the rubber portion of the stamp and let sit briefly.
3. Gently Scrub: Use a stamp cleaning pad or soft-bristled toothbrush to gently scrub the rubber part, removing all ink and debris trapped in crevices.
4. Rinse with Warm Water: After scrubbing, rinse the stamp under warm running water. Avoid submerging the wooden or plastic handle in water.
5. Pat Dry and Air Dry: Gently pat the stamp with a clean towel to absorb excess moisture. Allow the stamp to air dry completely before storing.
Cleaning Self-Inking Rubber Stamps
Self-inking rubber stamps have built-in ink pads requiring modified cleaning. Before cleaning, press down firmly on the stamp to retract the ink pad. Remove the ink pad, then follow the standard cleaning steps above to clean the rubber portion. Reattach the ink pad once the stamp is fully dry.
Tips for Maintaining Your Rubber Stamps
With proper maintenance, rubber stamps provide clear, crisp impressions over their lifespan. Follow these tips to keep rubber stamps in working order:
- Clean after each use: For best results, clean rubber stamps after every use to prevent ink buildup and keep stamps ready to impress.
- Proper storage: Store rubber stamps in a cool, dry area away from direct light with the rubber side facing up. Improper storage can damage rubber and distort designs.
- Regular inspection: Examine rubber stamps periodically for signs of wear or damage. Worn or damaged rubber stamps will not produce clear impressions.
- Refill ink pads: Re-ink self-inking stamp pads regularly to ensure quality impressions.
This large rubber stamp ink cleaning mat adopts high-quality nylon wool cleaning bristles, a very simple tool that will save you from having to go back and forth to the sink while printing! Just dampen the rubber stamp surface with some cleaning solution and scrub it on the mat. To prolong the life of your scrubber, wipe all excess paint or ink before scrubbing. In the meantime, give the cleaning pad a good wash & rinse, and allow it to air dry.
By following a consistent cleaning regimen and implementing key maintenance practices, you can maximize the lifespan of your rubber stamps. When cared for properly, rubber stamps continue to create personalized impressions for years to come. Keep in mind that the quality of your tools depends on the amount of care you dedicate to them. Invest in rubber stamp preservation to utilize them to their full potential.