A clear stamp impression is the finishing touch that elevates product packaging from ordinary to professional. However, many stampers, especially beginners encounter a common problem: custom-designed rubber stamps frequently produce blurry, unclear results. This frustrating quality gap affects brand perception and packaging appeal. This guide identifies the key factors influencing impression quality and delivers practical solutions to achieve consistently crisp, clear stamps that strengthen your brand presentation.

What Is an Extra Large Rubber Stamp and What Is It Used For?
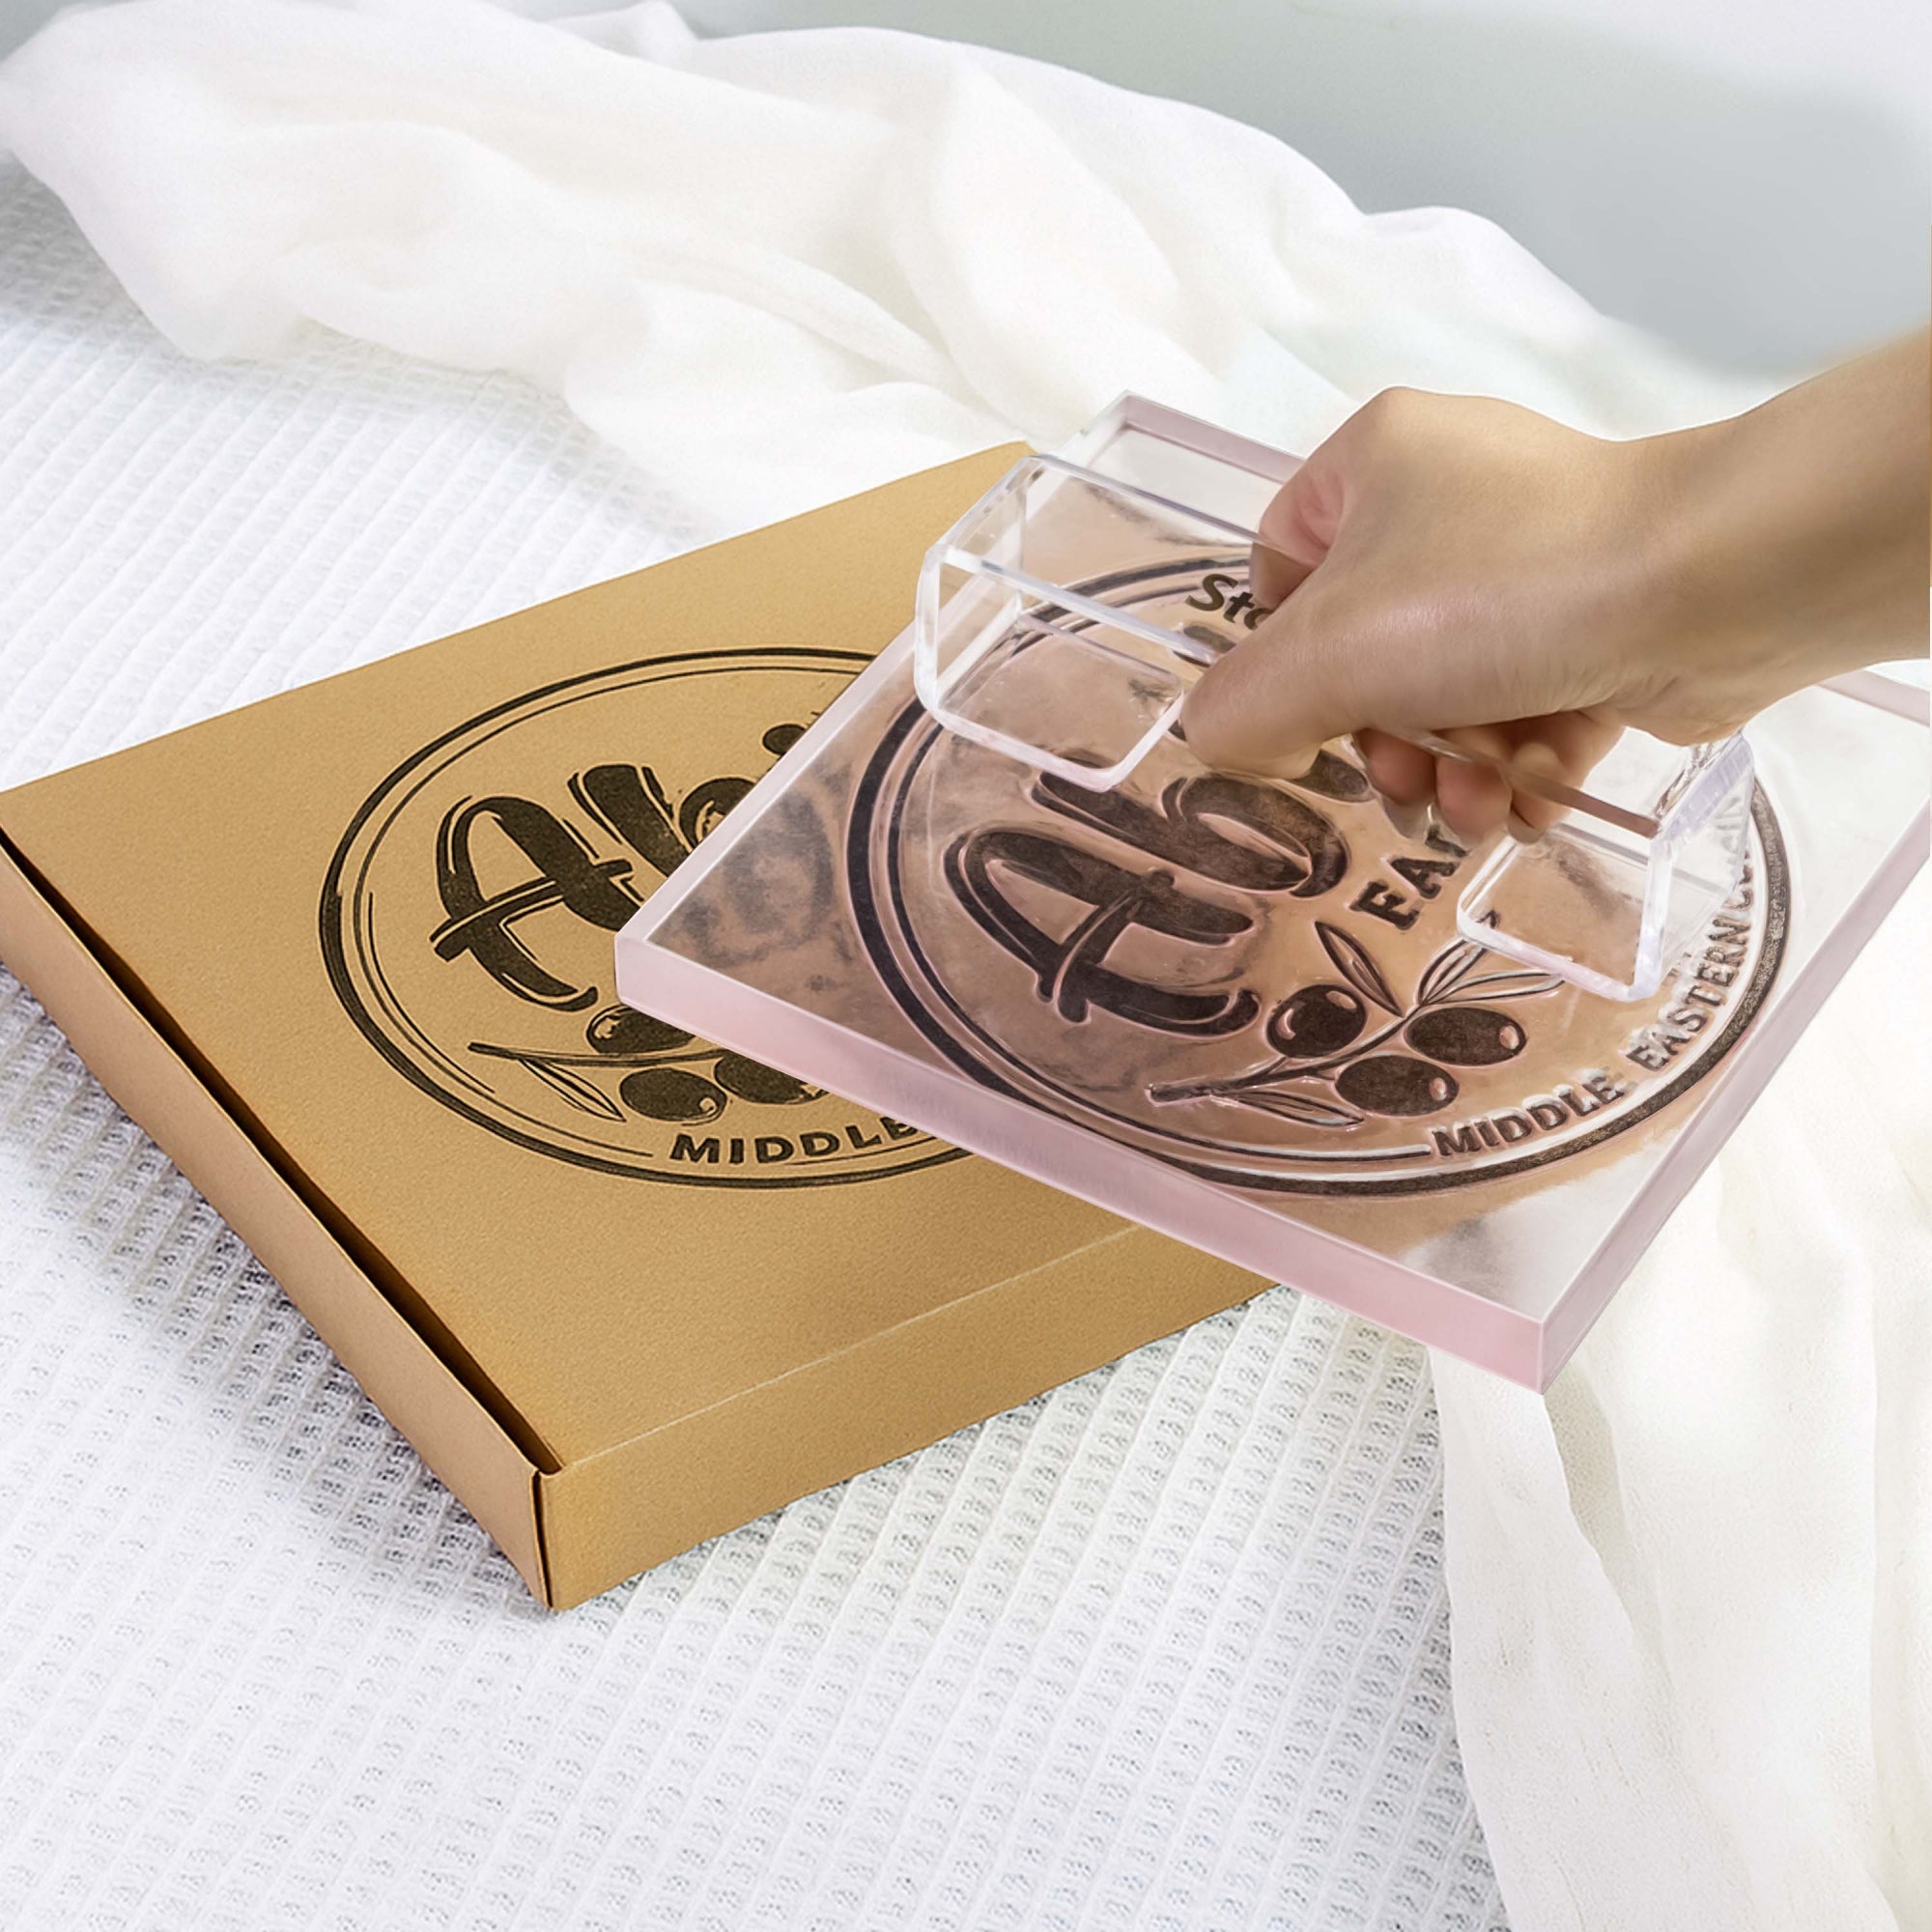
An extra large rubber stamp is an oversized version of a traditional rubber stamp, designed with a durable rubber face—carved or laser-etched with designs, logos, or text—and mounted on a sturdy handle or base for even pressure. Typically exceeding 4 inches in width or length, these stamps cover large areas in a single press, making them powerful tools for creating bold, consistent impressions. They’re especially ideal for packaging, crafting, and branding, allowing users to make a big, professional mark on various surfaces with ease and impact.
Why Your Rubber Stamps Create Blurry Packaging Images
A flawless stamp starts with understanding what’s going wrong. Here’s a breakdown of the most common pitfalls:
Stamp Quality Issues
The foundation of a sharp impression lies in the stamp itself. Low-quality options often disappoint:
● Shallow Engraving: Faint details that fail to pop.
● Poor Rubber: Too soft, it distorts; too hard, it won’t grip the surface.
● Uneven Surface: Ink skips where pressure can’t reach.

Ink and Pad Mismatches
Even a top-tier stamp falters with the wrong ink or pad:
● Material Misalignment: Water-based inks suit paper, but glossy or coated surfaces demand oil-based formulas.
● Ink Imbalance: Too much causes bleeding; too little leaves gaps.
● Pad Problems: Undersized or under-saturated pads starve oversized stamps of even coverage.


Technique Troubles
Tools alone won’t save you—execution matters:
● Uneven Pressure: Tilting or pressing too lightly blurs sections.
● Stamp Slippage: Movement mid-press doubles or smears the design.
● Surface Prep: Wrinkles, moisture, or dust sabotage ink adhesion.

Professional Solutions for Crisp Stamp Impressions
Elevate your packaging game with these expert tips and tools.
Choose the Right Stamp Supplier
● Material Matters: Opt for high-grade rubber or photosensitive resin for precision engraving and ideal firmness.
● Design Smarts: Tailor details to your packaging—skip overly intricate patterns on tricky surfaces.
● Ergonomic Edge: A well-designed handle ensures even pressure, every time.

Why We Love Stamprints: From premium rubber that grabs ink evenly to laser-etched precision that turns ideas into sharp lines, Stamprints delivers. Add FSC®-certified wood handles built for comfort, and you’ve got a custom stamp that’s as effortless as it is impressive.
Nail Your Ink and Pad Pairing
● Match the Material:
- Standard Paper Boxes: Water-based ink absorbs fast.
- Glossy or Coated Finishes: Oil-based or quick-dry solvent inks hold strong.
- Special Surfaces: Test small or consult pros.
● Pad Perfection:
- Size your pad 1–1.5 cm wider than your stamp on all sides for full coverage.
- Prep new pads with at least 2 oz (60 ml) of ink, letting it soak in.
- Tap lightly before each use to distribute ink evenly.
- Refresh ink regularly to avoid dry or soggy spots.

Stamprints Solves It: Tired of mini pads failing your oversized stamps? Stamprints’ rare jumbo pads with fiber sponges unlock limitless stamping freedom—no more patchy compromises.
Master the Stamping Technique
● Prep Like a Pro:
- Clean and flatten your packaging surface.
- Work on a stable table to nix vibrations.
- Secure the box if it’s prone to sliding.
● Stamp with Precision:
- Ink the stamp evenly on the pad, coating every corner.
- Position vertically over the box, pressing down with steady, even force.
- Hold for 3–5 seconds, then lift straight up—no wiggling.
- Let it dry untouched for best results.

● Pro Hacks:
- Slip a soft pad under the box for better contact.
- Use a stamp press for large designs to guarantee uniformity.
- Test on a sample before batch stamping.
Maintain Your Gear
● Post-Use Care: Wipe the stamp clean to prevent dried ink from clogging details.
● Storage Savvy: Keep it out of direct sun and extreme heat to preserve rubber integrity.
● Routine Checks: Clear debris or leftover ink from the stamp face regularly.
Quick Fixes for Common Hiccups
● Blurry Impressions: Swap ink to match your material or tweak the amount.
● Missing Spots: Up the pressure or add a soft underlay.
● Ghosting: Lock the stamp and box in place during the press.
● Slow Drying: Switch to quick-dry ink or use a heat gun sparingly.
The Takeaway: Eliminating Blurred Stamp Results
A perfect packaging stamp isn’t just about looks—it’s a statement of professionalism and brand consistency. With the high-quality rubber stamp, large ink pad and quick dry ink oil, and stamping technique, blurry impressions become a thing of the past, leaving every package with a polished, standout mark.
Whether you’re a small-batch artisan or a scaling e-commerce brand, a crisp stamp tells your story with authority. Ready to level up? Head to Stamprints and redefine your packaging game today!

FAQ
Q: What should I look for when buying supplies for packaging rubber stamping?
A: When purchasing supplies, focus on quality over price for the best results. Look for archival, fade-resistant ink that's appropriate for your packaging material. Rubber stamps with deeply etched designs typically provide cleaner impressions. If you'll be stamping onto glossy or non-porous surfaces, make sure to buy ink specifically formulated for these materials. Many stamp companies offer specialty products for packaging applications. Be careful to check if the ink is proof against water or smudging if your packages might be exposed to moisture. Convenient all-in-one kits can be a good starting point, but professional results often require specialized components.
Q: How do I properly ink a rubber stamp for crisp packaging impressions?
A: For clean impressions, gently tap the stamp onto the stamp pad rather than pressing hard. This allows for consistent ink transfer without oversaturation. If using a large stamp, make sure every aspect of the design contacts the pad evenly. Too much ink is a common cause of blurry impressions, so when in doubt, use less ink and apply multiple impressions if needed. For bright colors on dark packaging, consider specialty inks designed specifically for this purpose.
Q: What surfaces work well for clear rubber stamping on packaging?
A: Flat, smooth surfaces provide the best foundation for crisp rubber stamp impressions. Paper, cardboard, and certain types of treated plastic work well for packaging applications. Before stamping your actual packaging, experiment on scrap materials with a similar texture. Some surfaces may require specific stamp ink formulations to assure proper adhesion. Keep in mind that porous surfaces might cause ink to bleed, while very glossy surfaces may need specialty inks for proper transfer. Surface preparation is a basic yet crucial element for clean impressions.
Q: How do color choices affect the clarity of rubber stamped packaging?
A: Color selection significantly impacts stamp clarity. Dark inks on light packaging typically provide the sharpest contrast and clearest impressions. When stamping on colored packaging, choose ink colors that contrast well with the background for better visibility. Metallic inks can add a premium look but may require more careful application techniques. If you want to use multiple colors, apply the lightest colors first and work toward darker shades. Some specialty inks, like those that create raised impressions, can add texture but might not be as crisp as traditional inks. Refer to color theory principles when selecting inks to ensure your stamped images remain legible and attractive.
Q: How can I incorporate rubber stamping as a professional packaging embellishment?
A: To incorporate rubber stamping professionally, invest in high-quality stamps and inks specifically designed for your packaging materials. Apply even pressure when stamping to create consistent impressions that reflect your brand's attention to detail. Consider creating a stamping station with proper lighting and a flat, stable surface. Many businesses use rubber stamping to add logos, dates, batch numbers, or personalized messages. For large-scale operations, you might want to source custom stamps from companies that specialize in commercial-grade rubber stamps that offer much better durability.