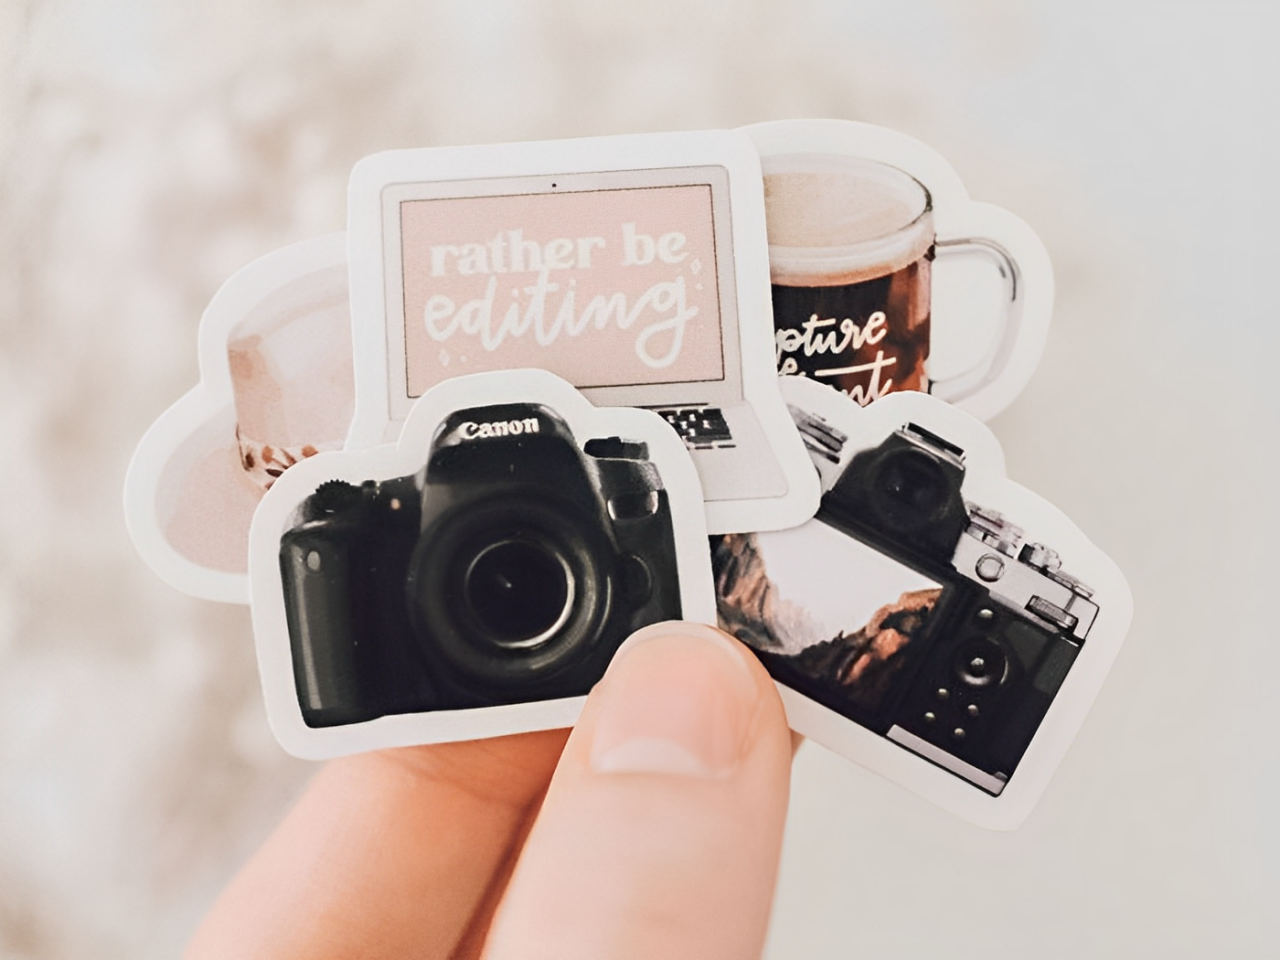
Want to make your planner more engaging? There’s an easy and effective way to instantly boost the visual appeal and functionality of your planner: stickers! Instead of spending time and money searching for the “perfect” stickers, why not create your own?
In this guide, we’ll show you how to break free from limitations and craft custom stickers that perfectly match your needs, guiding you step-by-step from concept to finished product.

What Do You Need for DIY Stickers?
- Finished sticker sheet design
- Adhesive sticker paper
- Printer
- Cutting tools: scissors or cutting machine (optional)
How Can You Make Stickers Step by Step?
Once you understand the purpose and versatility of stickers, creating your own is a fantastic way to add both personality and practicality to your pages. It’s not complicated—follow these steps to complete the entire process from design to finished sticker.
Step 1: Design Your Sticker Artwork
This is where your creative ideas come to life as visual designs. Popular design tools include Canva, Procreate, and Adobe Photoshop, all of which offer powerful features. For beginners, Canva is highly recommended! Alternatively, you can go old-school and draw your designs on paper. Once complete, use a scanner or your phone’s scanning feature to convert them into digital files.
Design Tips:
- High Resolution: Ensure your design file is at least 300 DPI for crisp printing.
- Color Mode: Export your design in CMYK mode, as this is standard for printing and helps ensure the printed colors match your design.
- (Advanced Tip) Bleed Area: To avoid unwanted white edges after cutting, enlarge your design (background color or pattern) so it extends beyond the final sticker’s cutting line (typically by about 3 mm). This way, even if the cut isn’t perfectly precise, only the colored portion will be trimmed off!

Step 2: Choose the Right Sticker Paper and Print
With your design ready, it’s time to turn it into physical stickers by selecting the appropriate material and printing.
Choosing Sticker Material: There are several materials suitable for DIY stickers. The most common is adhesive sticker paper. Vinyl stickers (PET) are another popular option, offering greater durability and water resistance. Select a material based on your design style, intended use, and printer compatibility.
For more details on sticker materials, read on.
Printing: Most home printers can handle sticker printing effectively.
Print Settings Tips:
- Select the correct paper type in your printer settings and choose the highest print quality.
- Ensure the print size is set to 100% to avoid scaling.

Step 3: Laminate for Durability (Optional)
To make your stickers more durable, resistant to wear, and slightly waterproof, consider adding a clear protective laminate. Using specialty laminating films can also enhance the visual appeal and uniqueness of your stickers.
Common Specialty Laminates:
- Glitter/Sparkle Laminate: Adds a shimmering, star-like or fine-grain sparkle effect that dazzles under light.
- Holographic/Laser Laminate: Creates a rainbow-like sheen or specific laser patterns, giving a futuristic or dreamy vibe.
- Other Textures: Options like fabric or leather-textured films can mimic unique material feels.

Lamination Methods:
- Self-Adhesive Laminating Sheets: Cut to size, apply to the sticker surface, and use a scraper to smooth out air bubbles, working from the center outward for a secure fit.
- Laminator: Devices like Scotch (3M) or Fellowes laminators use heat or pressure to apply a thin film over the sticker surface, delivering a smooth, professional finish.

Step 4: Cut Your Stickers Precisely
After printing, you’ll need to cut out your sticker designs from the sheet.
Manual Cutting: For simple shapes, manual cutting is a cost-effective option. Use tools like scissors, a craft knife, and a cutting mat. Always prioritize safety, keeping the blade pointed away from your body.
Using a Cutting Machine: For intricate designs, a digital cutting machine (such as Cricut or Silhouette) is ideal. These machines offer automated, high-precision cutting. Note that they typically require specialized software, which may involve a learning curve.

Cutting Options: Which do you prefer?
- Kiss Cut: Cuts only through the sticker material, leaving the backing paper intact.
- Die Cut: Cuts completely through both the sticker material and backing paper.

Step 5: Apply and Enjoy
Your custom stickers are ready! Simply peel and stick them onto your planner, journal, or any surface you want to decorate.
What Moments of Your Life Make Great Stickers?
You’ve now mastered the process of creating your own stickers! But where do you find inspiration? The best ideas are often right in front of you:
- Turn photos of your adorable pets—whether they’re napping or making funny faces—into unique stickers with a quick edit (like removing the background or adding cute elements). They’ll bring a smile every time you see them.
- Use cherished photos from your life, travel snapshots, or even pictures of delicious meals to create memory-filled stickers that capture life’s little moments.
- Beyond photos, try designing with favorite quotes, song lyrics, or hand-drawn doodles and icons. Scan them into your phone, or use royalty-free images found online for endless sticker possibilities.

Ready to Make Your Own Stickers?
Congratulations! You’ve now got the know-how to create your very own DIY stickers, covering everything from initial design concepts and choosing the right materials to printing, laminating for durability, and achieving that perfect cut. With these five simple steps, a world of personalized stickers is now at your fingertips!
While the DIY route offers fantastic creative control, we understand that time can be precious. If you’re looking for professional-grade quality or intricate designs without the effort, our custom sticker service is here to help.

FAQ
Q: Can I print stickers at home? Are there any additional tips?
A: Yes, you can definitely make your own stickers at home! Most standard home printers work well with adhesive sticker paper, including options like matte paper or even vinyl if you want more durable, high-quality results. The key is to properly select the material in your printer settings before you print to ensure good print quality.
Q: Why do I get bubbles or wrinkles when laminating my DIY stickers, and how can I fix it?
A: Bubbles or wrinkles during the lamination of your DIY stickers may occur due to improper techniques, low-quality laminating film, or an unclean sticker surface. When laminating by hand, apply the layer slowly and evenly, using a scraper to peel away air bubbles and ensure a flat surface. If using a machine, double-check that the temperature and pressure settings are correct to avoid issues like wrinkles on your sticker paper. For best results, ensure the surface is clean and free of debris before starting, especially when working with adhesive materials or crafting a new sheet of stickers.


